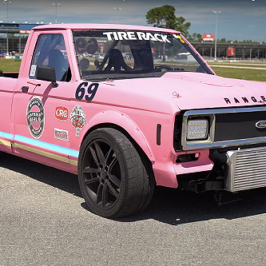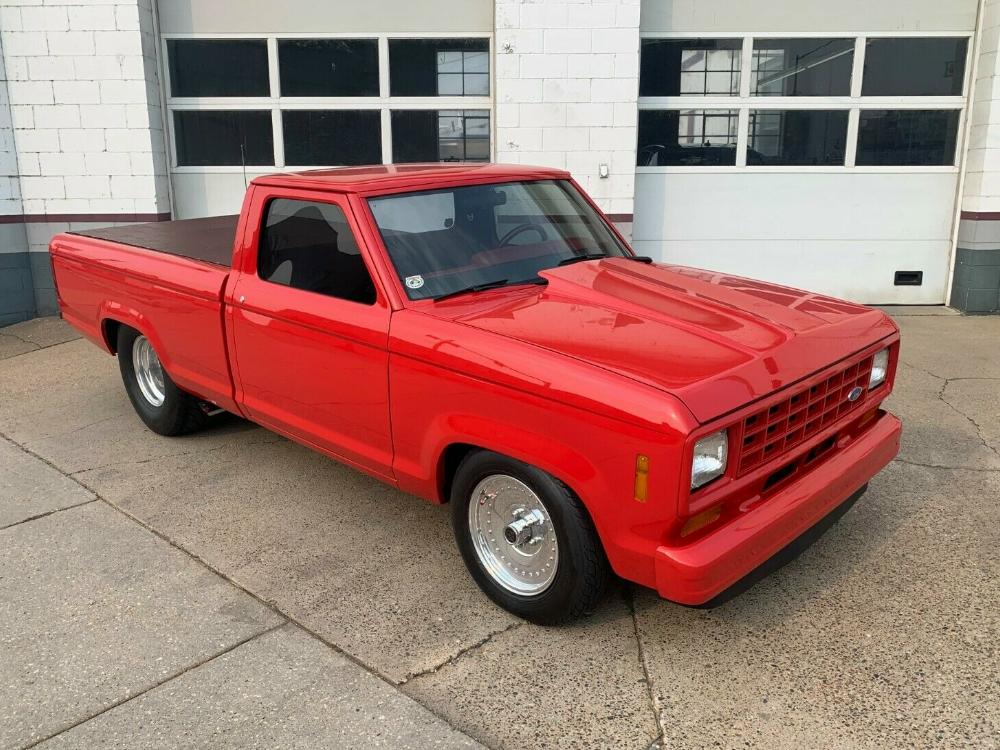
This pro street 1984 Ford Ranger recently popped up on eBay. I don’t know that “pro street” is a trend, but I bet this Ranger is a blast to drive.
The Ranger now features a 302 CID V8 that’s been bored to a 306 CID. A 650 carb sits on an Edelbrock Air Gap intake manifold and feeds the fuel from a custom aluminum fuel cell. A Crane Cam and roller rockers controls the fuel and exhaust. 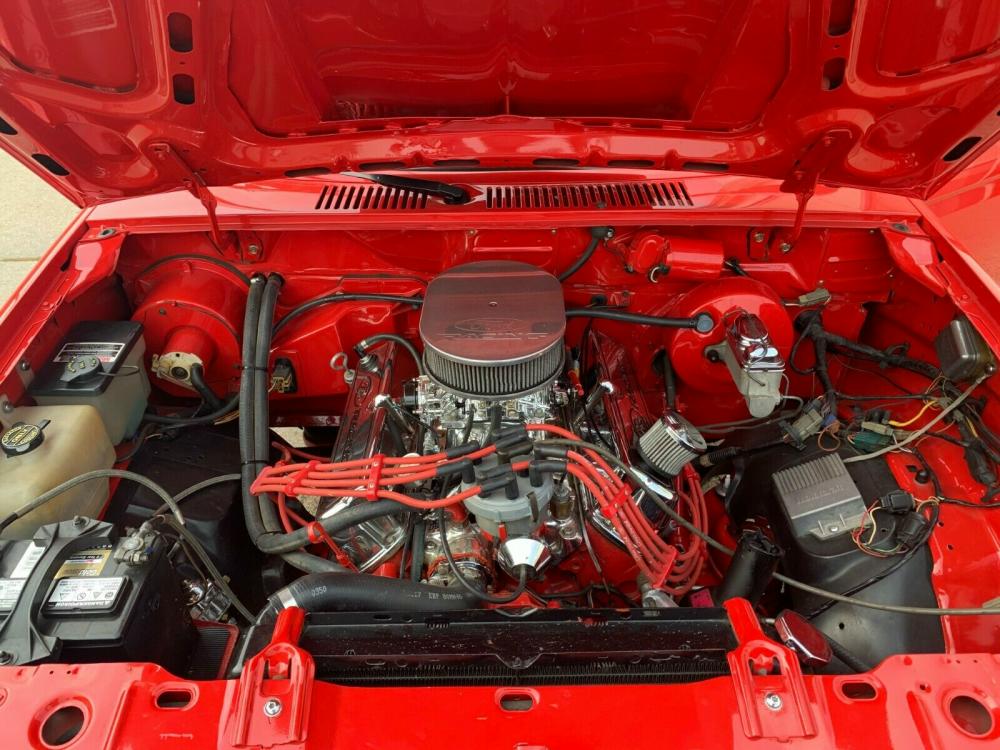
A 2800 stall convertor sends the power to a C4 automatic transmission. Power is transferred to a Ford 9-inch positraction rear axle with 4:10 gears.
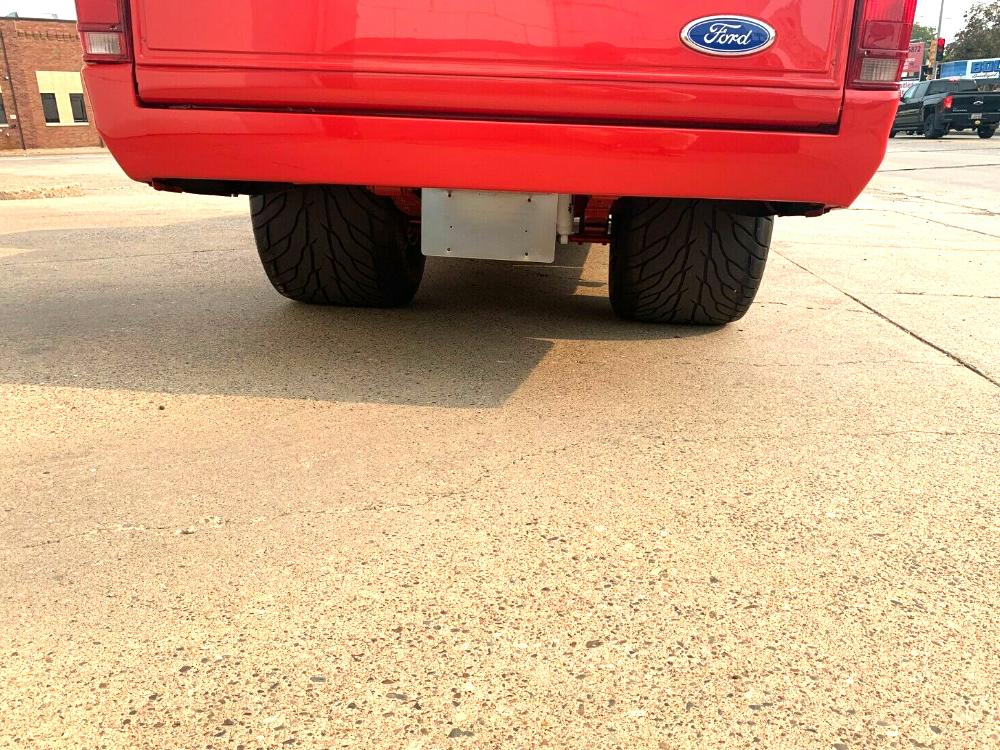
The Ranger rides on 18.50×31 Mickey Thompson rear tires and Centerline wheels.
If you noticed that the cab seems shorter it’s because it’s been chopped 3-1/2 inches. Even the suspension was lowered to give it a mean stance.


About The Author
Jim Oaks is the founder of TheRangerStation.com, the longest-running Ford Ranger resource online since 1999. With over 25 years of hands-on experience building and modifying Ford Rangers — including magazine-featured builds like Project Transformer — Jim has become one of the most trusted authorities in the Ford Ranger off-road and enthusiast space.
Since launching TheRangerStation.com, Jim has documented thousands of real-world Ranger builds, technical repairs, drivetrain swaps, suspension modifications, and off-road adventures contributed by owners worldwide. TheRangerStation.com has been referenced in print, video and online by enthusiasts, mechanics, and off-road builders looking for practical, and experience-based information.