
chrwilkins30
New Member
- Joined
- Jul 8, 2010
- Messages
- 1,720
- Reaction score
- 6
- Points
- 0
- Location
- Mishawaka, Indiana
- Vehicle Year
- 1988
- Make / Model
- Ford
- Engine Size
- 2.9
- Transmission
- Manual
Original Poster: Chrwilkins30
Difficulty: 4 out of 10
Time to install: 1Hour to 3Hours
Disclaimer: The Ranger Station.com, The Ranger Station.com Staff, nor the original poster are responsible for you doing this modification to your vehicle. By doing this modification and following this how-to you, the installer, take full responsibility if anything is damaged or messed up. If you have questions, feel free to PM the original poster or ask in the appropriate section of The Ranger Station.com forums.
Brief Explanation: This modification is intended to get rid of power windows in Gen1 B2 and Rangers for manual windows
Background: Ever since ive owned the b2 the passenger window would never go down. I swapped different motors and still could'nt get it to work which made me believe and electrical problems. So instead i went to the JY and gathered everything for a manual conversion.
Tools Needed:
-1/4in long socket
-t20 torx bit
-7/16 socket and wrench
-5/16 wrench and socket
-1/2 and 1/4 rachet
-hammer
-phillips and flat head screw driver
grinder or drill (which ever you prefer)
Parts Needed:Grab some extras
-Manual window parts/ door panels
-1/4x 3/4 (10)
-1/4x1 (4)
-1/4in washers (20)
Step 1
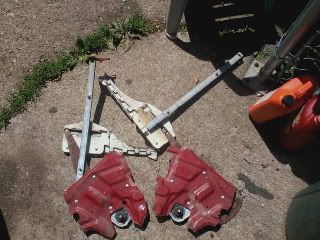
Go to the JY and get all the parts needed for the swap
Step 2
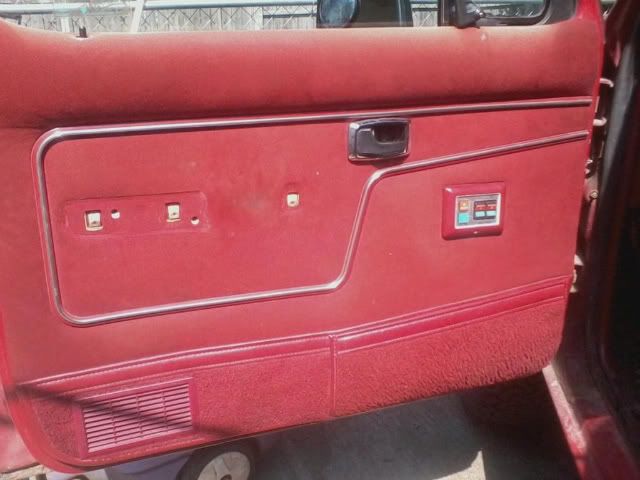
Open your door and use a 1/4 long socket and remove the handle

Step 3
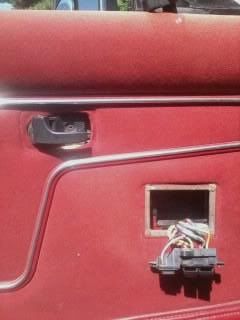
Use a phillips screwdriver and remove the power unit and the screw holding the cover on. then remove the opener.
Step 4
now put the window all the way down and pull the weather strip and remove the 2 phillips screw
Step 5
Remove the other bolt with a 7/16 socket, pull the weather strip back and pull the wing window out.
Step 6
Next remove the weather strip where the window slids threw.

Step 7
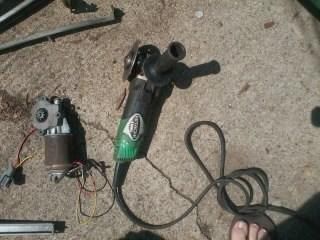
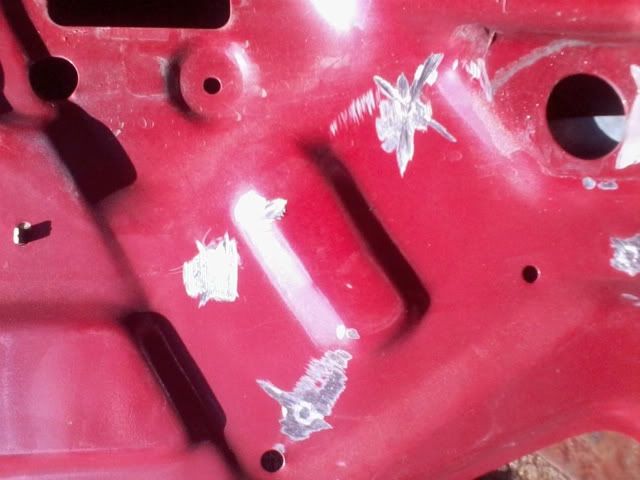
Next is the fun part. grab the grinder or drill and take out the rivets holding the window to the bracket. With the grinder get the head off and use a screwdriver and hammer and knock them through.
Step 8
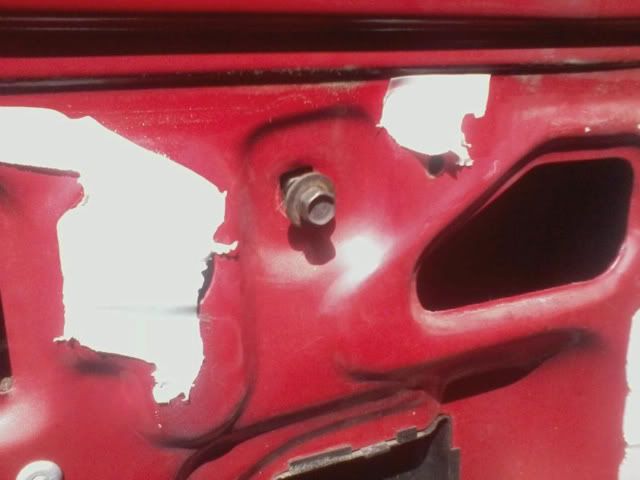
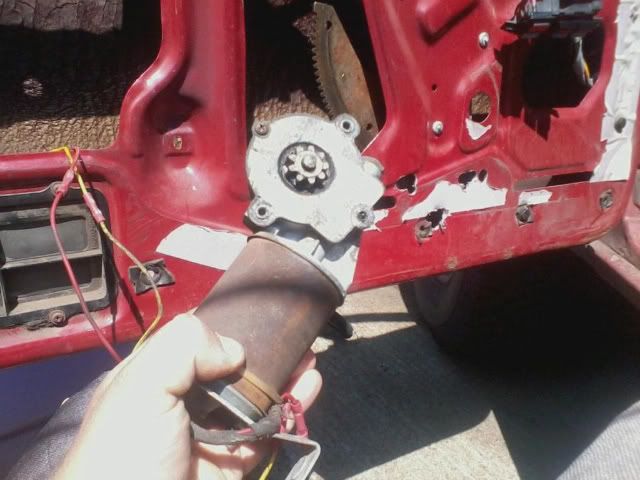
Now grab a 5/16 wrench and remove the window motor at the bottom of the door. this is a very tight fit but will work. or do what I did and drill metal in front of the bolts and use a socket.
Step 9
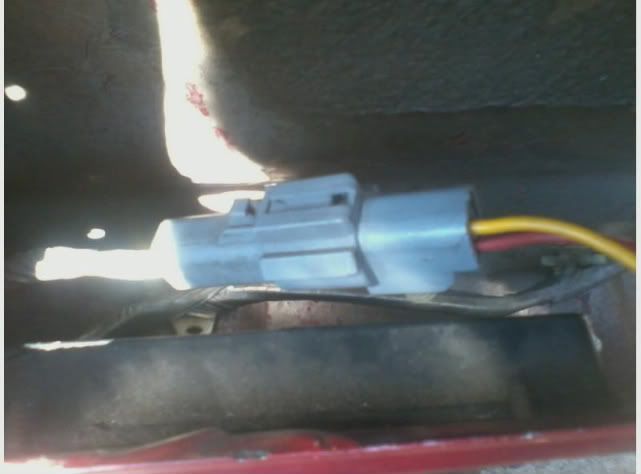
Now remove the electrical connection.
Step 10
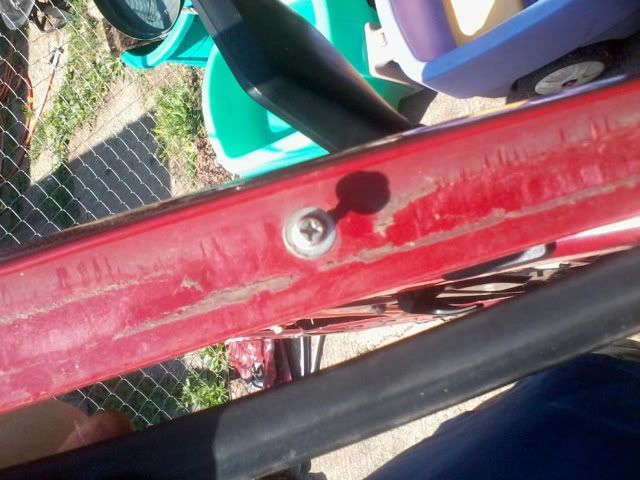
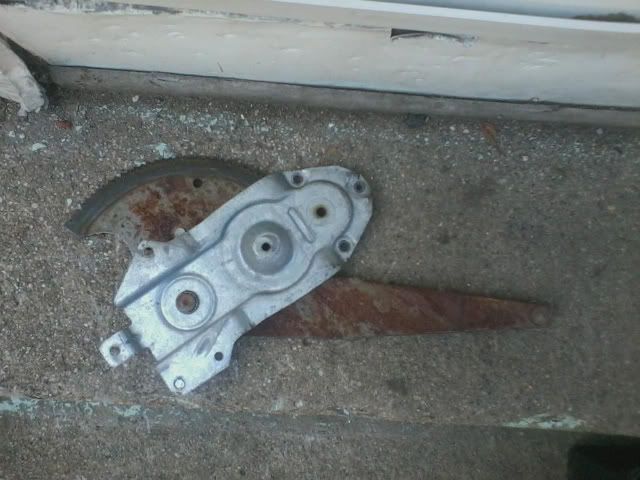
now remove the rivets holding the arm to the door.there is 3
Step 11
Pull the entire arm out as a unit.
Step 12
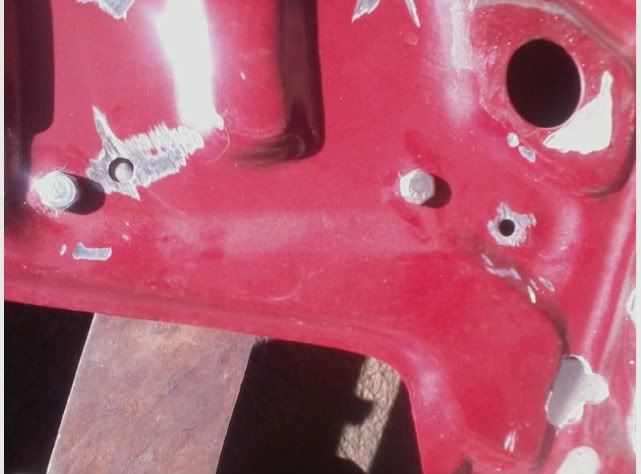
Put the new arm in using the 4x3/4
Step 13
put the allignment bar and window mount back in/

Step 14
using a 1/4x1 bolt the window in but make sure to use the circle spacers that where on the previously

Step 15
Put the panel then the handles and knob

Now enjoy your working windows and do the otherside
Difficulty: 4 out of 10
Time to install: 1Hour to 3Hours
Disclaimer: The Ranger Station.com, The Ranger Station.com Staff, nor the original poster are responsible for you doing this modification to your vehicle. By doing this modification and following this how-to you, the installer, take full responsibility if anything is damaged or messed up. If you have questions, feel free to PM the original poster or ask in the appropriate section of The Ranger Station.com forums.
Brief Explanation: This modification is intended to get rid of power windows in Gen1 B2 and Rangers for manual windows
Background: Ever since ive owned the b2 the passenger window would never go down. I swapped different motors and still could'nt get it to work which made me believe and electrical problems. So instead i went to the JY and gathered everything for a manual conversion.
Tools Needed:
-1/4in long socket
-t20 torx bit
-7/16 socket and wrench
-5/16 wrench and socket
-1/2 and 1/4 rachet
-hammer
-phillips and flat head screw driver
grinder or drill (which ever you prefer)
Parts Needed:Grab some extras
-Manual window parts/ door panels
-1/4x 3/4 (10)
-1/4x1 (4)
-1/4in washers (20)
Step 1
Go to the JY and get all the parts needed for the swap
Step 2
Open your door and use a 1/4 long socket and remove the handle
Step 3
Use a phillips screwdriver and remove the power unit and the screw holding the cover on. then remove the opener.
Step 4
now put the window all the way down and pull the weather strip and remove the 2 phillips screw
Step 5
Remove the other bolt with a 7/16 socket, pull the weather strip back and pull the wing window out.
Step 6
Next remove the weather strip where the window slids threw.
Step 7
Next is the fun part. grab the grinder or drill and take out the rivets holding the window to the bracket. With the grinder get the head off and use a screwdriver and hammer and knock them through.
Step 8
Now grab a 5/16 wrench and remove the window motor at the bottom of the door. this is a very tight fit but will work. or do what I did and drill metal in front of the bolts and use a socket.
Step 9
Now remove the electrical connection.
Step 10
now remove the rivets holding the arm to the door.there is 3
Step 11
Pull the entire arm out as a unit.
Step 12
Put the new arm in using the 4x3/4
Step 13
put the allignment bar and window mount back in/
Step 14
using a 1/4x1 bolt the window in but make sure to use the circle spacers that where on the previously
Step 15
Put the panel then the handles and knob
Now enjoy your working windows and do the otherside
Last edited:


