Shoeboy
New Member
- Joined
- Aug 6, 2007
- Messages
- 738
- Reaction score
- 3
- Points
- 0
- Age
- 36
- Location
- Calgary, Canada
- Vehicle Year
- 2001
- Make / Model
- Chrysler
- Engine Size
- 2.4L
- Transmission
- Manual
Original Poster:Shoeboy
Difficulty: 1-3 out of 10
Time to repair: Roughly 2 hours
Disclaimer: The Ranger Station.com, The Ranger Station.com Staff, nor the original poster are responsible for you doing this modification to your vehicle. By doing this modification and following this how-to you, the installer, take full responsibility if anything is damaged or messed up. If you have questions, feel free to PM the original poster or ask in the appropriate section of The Ranger Station.com forums.
Brief Explanation:
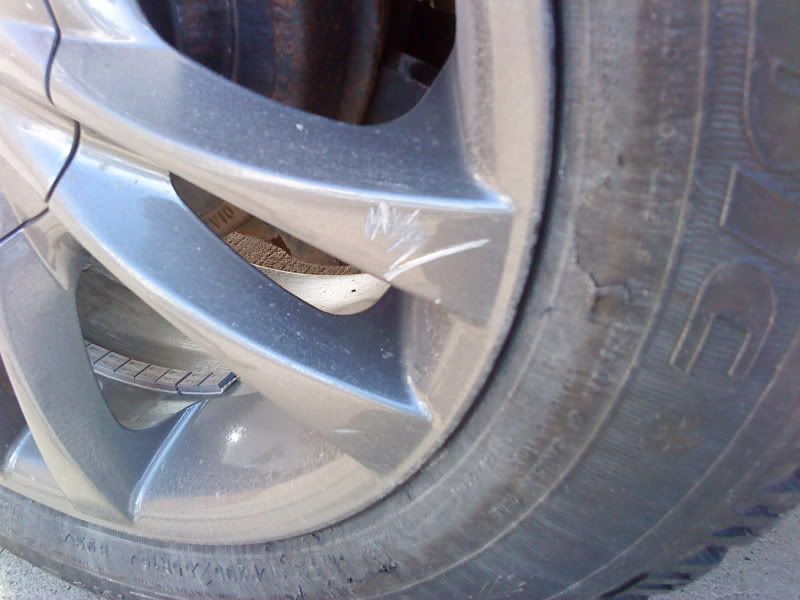
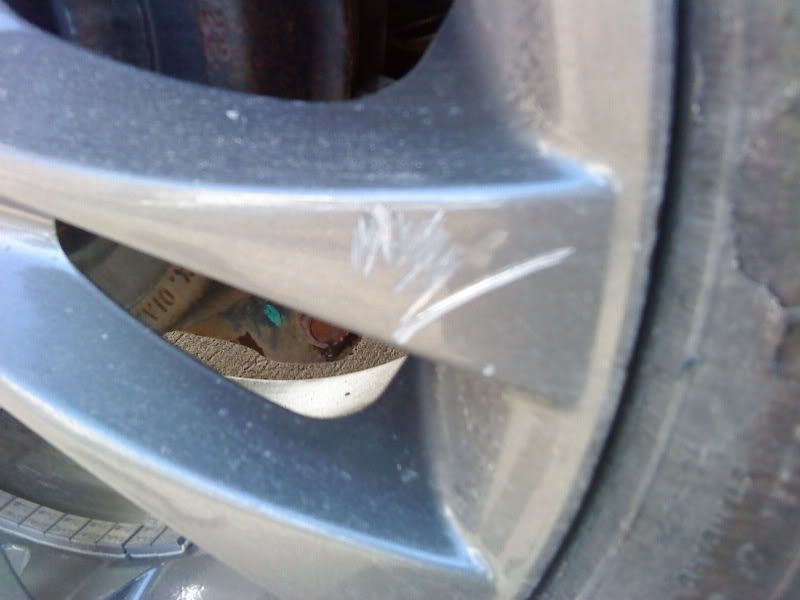
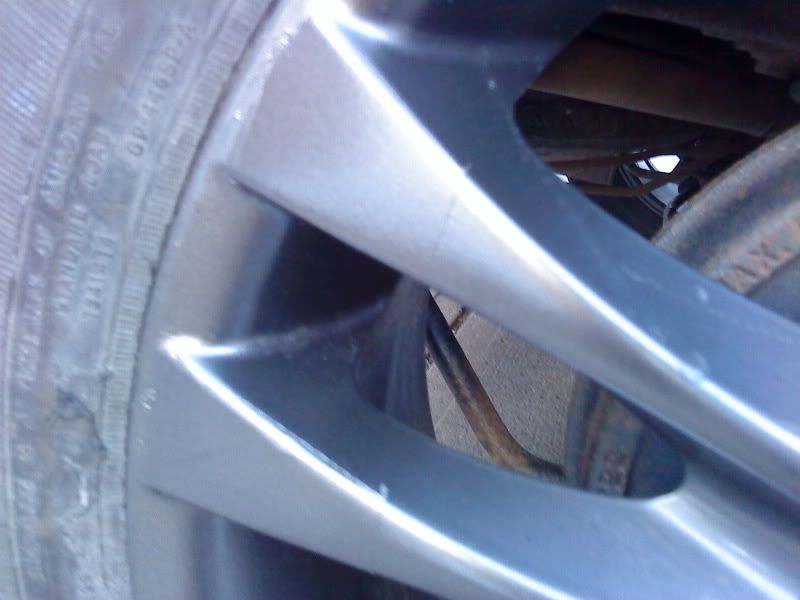
Four days after I bought a set of new rims to replace a set of damaged rims, I was parking and I got a little to close to a curb. I managed to scuff the spokes of the rim and make a brand new set of rims look old and ugly. I wasn't going to let the rim beat me, and I wasn't going to pay $100+ for a rim shop to repair it for me or buy a new rim. I decided since it was already ugly and damaged, I couldn't make it any worse. This is an easy and way to repair a painted aluminum rim.
This is what I had to start with.
Tools Needed:
-News Paper
-Masking tape (2" or wider works best)
Parts Needed:
-Color matched spray paint
Steps:
1.
Sand the area down with a coarse sandpaper or emery paper depending on how bad the damage is, mine wasn't to bad, so I used a 400 grit sandpaper, and then an 800 grit sandpaper, and then 1000 grit sandpaper. I was wet sanding and drying between each sand to see how much I had to go. Sand the area surrounding the damaged section too, it makes for a nicer surface to work with later on.

2.
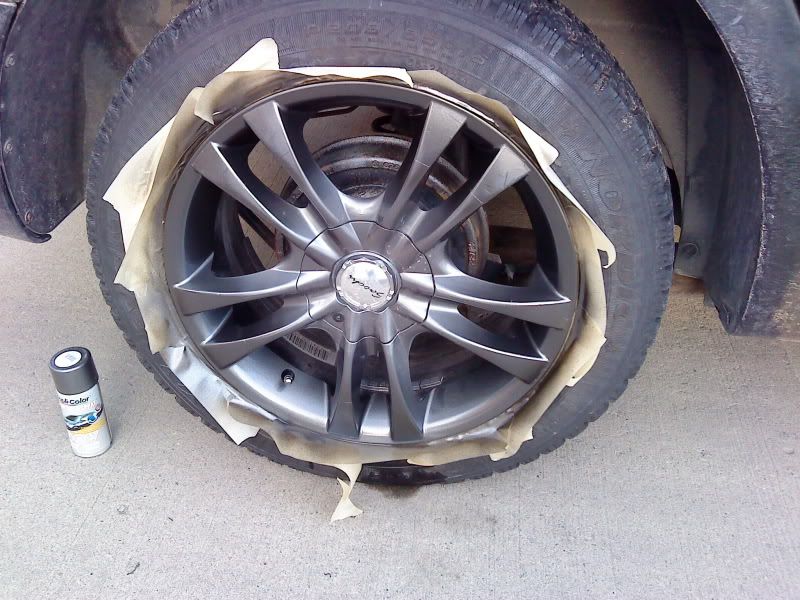
Tape off anything you do not want painted, this includes the tire. I used 2" wide masking tape and had good luck with that.
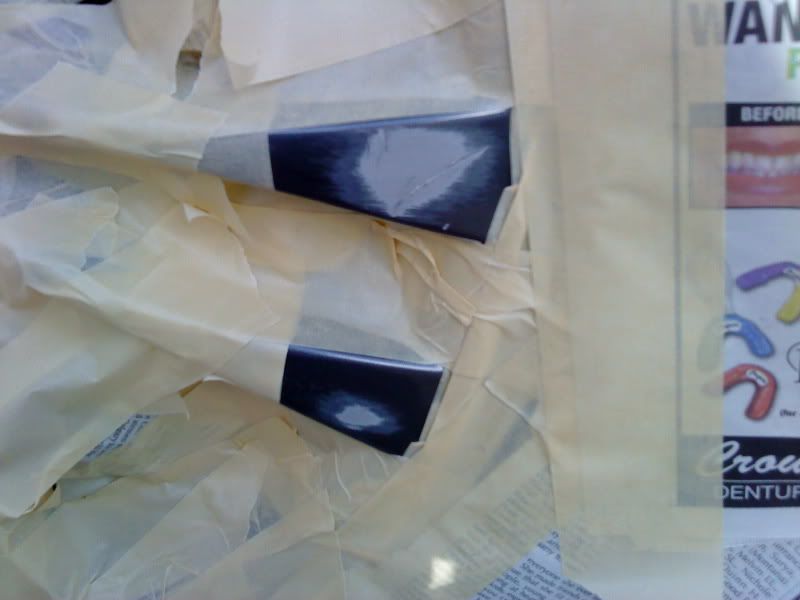
I missed getting a picture for a few steps so I will explain this in the simplest terms as possible.
3.
After you have everything taped off that is not to be painted and depending on how bad the damage is, use a putty filler (like Bondo) if the damage is deep, if the damage is not deep, but its not flat to the rim, use an etching primer and keep on laying coats down until the scratch is filled, letting the paint dry in between, if the damaged area is flat, with no scratches, lay a coat or two of regular primer down for a nice base coat.
4.
After the primer is dry and you are happy with the new surface then grab your can of spray paint, I used duplicolor automotive paint. Spray the areas that are primed with thin misty coats, and let dry between coats, continue to do so until the primer areas have a nice solid coat of paint on.
5.
After you have the nice solid coats down remove the tape, I had a some of the primer seep under the tape, so I had a thing gray line around the freshly painted area.
NOTE :
When I was absolutely sure the freshly painted area was dry, I took some fine (1000 grit) sand paper and went around the edges to get rid of the primer, but make sure you do not go threw the paint on the rim, or the paint on the fresh part. Also, no photo was taken of this step.
6.
When you are happy with the sanding job, with all the tape removed, there is only 1 of 2 things left.
6. 1. if the paint is an exact match to the color on the rim, follow this step
tape off the area of the tire about 1/4 of the way around the tire, with the spray can, spray a light mist around and on the area that was repaired, this will blend the paint nicely, use light coats, just like before, and continue to do so until the sanded edges of the repaired area are gone, or until desired.
6. 2. If the paint in a near match to the color of the rim, but there is a noticeable difference in color, follow this step
Tape the entire area around the rim on the tire. With the paint, start at the outside edge of the rim and do a light mist around the entire rim and let dry between coats. Continue to do this until the damaged area is covered and blended in with the rest of the rim. When you are about half way threw this process, make sure you roll the vehicle forwards so the tire is 180* from the original position. Do this so the under sides of the spokes or crevasses are blended in from both sides, this will make for a cleaner blending job.
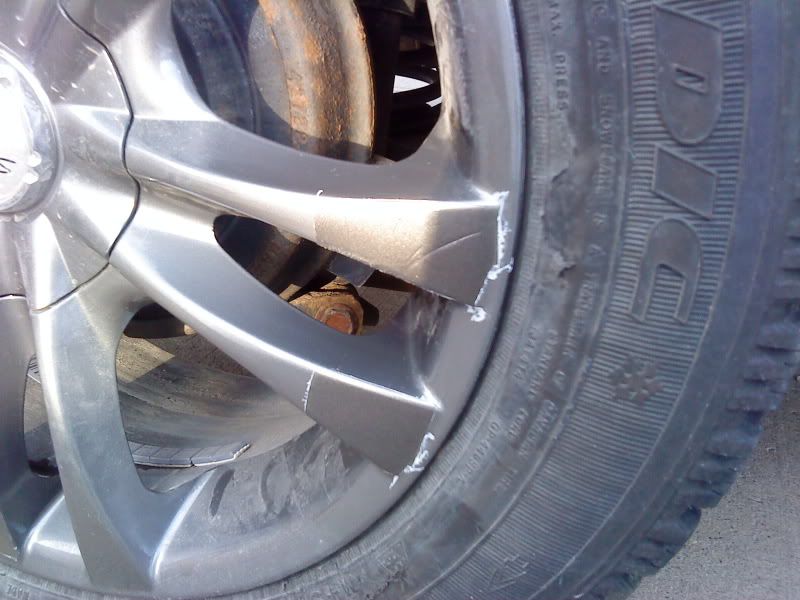
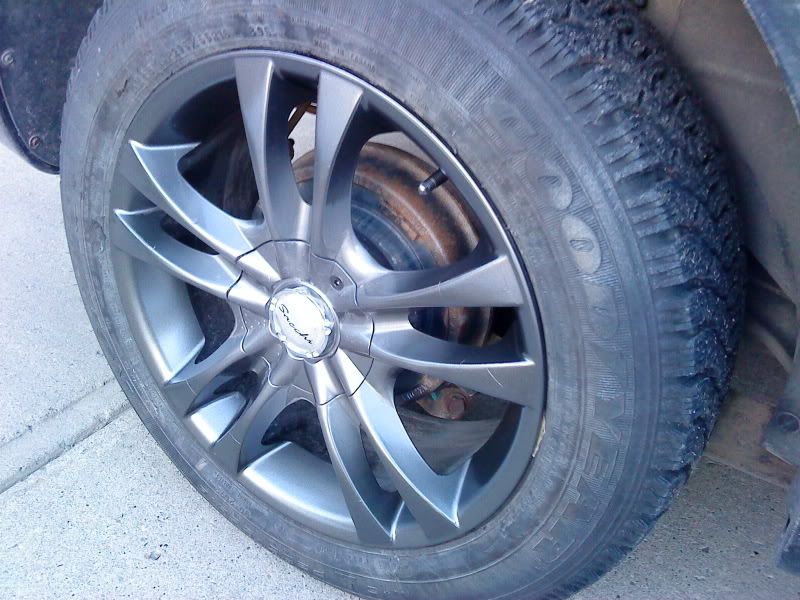
And here is what I ended up with, after about 2 hours of easy work, and most of the time I was letting paint dry.
I went from this
To this
Difficulty: 1-3 out of 10
Time to repair: Roughly 2 hours
Disclaimer: The Ranger Station.com, The Ranger Station.com Staff, nor the original poster are responsible for you doing this modification to your vehicle. By doing this modification and following this how-to you, the installer, take full responsibility if anything is damaged or messed up. If you have questions, feel free to PM the original poster or ask in the appropriate section of The Ranger Station.com forums.
Brief Explanation:
Four days after I bought a set of new rims to replace a set of damaged rims, I was parking and I got a little to close to a curb. I managed to scuff the spokes of the rim and make a brand new set of rims look old and ugly. I wasn't going to let the rim beat me, and I wasn't going to pay $100+ for a rim shop to repair it for me or buy a new rim. I decided since it was already ugly and damaged, I couldn't make it any worse. This is an easy and way to repair a painted aluminum rim.
This is what I had to start with.
Tools Needed:
-News Paper
-Masking tape (2" or wider works best)
Parts Needed:
-Color matched spray paint
Steps:
1.
Sand the area down with a coarse sandpaper or emery paper depending on how bad the damage is, mine wasn't to bad, so I used a 400 grit sandpaper, and then an 800 grit sandpaper, and then 1000 grit sandpaper. I was wet sanding and drying between each sand to see how much I had to go. Sand the area surrounding the damaged section too, it makes for a nicer surface to work with later on.
2.
Tape off anything you do not want painted, this includes the tire. I used 2" wide masking tape and had good luck with that.
I missed getting a picture for a few steps so I will explain this in the simplest terms as possible.
3.
After you have everything taped off that is not to be painted and depending on how bad the damage is, use a putty filler (like Bondo) if the damage is deep, if the damage is not deep, but its not flat to the rim, use an etching primer and keep on laying coats down until the scratch is filled, letting the paint dry in between, if the damaged area is flat, with no scratches, lay a coat or two of regular primer down for a nice base coat.
4.
After the primer is dry and you are happy with the new surface then grab your can of spray paint, I used duplicolor automotive paint. Spray the areas that are primed with thin misty coats, and let dry between coats, continue to do so until the primer areas have a nice solid coat of paint on.
5.
After you have the nice solid coats down remove the tape, I had a some of the primer seep under the tape, so I had a thing gray line around the freshly painted area.
NOTE :
When I was absolutely sure the freshly painted area was dry, I took some fine (1000 grit) sand paper and went around the edges to get rid of the primer, but make sure you do not go threw the paint on the rim, or the paint on the fresh part. Also, no photo was taken of this step.
6.
When you are happy with the sanding job, with all the tape removed, there is only 1 of 2 things left.
6. 1. if the paint is an exact match to the color on the rim, follow this step
tape off the area of the tire about 1/4 of the way around the tire, with the spray can, spray a light mist around and on the area that was repaired, this will blend the paint nicely, use light coats, just like before, and continue to do so until the sanded edges of the repaired area are gone, or until desired.
6. 2. If the paint in a near match to the color of the rim, but there is a noticeable difference in color, follow this step
Tape the entire area around the rim on the tire. With the paint, start at the outside edge of the rim and do a light mist around the entire rim and let dry between coats. Continue to do this until the damaged area is covered and blended in with the rest of the rim. When you are about half way threw this process, make sure you roll the vehicle forwards so the tire is 180* from the original position. Do this so the under sides of the spokes or crevasses are blended in from both sides, this will make for a cleaner blending job.
And here is what I ended up with, after about 2 hours of easy work, and most of the time I was letting paint dry.
I went from this
To this
Last edited by a moderator: