Why not? If you get the PROPER advice and have ALL the proper parts there is nothing to the job that is any more difficult than you should be able to accomplish on a friday night and the following saturday.
Yea, I guess if you put it that way, then it wouldn't be too bad at all. It's when you're in the middle of it though and a bolt breaks off and you have to extract it then, or if something breaks that was critical, or you find out you need a part and the parts store is closed, that's when it can run out. But that's with any project, not just doing a trans. swap.
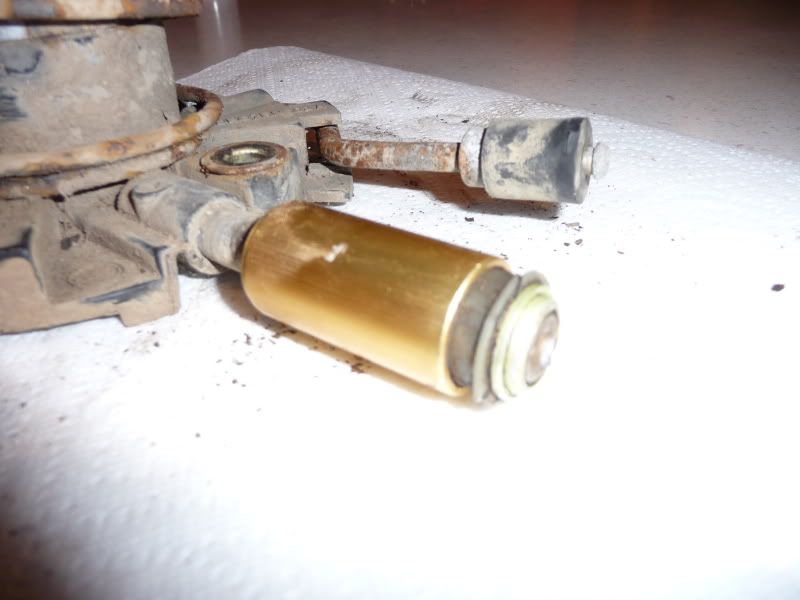
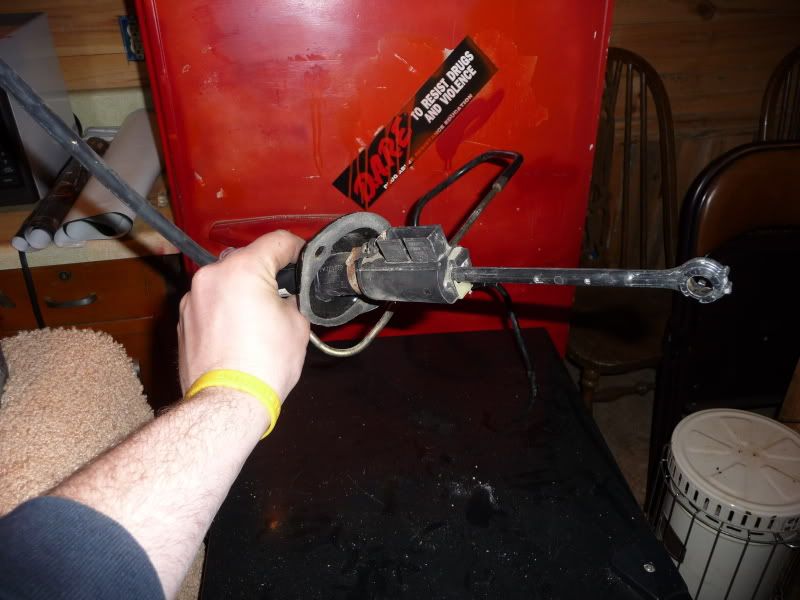
So this may seem like a stupid question, but I sorta cleaned up the slave and was lookin it over tryin' to determine if I should replace it or not and was trying to figure out how to remove the hydraulic line from it. The service manual says that the line is connected with a quick disconnect fitting. Here's a pic of the slave cylinder and the fitting I am talking about.
As you can see, when we removed the transmission, it broke the line off. Do I even have to remove this hydraulic line if I am planning on replacing the slave cylinder or does the new one come with a line already attatched?
As you can see, I finally took some pictures, and since I'm doing all of this and figuring out a lot of it as I go along as I'm sure many of you would on here, I figure if it turns out good, and is accurate, I will submit it for the tech. library.
Here are the pics so everyone knows what parts they will need to do this swap. These parts should be pretty standard throughout the years for the Rangers. There may be a few minor differences but overall, this should give you a good idea of pretty much what you will need. Hopefully this helps people identify parts, because it does someone no good if they are looking for a part that they may have never seen before in their life and/or have no idea what it does...so I hope these pics and minor descriptions help. And as I said before, I am still learning as well, so feel free to PM me with any suggestions, corrections or additions that you may feel help clarify things. This is a very basic dumbed down idiots guide if you will. I'm just trying to keep things very, very simple.
We'll start with all of the stuff behind the engine involving the transmission, then move on to the odds and ends in the cab and under the hood.
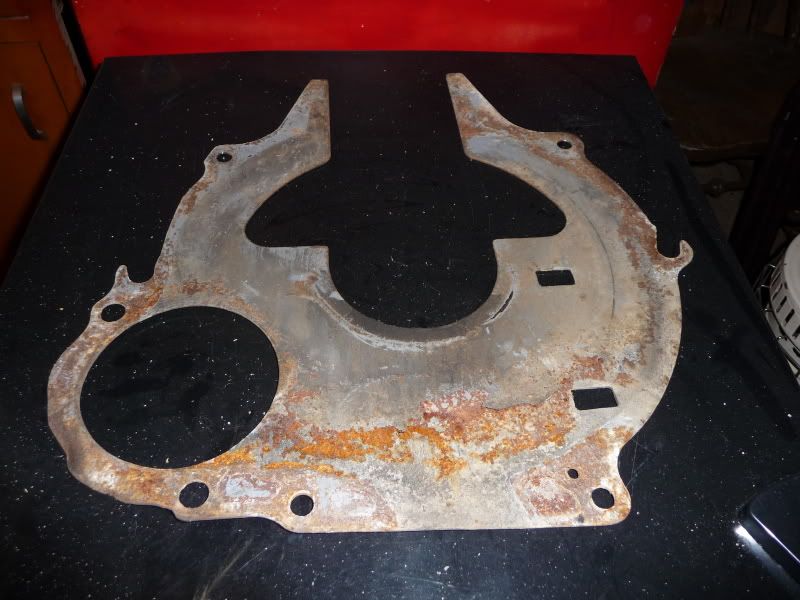
This is the cover plate that fits between the engine and transmission. It is used to keep various debris and a good amount of road grime out of the clutch mechanism to keep things running smoothly.
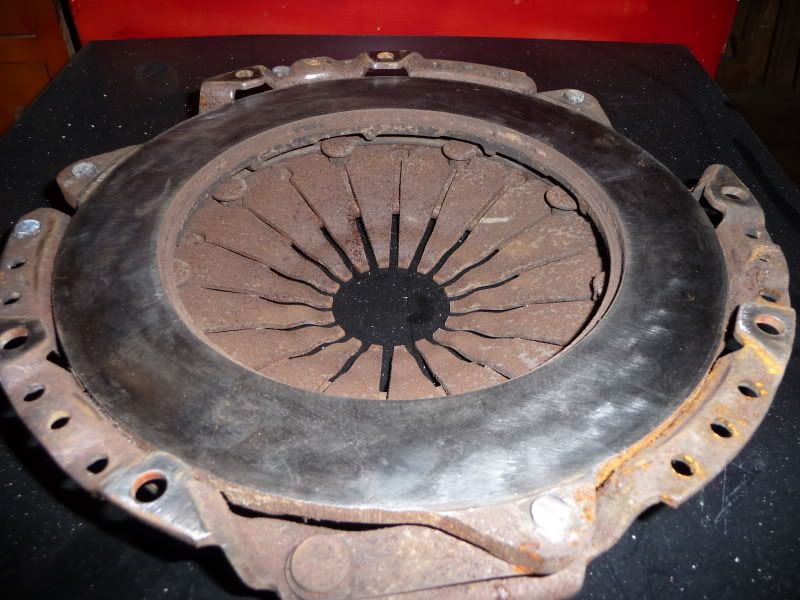
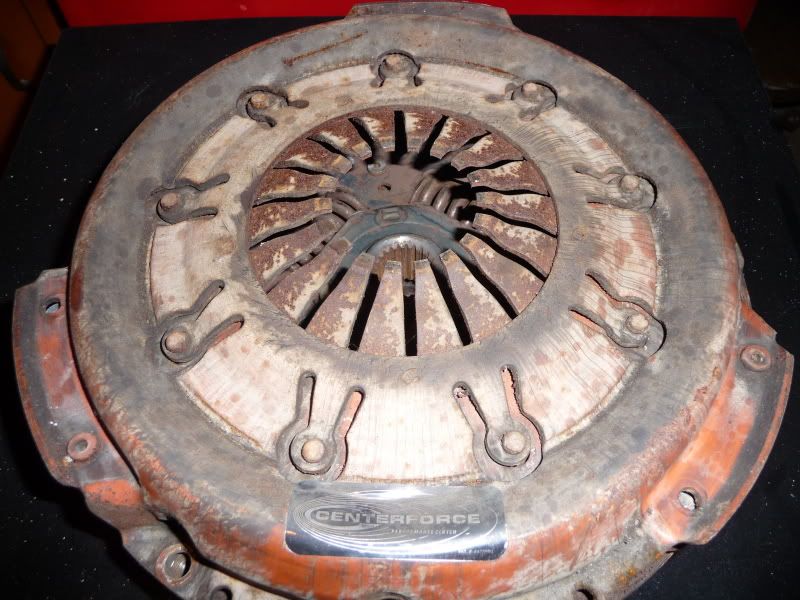
This is the clutch assembly which I have put together in this pic so you can see what it looks like when it's all put together. It is comprised of the very heavy flywheel, the clutch disc, the clutch plate and cover, and finally the pilot bearing. I will break all of this down for you in the next couple pictures, but this is just a shot of what you will see once you break the trans. apart from the back of the engine.
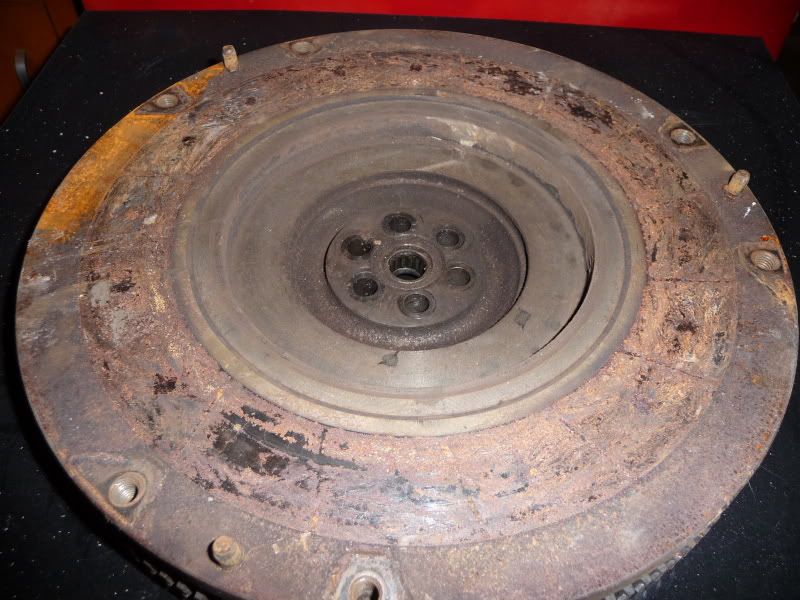
Right behind the engine, we have the flywheel, which if you look, has 6 holes close together around a hole in the center. Those 6 holes are where the flywheel bolts to the back of the engine. Inside of the hole in the center is where the pilot or "throwout" bearing is located. This should always be replaced when you remove the transmission as it is cheap and easy to do. The input shaft from the transmission rides in this splined bearing, allowing the motor to spin, while the transmission can spin at a different speed. It is this piece that does not connect the engine and transmission together as one unit. It is a real pain in the ass to have to pull all of your drivetrain apart, just to replace this one stupid $3.00 part. The teeth around the outside of this are what the starter engages in when you start the truck, and the surface of it is what the clutch disc rides against for engaging and disengaging the transmission. It should be noted that the flywheel I have will be resurfaced before reassembly. This is another thing that should be done every time you have the clutch replaced. Mine definitely has life left in it, but could use a good resurfacing nonetheless.
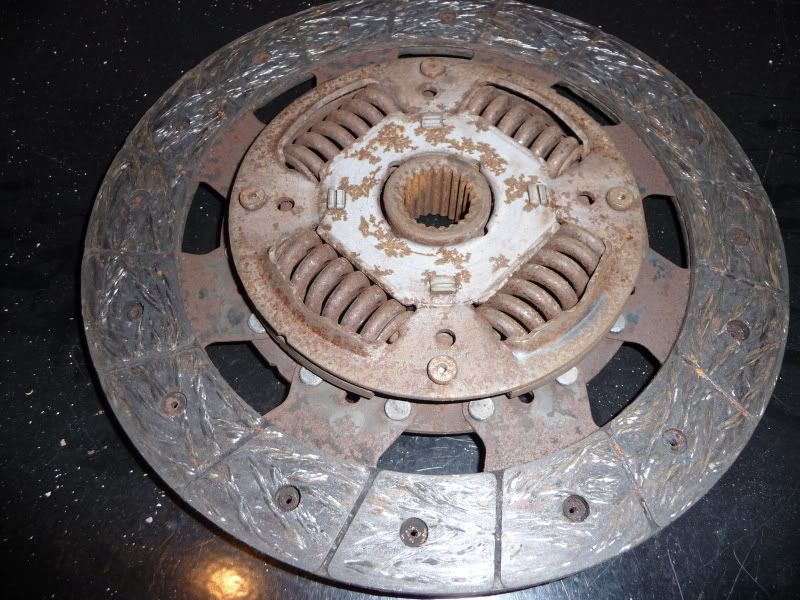
Next, we have the clutch disc which is where all of the heat and friction is generated to hold and release the engine from the transmission. This is another critical thing to check and be aware of when removing a clutch or swapping trannys. If you look at the pic, yes, there is wear, but it is far from being worn down to the wear bar grooves that run across the meshing surface, and it is even further from the bolt heads that are recessed in the clutch meshing surface. This will be fine for more use.
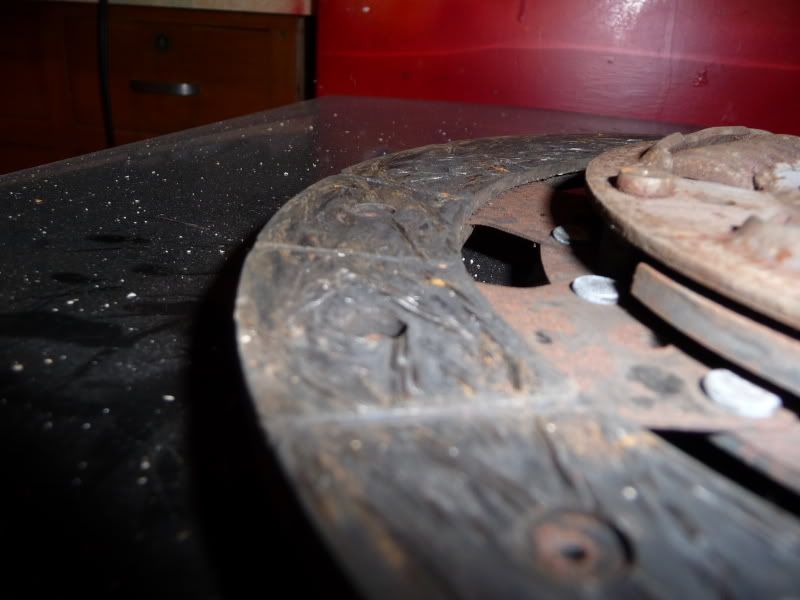
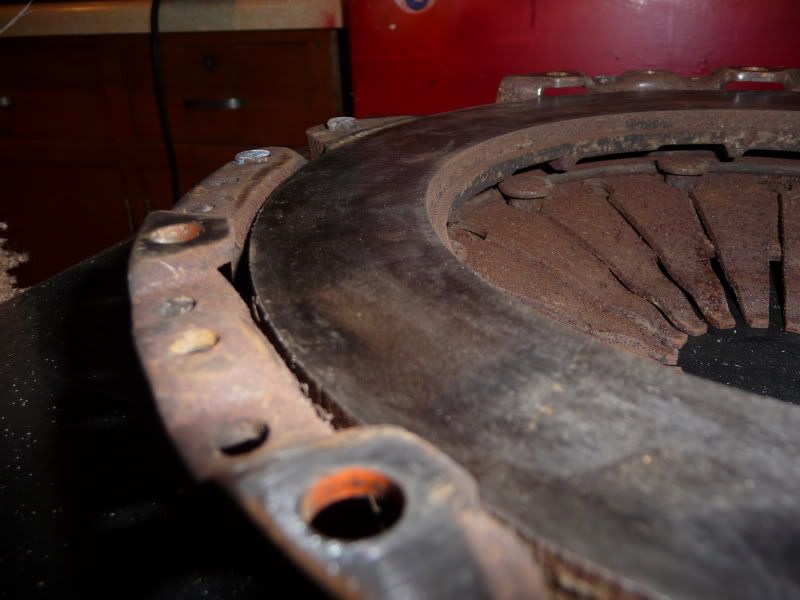
Behind the clutch disc, is the clutch plate and cover. This gives the clutch something to float in between, and allows it to engage and disengage against when engaged or released. As you can see from the pics, I have used an air tool witha polishing wheel on it and cleaned the surface rust and crud off of this part, which still has years of service left in it. If there was a lot of rust pitting, or any major gouges in it, it would not be a good idea to reuse it, but this piece is absolutely fine.
This is what the
slave cylinder looks like. It fits between the clutch assembly and the transmission and bolts to the inside housing of the transmission. It is used to engage and disengage the clutch and is fed by pressurized hydraulic (Brake) fluid. This is an extremely critical part in that it directly engages and locks together the engine and transmission for movement of the vehicle, or disengages the engine and transmission for stopping, etc.
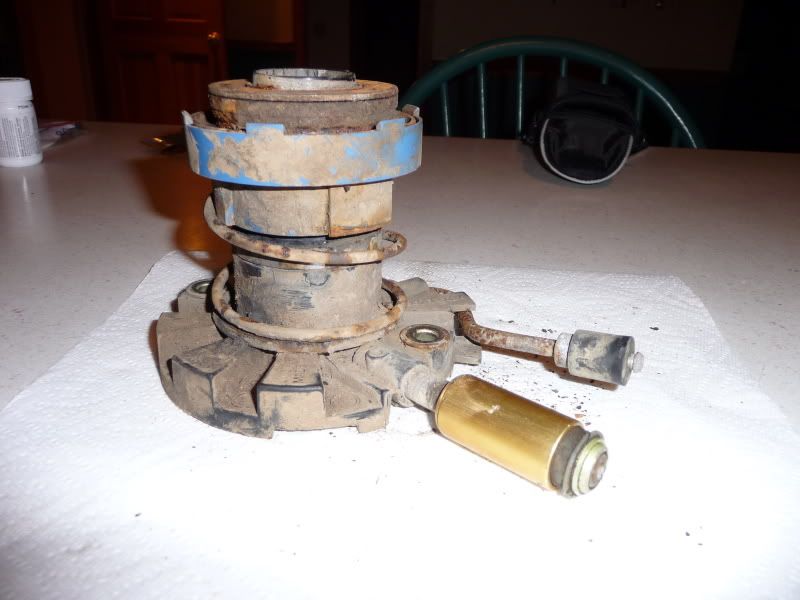
When you push your foot to the floor on the clutch pedal, this slave cylinder collar part presses against the clutch plate and housing, which breaks the friction between the clutch discs and the flywheel and clutch housing. This allows the transmission to be shifted into gear while the car can be sitting still and running without having the drivetrain engaged. By equally letting the clutch out, and giving the truck some gas, you can bring the vehicle up to speed without stalling it and get it moving. Helical cut, synchronized gears in the transmission allow us to shift while the vehicle is in motion and the transmission is turning without having to match RPMs and vehicle speed like some of the older manual transmission equipped vehicles.
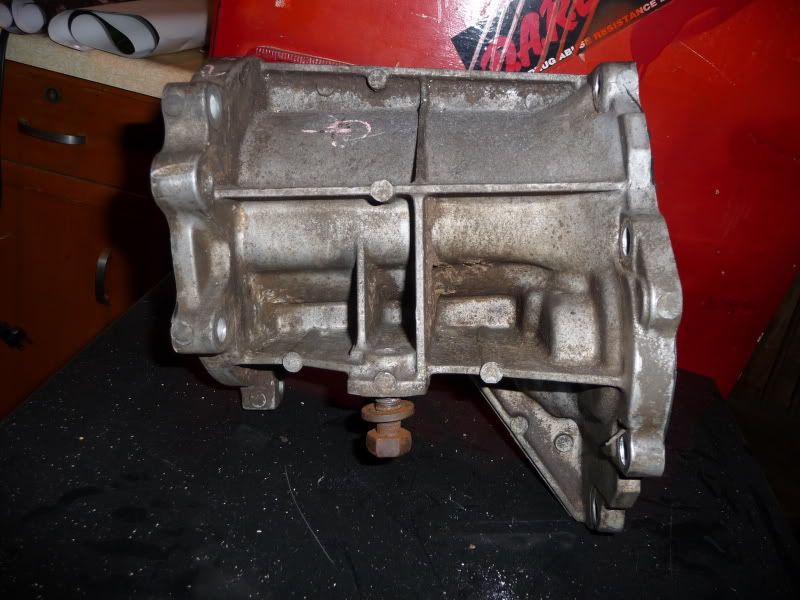
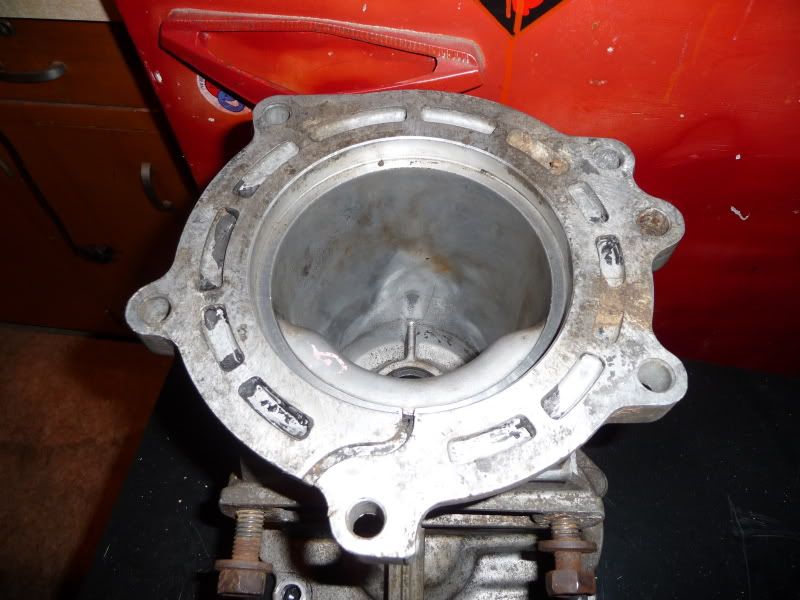
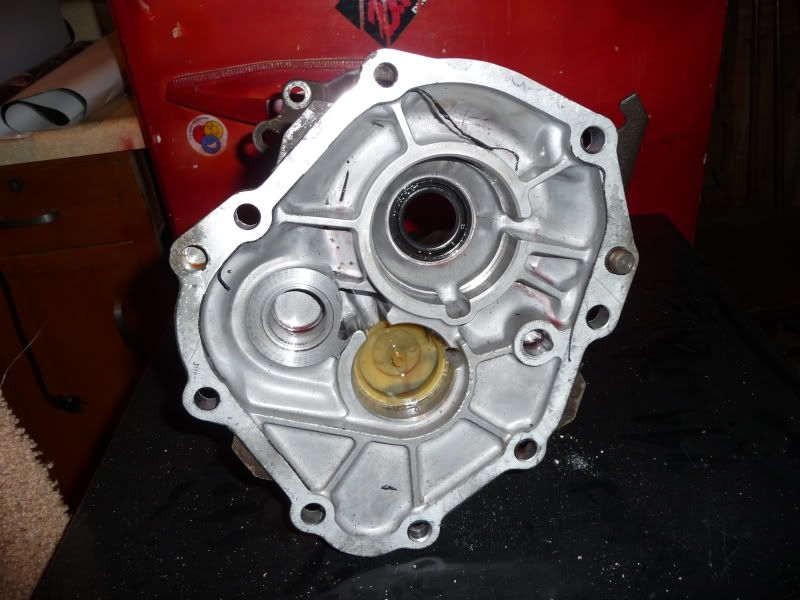
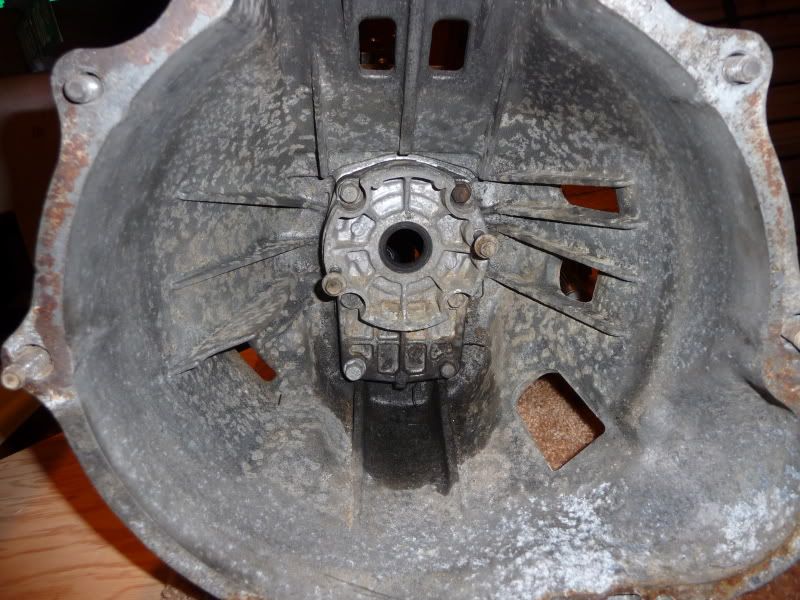
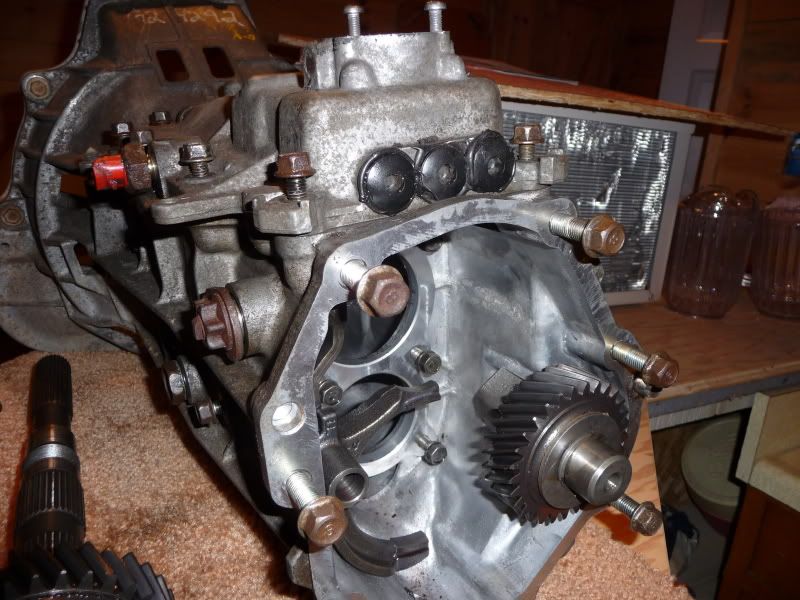
OK, so now that we have gotten down to this point. This is looking at the front of the trans. The slave cylinder bolts up to this part of the transmission and I believe the pump for the trans. fluid is in the very front...but I could be wrong.
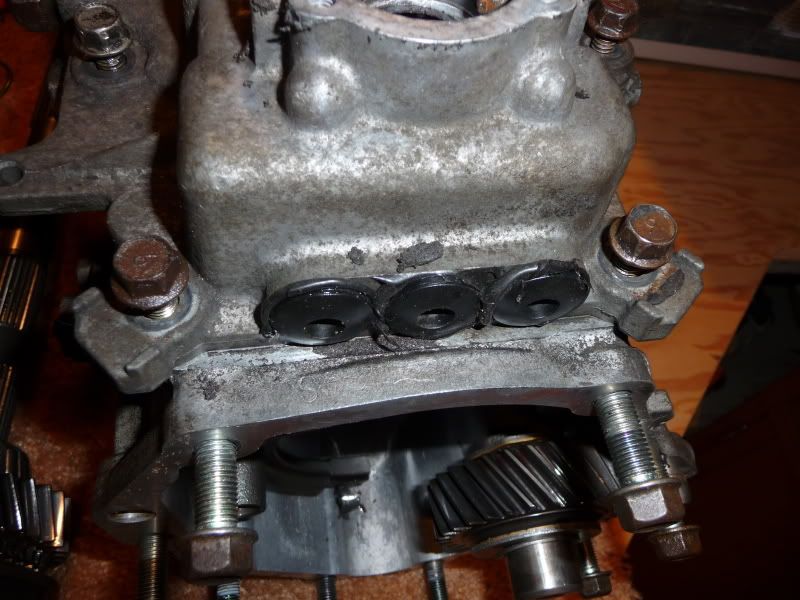
Here are some more pictures of what the case looks like from the outside, along with the gear clusters that will go inside of it. If you notice, it looks like the previous owner tried his own way of fixing the leaky top plugs behind the shifter stalk. It must have worked because there was no leakage or wet spots on the top of trans. when I pulled it at all. You will also notice the picture of the side of the transmission bellhousing type area with the couple slots and holes in it. The top hole is for the bleeder that is attatched to the slave cylinder and the middle is for the hydraulic line attatched to the slave cylinder. The bottom one is an inspection port to make sure your slave cylinder is engaging properly. There is also a pic of the top cover and there are some sensors you will notice on either side that are threaded into the top cover. The red sensor on the drivers side is the backup indicator switch, while the other sensor on the drivers side of the trans. is the neutral safety switch. It is probably not a bad idea to replace both of these when you do the swap/rebuild.
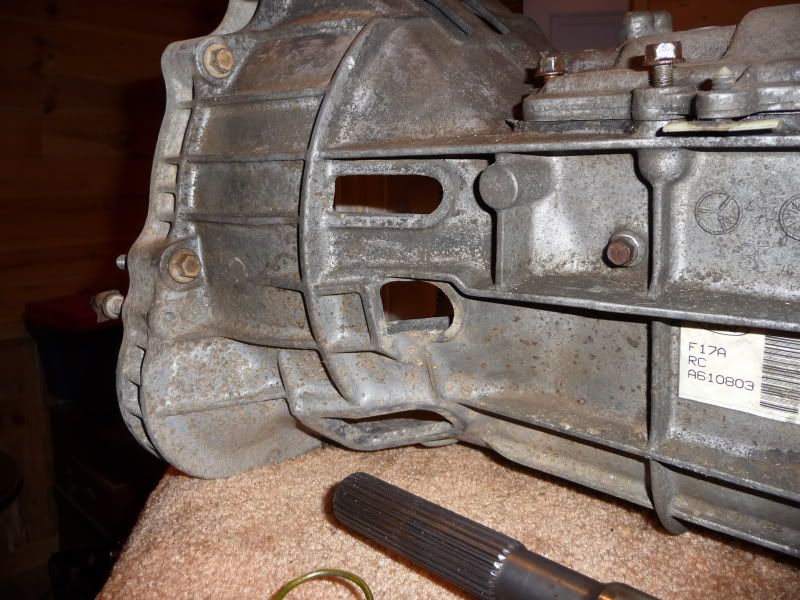


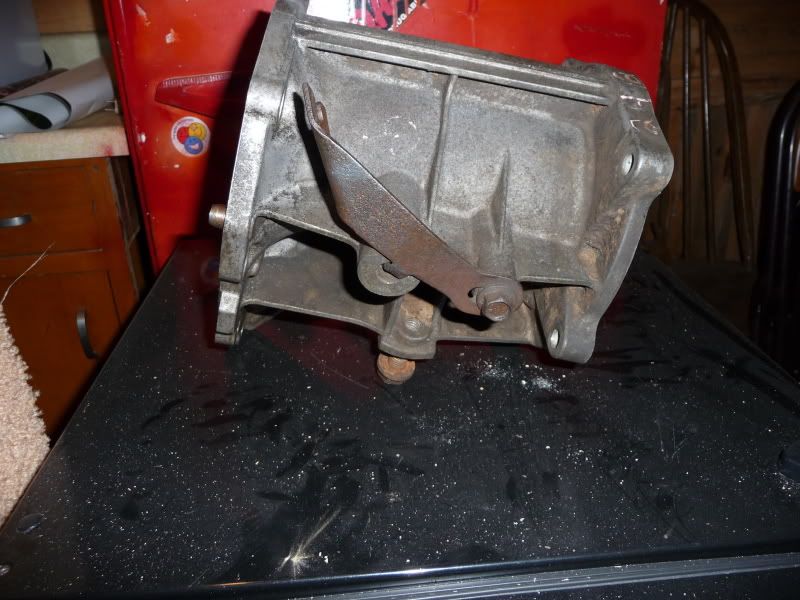
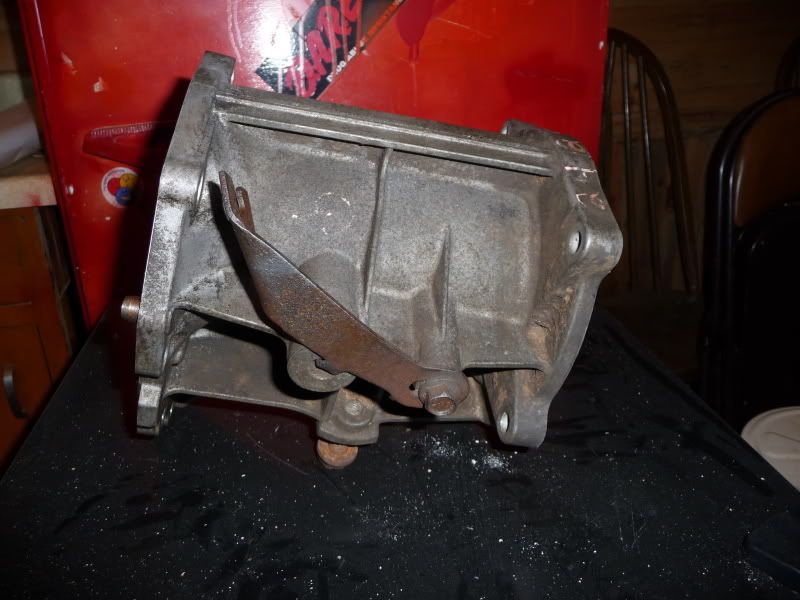
Attatched to the back of the transmission, is the adapter that goes from the transmission to the 4x4 transfer case. I would imagine that if you had this tailhousing section from a 4x4 and tried putting it on a 2wd manual tranny, it may just work. Don't quote me on this though, I could be wrong as I have been in the past. Here are some pictures of this tailhousing section. There are also a couple big bolts that thread into this piece on the bottom that attatch the transmission to the crossmember underneath the truck.
This is the side that mates to the transfer case. It looks like a lot of the other older "circular" Ford transfer case mounting patterns out there for the cases like the Dana 20 and NP205, but I think it is smaller and will not work.
This is the side that is mounted to the back of the trans. Again, I could be wrong, but looking at the exploded parts break down views online here, I think that it may be possible to use a 2wd tail on a trans. originally from a 4x4 truck, or a 4x4 tail, on a trans. originally from a 2wd truck. Not sure tho again....anyone got any honest verifiable info. or experience on this?
Ok, for the most part, that's everything involved with what's attatched to the drivetrain. Now I'll move on to some of the other things you will definitely need to have ready to make this swap work.
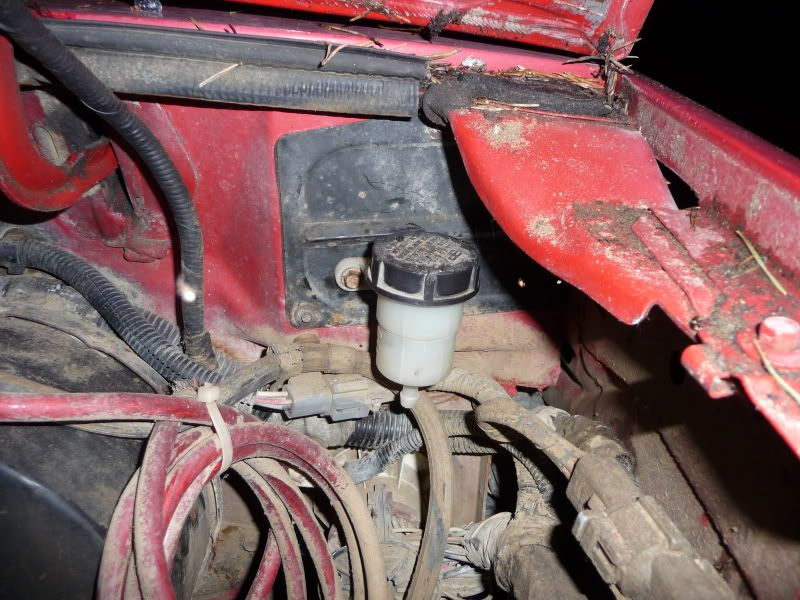
This is the clutch fluid resevoir. Obviously, I already have it attached to the firewall of my truck. It holds the fluid for the hydraulic clutch, and prevents any air from getting in. The holes for it are already in the firewall; all you need to do is bolt it up.
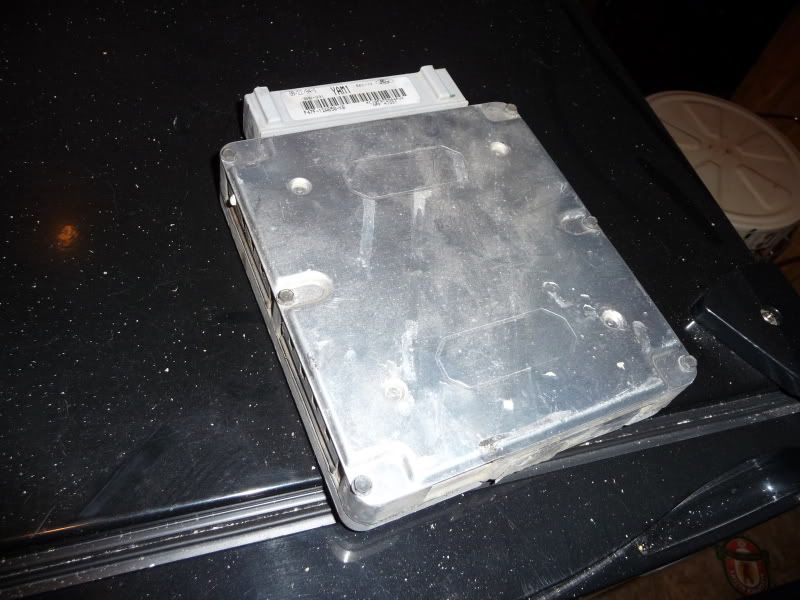
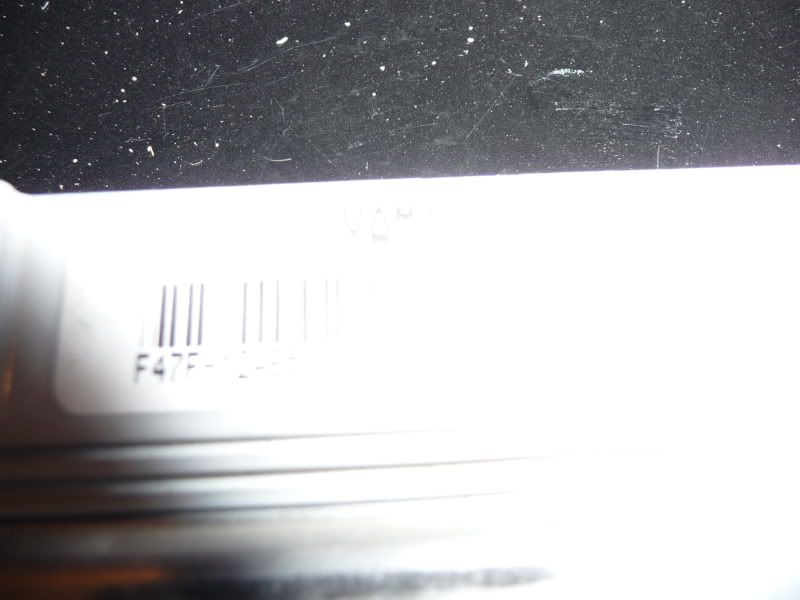
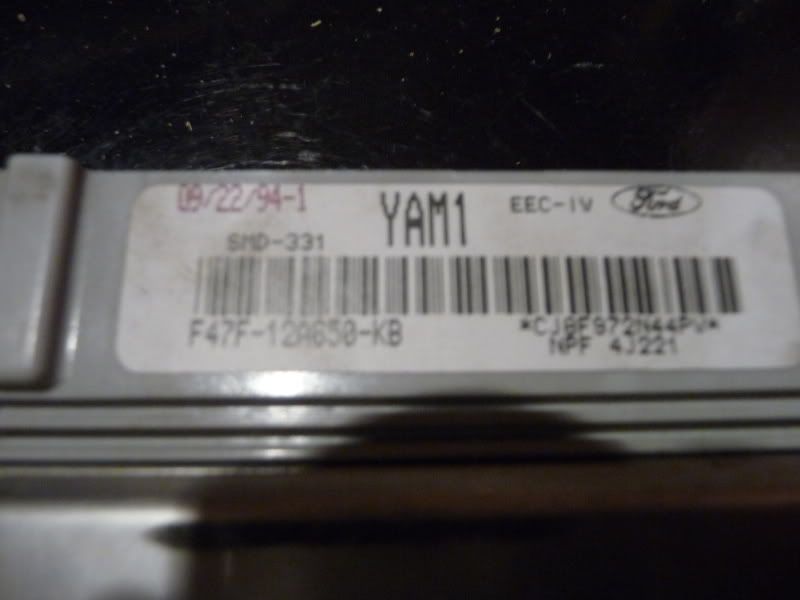
This is the computer that is located underneath the plastic on the passenger side kick panel on the outside wall of the truck under the dash of the truck. Carefully pry the plastic away, and remove your stock computer, and this one plugs right in. You need it because the timing is set different for a manual than an automatic. Does anyone know if there is any other reasons we need to swap computers, or is timing it? I included some closeups of the codes and labeling on the computer FWIW.
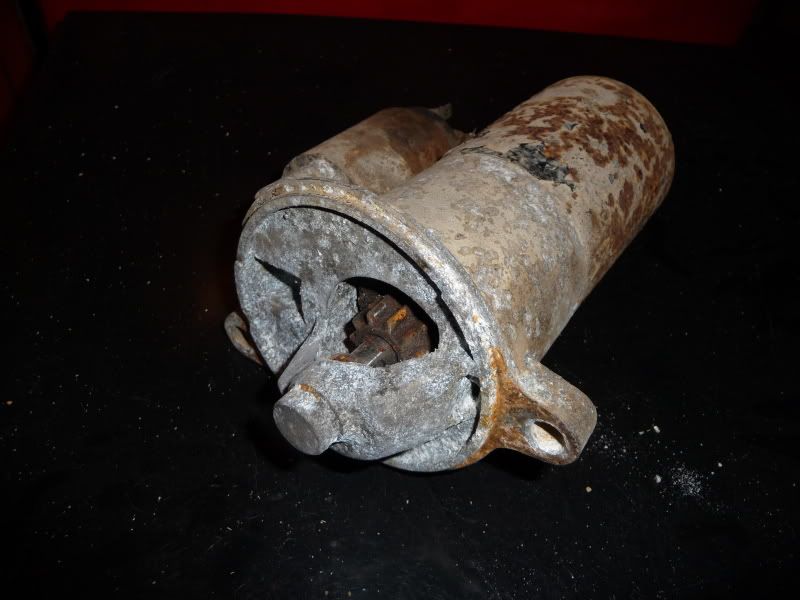
Obviously, this is a starter. And when you swap these trans's around, you need to switch starters. The starter from the 5 spd manual, needs to stay with it when you do the swap. You cannot use the automatic starter anymore. I thought I could get away with using the one off of the donor vehicle that it came off of in the condition it's in. After having a certified starter technician look it over, we decided it best to be rebuilt or replaced due to the accumulated oxidized and rusted parts and grinding noises coming from it. For $80 he'll rebuild it with a lifetime warranty, so that's what will be happening. Otherwise, Murray/O'Reilly's has them for $125 which are remanufactured with a lifetime warranty as well. I will be hiring the guy I know to do it though, because he has been doing this for over 50 years, runs his own shop and is just trying to get by in these tough times, so I'll do what I can to help him out.
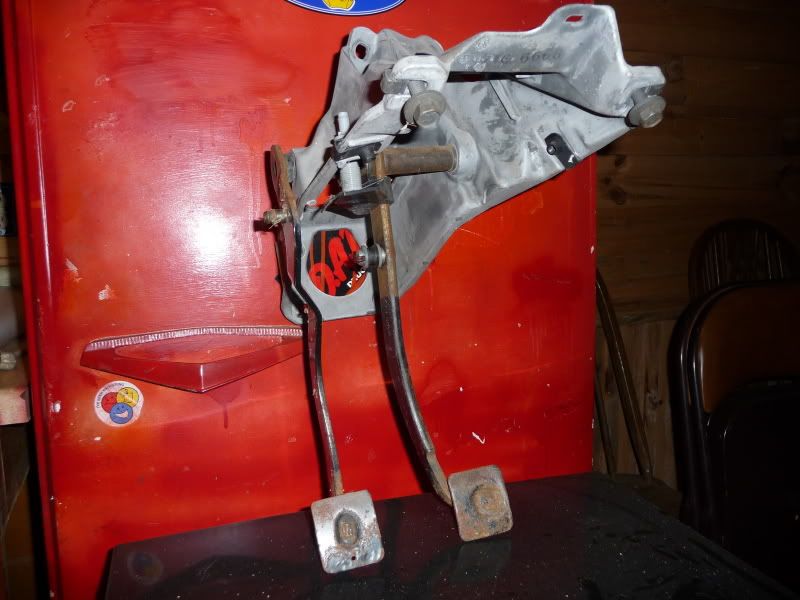
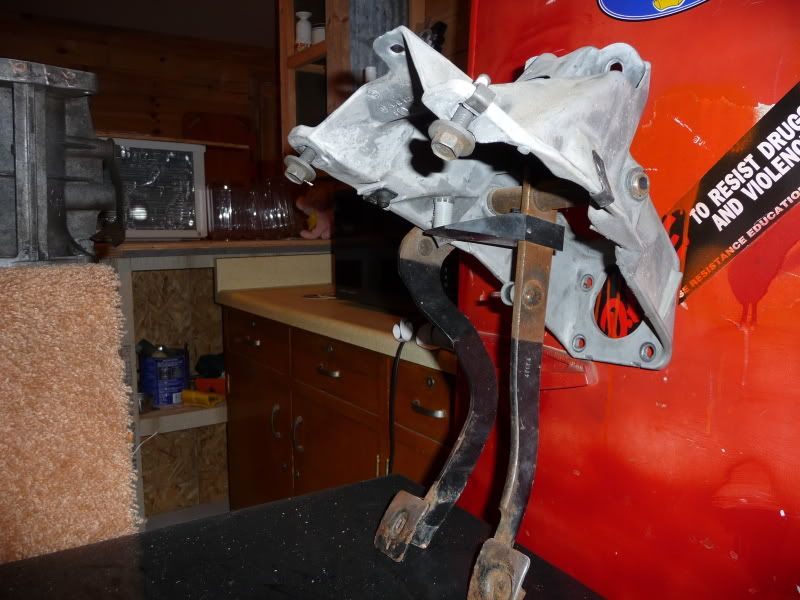
This is the pedal assembly which bolts up under the dash and to the firewall and holds the new clutch pedal. It looks differently than the one in the Ranger, so we'll see what I have to do to get it to work. I may have to modify the one I currently have. I know getting this one out was a bitch, and since the vehicle it came out of was going to the scrapyard, I ended up cutting the dash up with a chainsaw and sawzall and pulling it out with another truck and a chain. You may have to remove yours a little more carefully than I did. lol...
This is the clutch master cylinder, interlock switch, and hydraulic line assembly. It all is one piece and is difficult to remove if needed. You will need this as well.
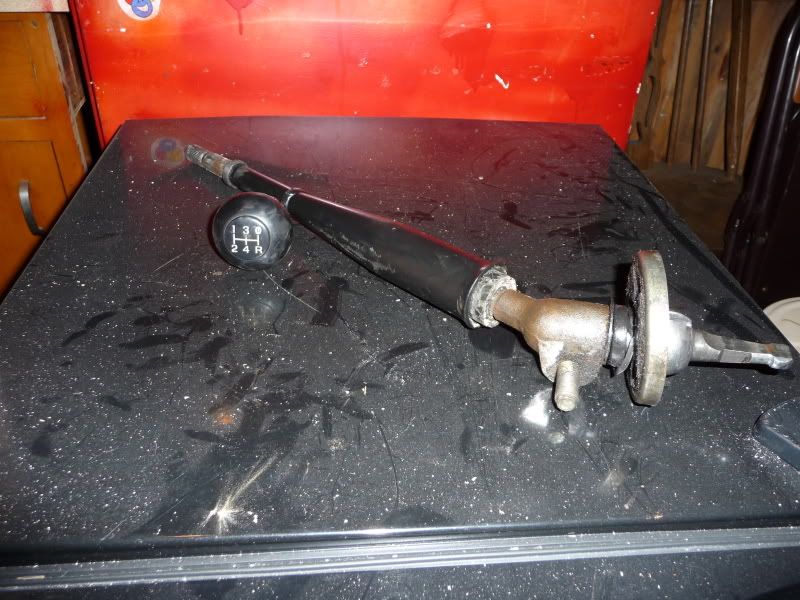
The shifter you will need.
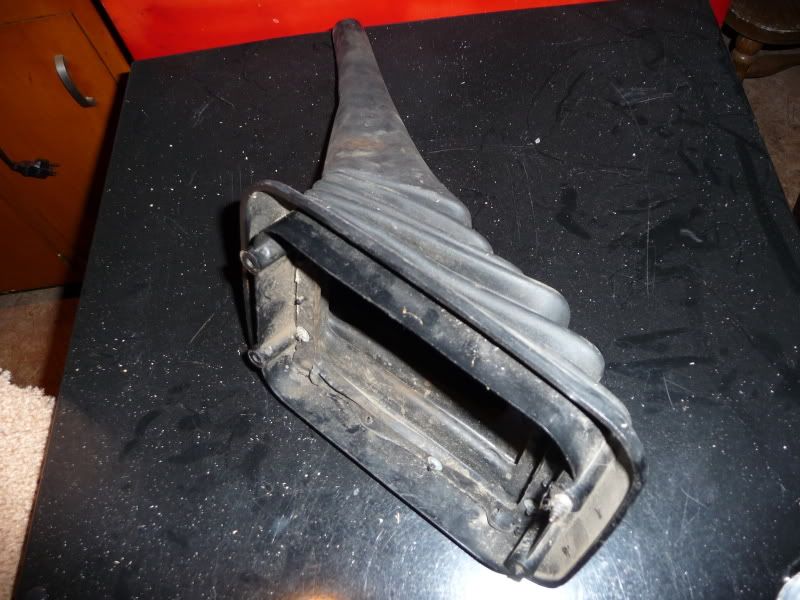
Along with the optional boot:
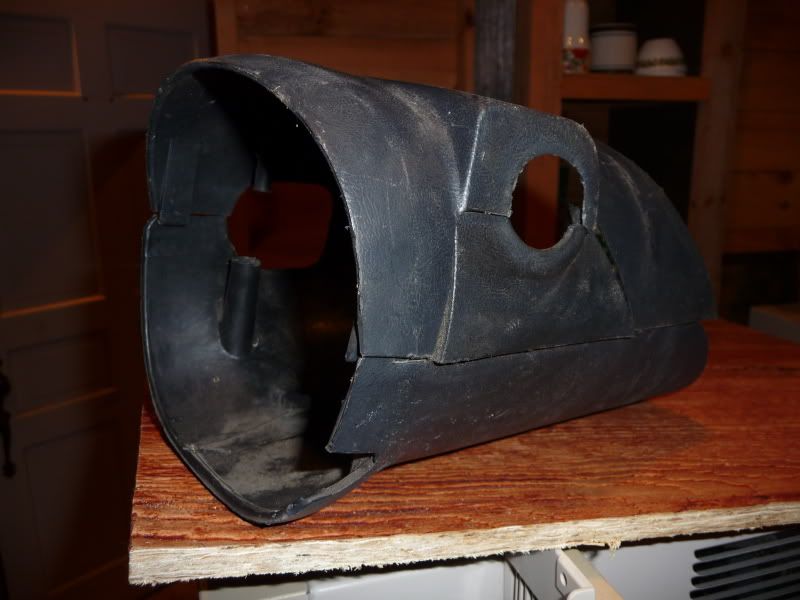
And last but not least, if you so desire, for all you cosmetic freaks out there, the steering column covers from the stick shift vehicle you pulled the trans. from, to cover up the slot in your column where your automatic transmission shifter used to poke through:
Whew!
I hope that all of this helps some people out there. I will be updating it as progress slowly moves on. The vehicle is my playtoy, so progress is slow, only as money allows.
Now for a couple questions and notes I have.
-Does anyone know if I need to pull the wiring harness for the manual transmission that attaches to the transmission sensors on the top cover as shown above? I still have that harness from the manual truck and I believe it is still attached to the engine which I also pulled from the donor vehicle. Is this a neccessity, or are the plugs I need already on my truck which had the automatic?
-There is an electronic port on the side of the clutch interlock switch that goes up under the dash that I have no idea what plugs into it. Does anyone know what plugs in there and if it will be in the wiring harness for my automatic?
-Does anyone have a specific rebuild kit that they recommend? I'm looking for a good one right now.
Again, any and all help, advice, criticism is appreciated.
Oh, one more thing.
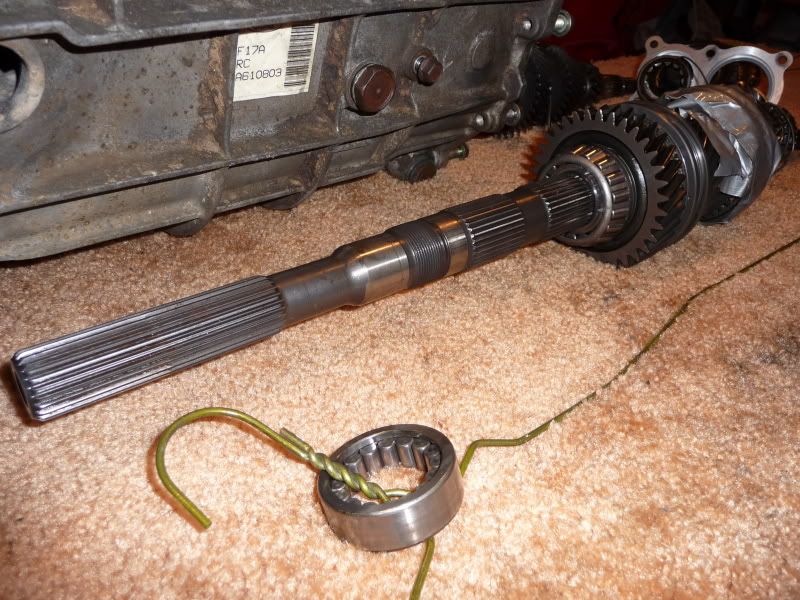
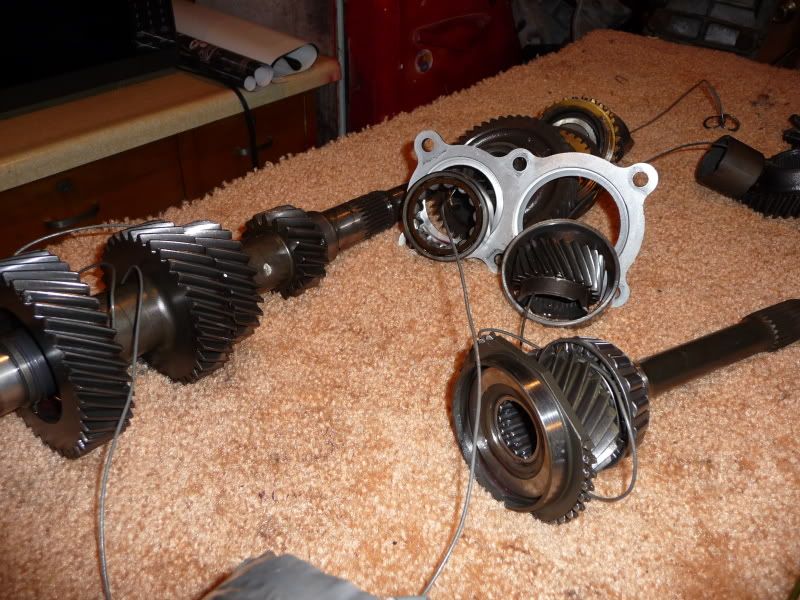
-I'm sure most of you have figured this out, but if you're gonna pull the prick apart once you get it removed from the truck, it's a good idea when you start pulling gears, to keep everything in the
EXACT order that you pulled it out. As you can see, I used wire to keep all the gears, spacers, bearings, synchros, etc. in order. I am still nervous though that I forgot something even though I was paranoid about this throughout the teardown....you never know what the rebuild kit will and won't include, so play it safe and save every single thing in the exact order and direction it was removed.