- Joined
- Oct 10, 2010
- Messages
- 781
- Reaction score
- 16
- Location
- Near St. Louis MO on the IL side
- Vehicle Year
- 1994
- Make / Model
- Ford
- Engine Size
- 4.0
- Transmission
- Manual
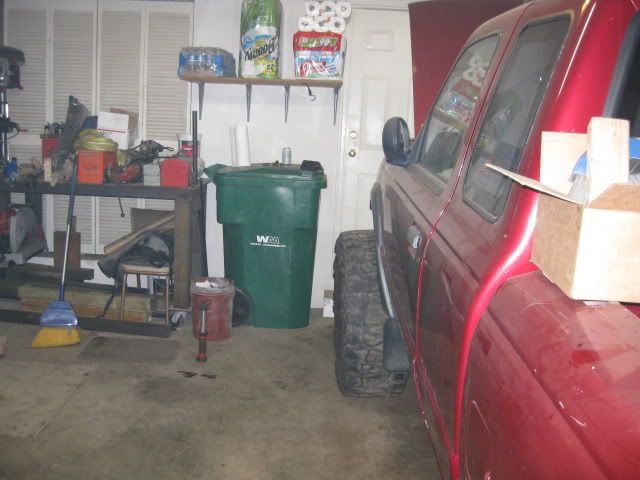
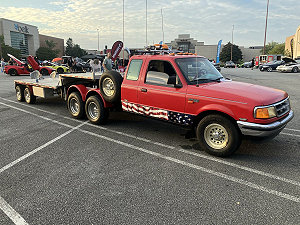
How it looked when I last saw it (it has since been reduced to just the bed):
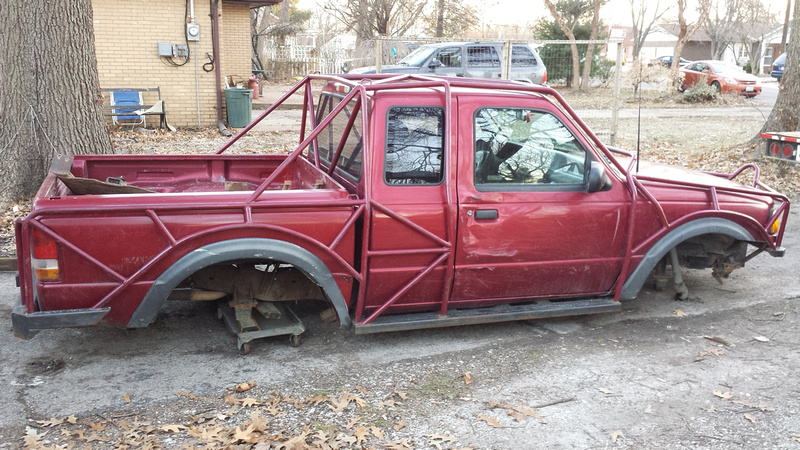
How it used to look:
Quick Links:
Note: I have gone back and rehosted (and reposted) all of the original information found in this thread over on my website www.midwestnomads.com due to Photobucket being dumb. So if you're looking for something in one of these threads and the photos are missing, head over to my site and take a look.
I’ll update these as I go to make it easier to find stuff (I tend to forget things, so I try to leave little crumbs for myself here and there )
)
Well I’m finally far enough along on my current project to go ahead and start a full blown build thread on it. I’ll try to keep the top post updated with current information as well as the links that I’ll put in as I go. The name comes from the fact that in the St. Louis area, I’m surrounded by Jeeps. Its very rare to see something other than a Jeep-type-thing out on the trails (even the buggies out here are mostly Jeep based).
As I said, I’ll update this thread as I get things done, so it may be a few days between posts. Don’t fear though, I will keep it updated.
Back Story: (This will be a little winded, but fun!)
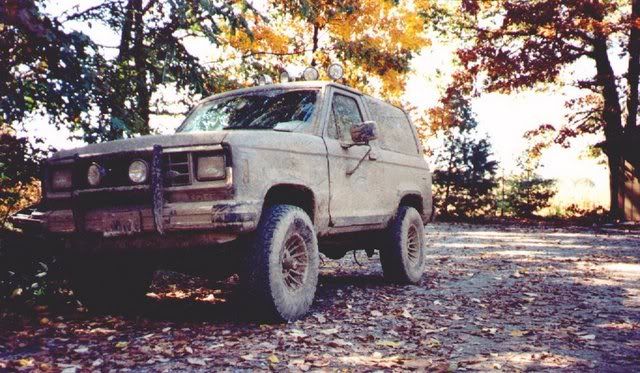
I’m not really new to this kind of fun as I’ve been playing off-road for several years now. It started out with an ’84 Bronco II that I picked up on the cheap. I threw some 31’s on there with a James Duff lift and proceeded to beat the crap out of it. This poor thing saw air time daily. In spite of this routine abuse, it never left me stranded (except when it got stuck, which was often). While it was a love/hate relationship, I can point to this little BII as the starting point in my off-road adventures. Here’s the only photo I have of it electronically:
’84 Bronco II:
After selling off the BII, I got the urge to build another toy, this time in the form of an ’85 Toyota X-cab (the last year of the solid front end). I tore this one down to the frame and did a pseudo restore on it. Unfortunately, I sold it off to help pay for college so it never really got the chance to scratch the off-road itch with it. (No photos, they’re “Pre digital”).
Several years passed went by while I managed to put off getting another toy (going to college, working two jobs, getting married, and living in an apartment at the time also helped stifle those urges as well ). During that same time frame, I had a good friend that moved out to the Salt Lake City UT area for a bit. He seemed to enjoy taunting me with the awesome wheeling out there, which in turn started to fuel the off-road itch again
  . It would be a few years before I got to make the trip out to CO/UT, but the wait was worth it.
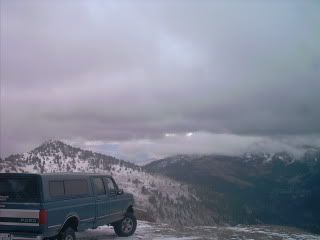
One of the Teaser Photos he sent:
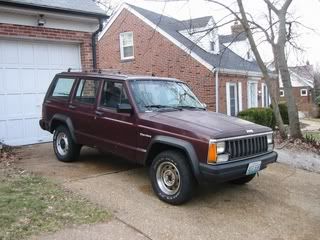
I finally caved in to the craving and picked up another toy to get me back out into the woods. For the past 4 years I’ve been beating on a ’87 Jeep Cherokee (XJ) that’s served me well. This poor thing has gotten me out wheeling more often than all the prior vehicles combined, and served me well during those times. However, being a unibody, it has a finite life before things start to go down hill (Stress cracks, shell tweaks, etc). I won’t go into too many details about it here (PM me if you have a question) but its Locked at both ends, with a 4.7 in it (Stroked out 4.0), and a small lift.
CL photo:
Quick Build:

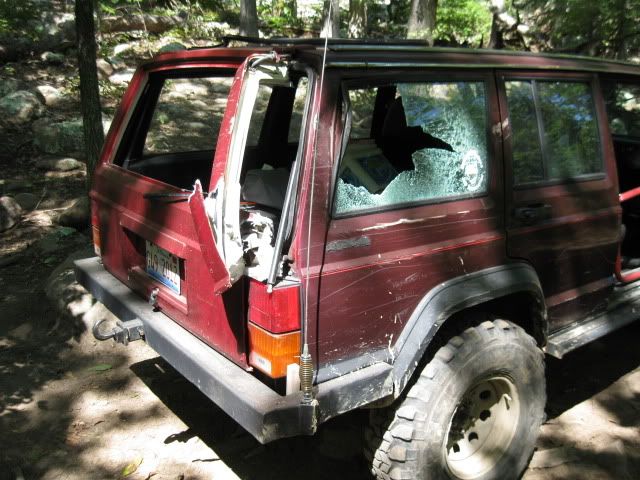
Whoops: (Chicks dig body damage, wives don’t)
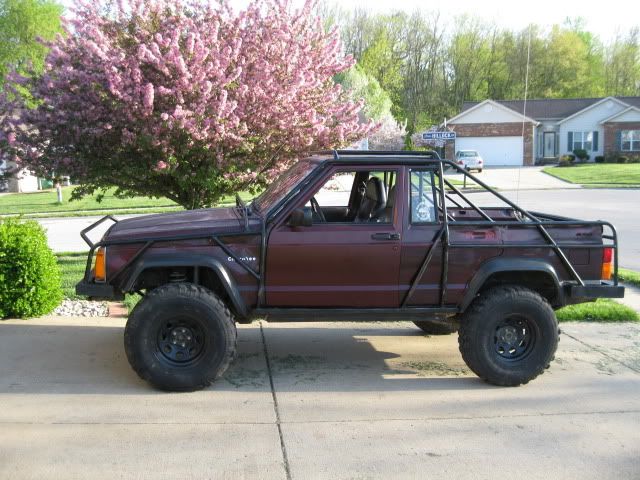
Chopped:
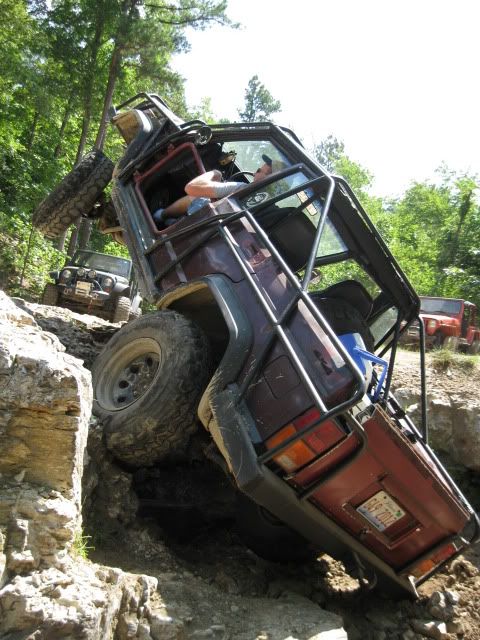
Kept on wheeling the poo out of it:
As I mentioned earlier, this XJ shell is pretty much done for after 4 years or hard wheeling on it, so it was time to look for its replacement.
Enter The Ranger:
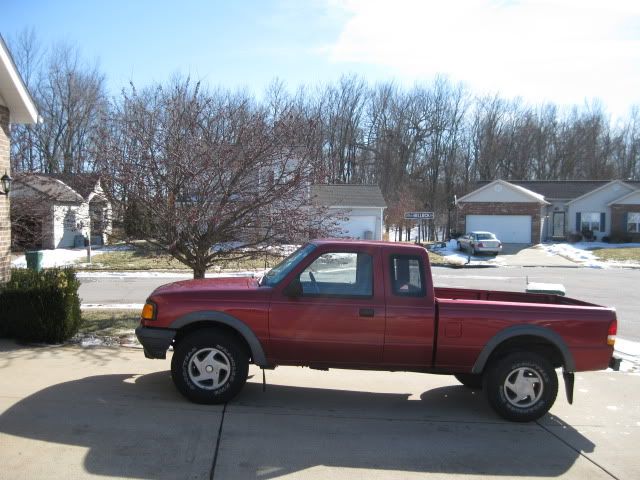
I literally spent several months researching what the next vehicle would be. The basic requirements were for it to have a frame, and a 5 gear. Eventually I stumbled upon Bray D’s build and my interest started moving toward the Rangers. After more research, and plenty of CL surfing, I found the next build platform. A 1994 Extended cab Ranger STX with a 4.0 and a 5 gear (Stupid electric transfer case though, but at least it works). At 218k miles on it when I bought it, that motor is by far the quietest high mileage motor I’ve ever heard. As an extra bonus, I’m the second owner
I’ve been driving it around since October ’10 and have racked up an additional 3k miles on it since it was purchased. Its been a fun little truck as it sits, and I’m a little sorry I’m going to hack it up (Heck, its even got some of the best brakes I’ve had on a vehicle in awhile ).
).
Day I brought it home:
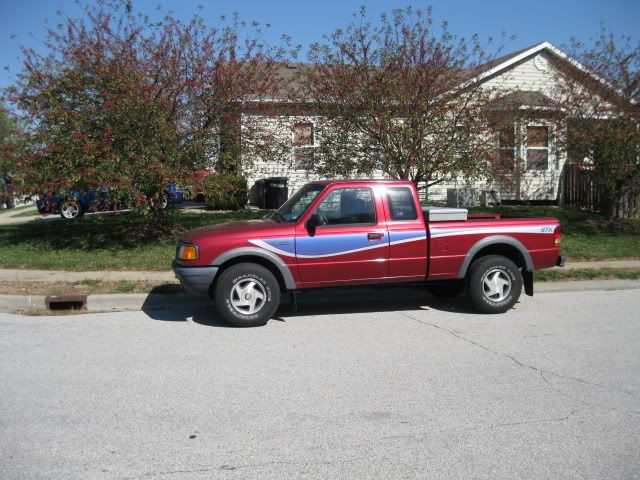
The stickers disappeared the next day:
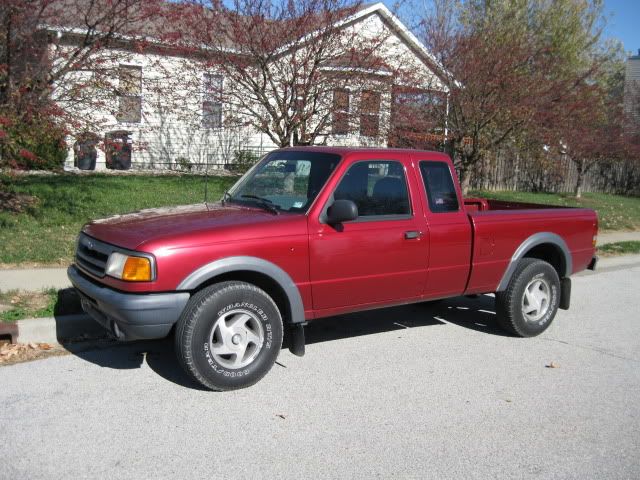
Project Goals:
I’m not out to be the biggest/best rig out there, just something that suits my needs the best that it can. So this next rig needed to:
This project has now come to the end of the line. It's been a fun ride, and I hope I've detailed enough information to make it easy for someone to copy some of the things that were done to this truck.

How it used to look:

Quick Links:
Note: I have gone back and rehosted (and reposted) all of the original information found in this thread over on my website www.midwestnomads.com due to Photobucket being dumb. So if you're looking for something in one of these threads and the photos are missing, head over to my site and take a look.
I’ll update these as I go to make it easier to find stuff (I tend to forget things, so I try to leave little crumbs for myself here and there
- NHL body lift (one puck) (Linky)
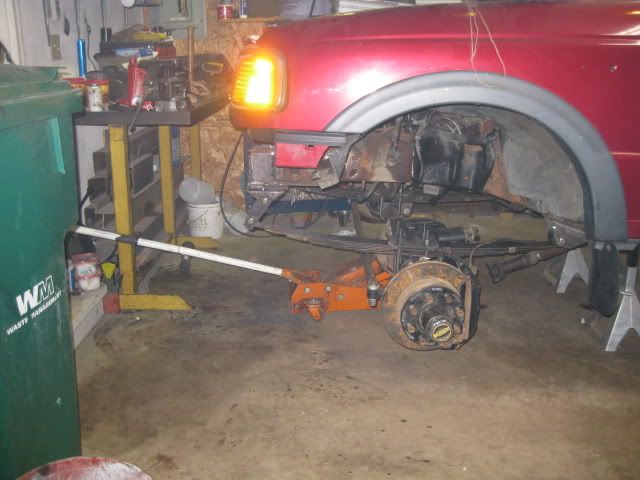
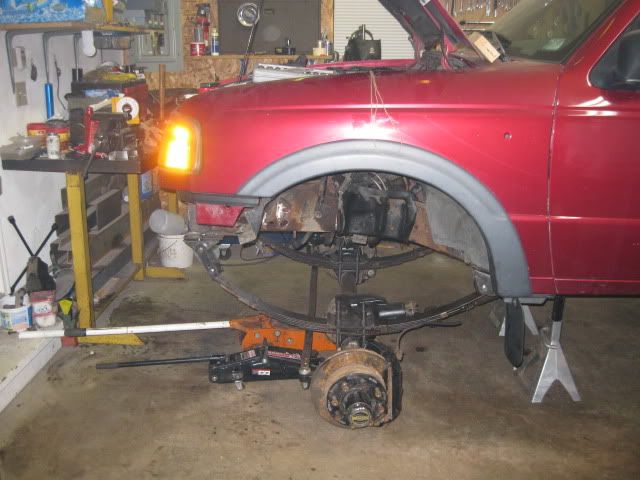
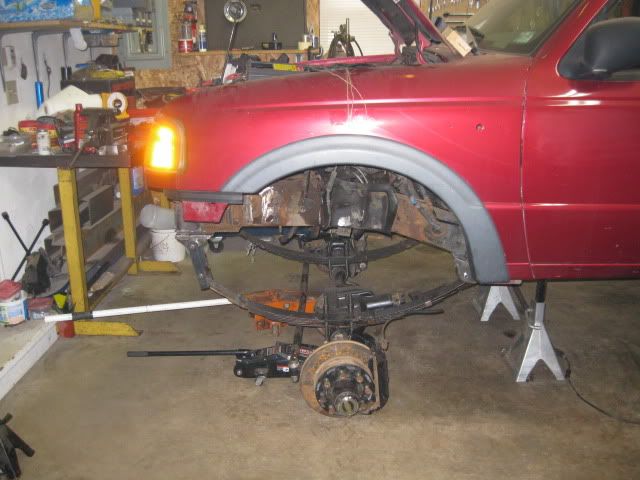
- Front Leaf SAS (Dana 44/60)
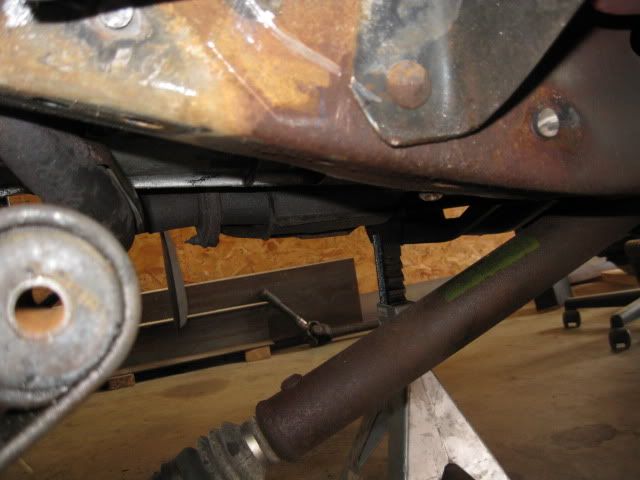
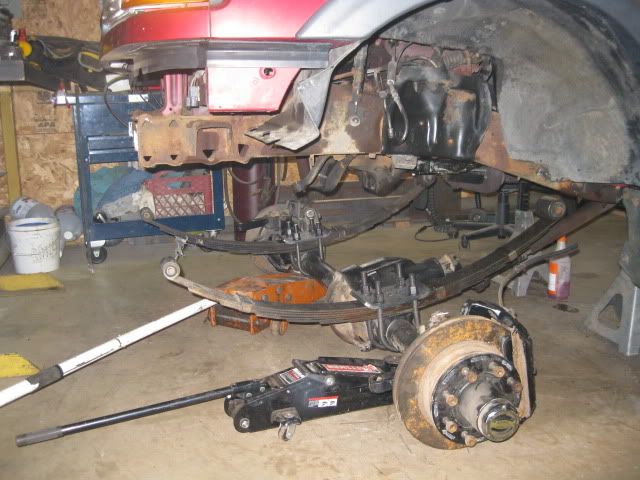
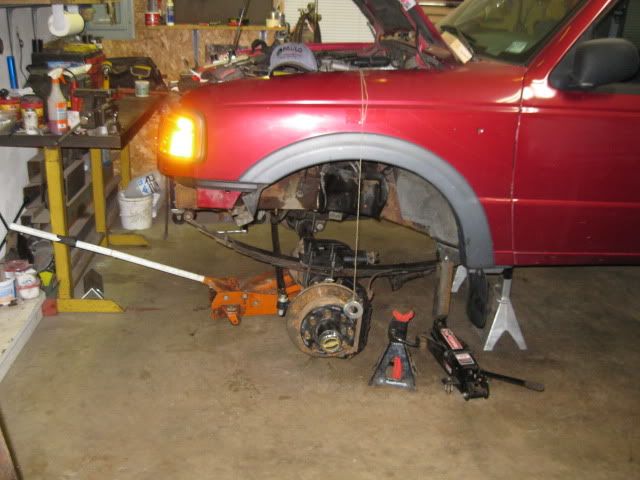
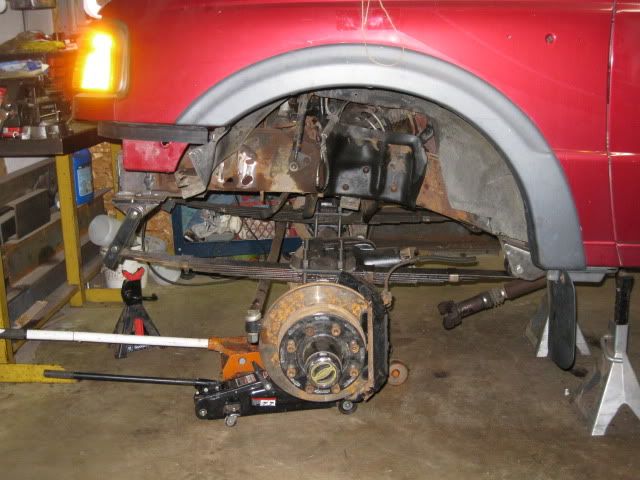
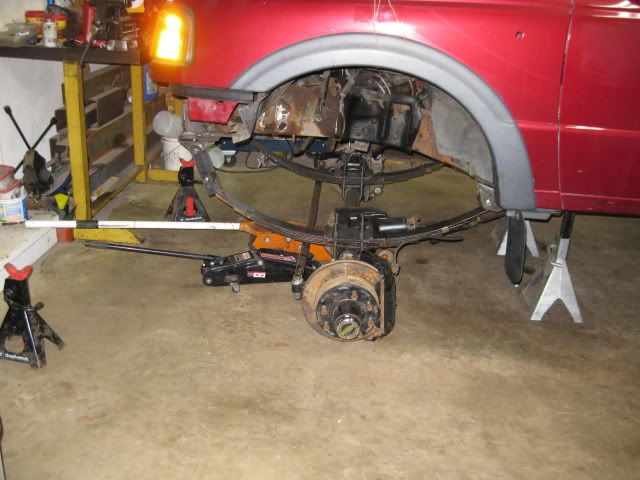
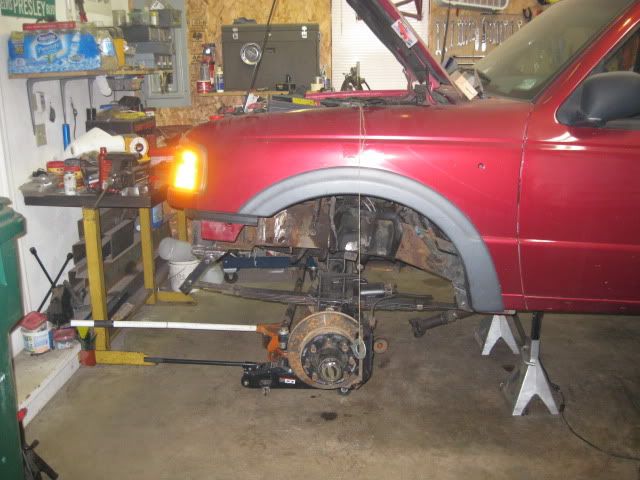
- Dana 44 and leaf springs and the D35 Tear out (Linky)
- Replacement Leafs from Team Grand Wagoneer (Linky)
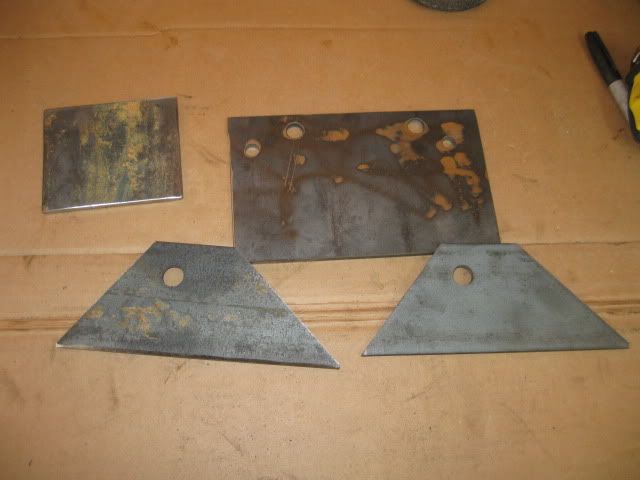
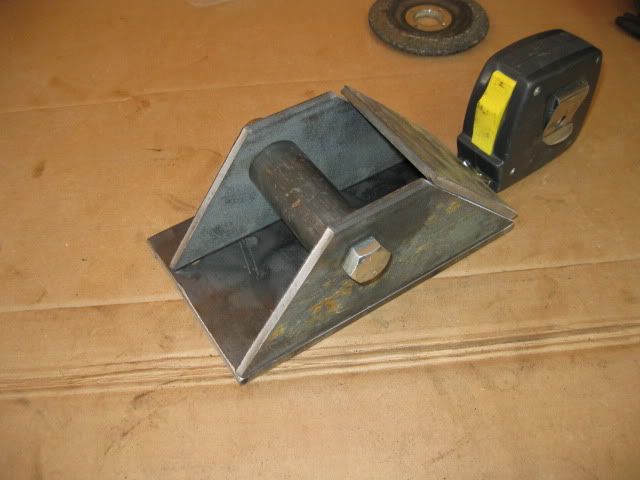
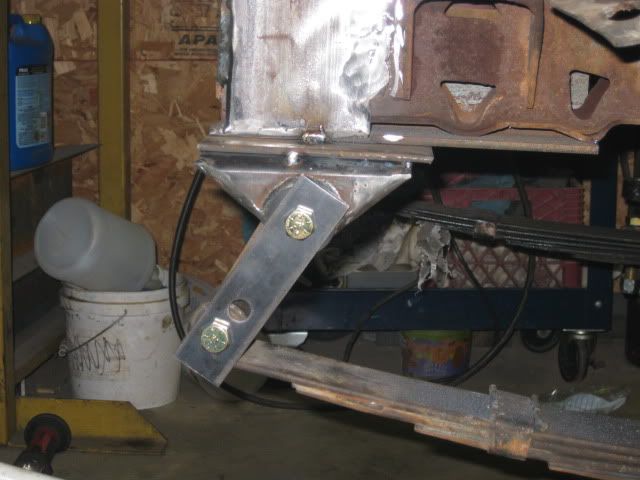
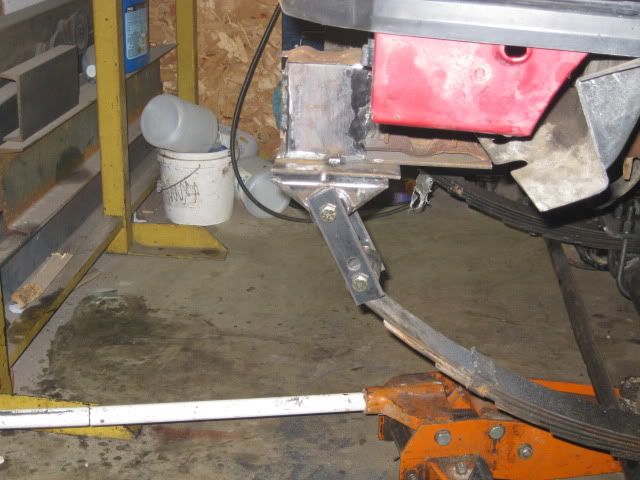
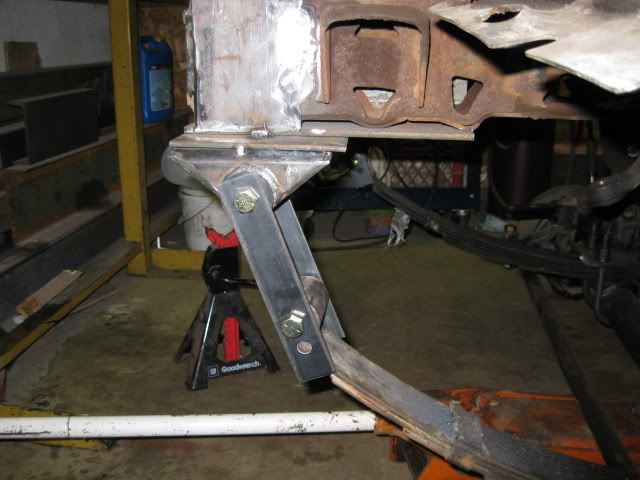
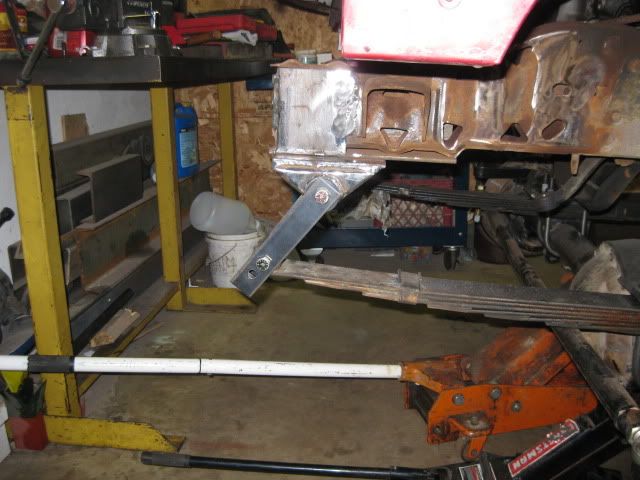
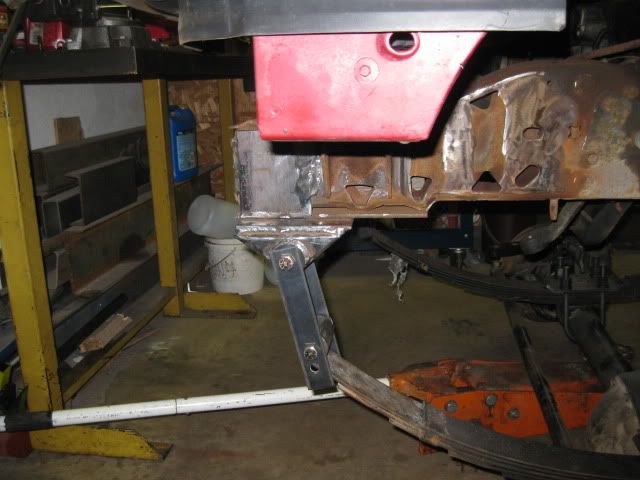
- Leaf Mounts (Linky)
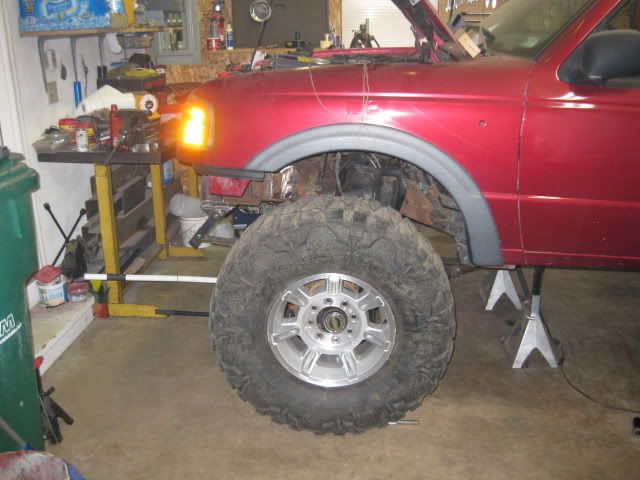
- D44 Test Fit (Shackle length) (Linky)
- Crumple Zone Plating (Linky)
- "K" Member Trimming (Linky)
- Final Leaf Mount burn in (Measurements) (Linky)
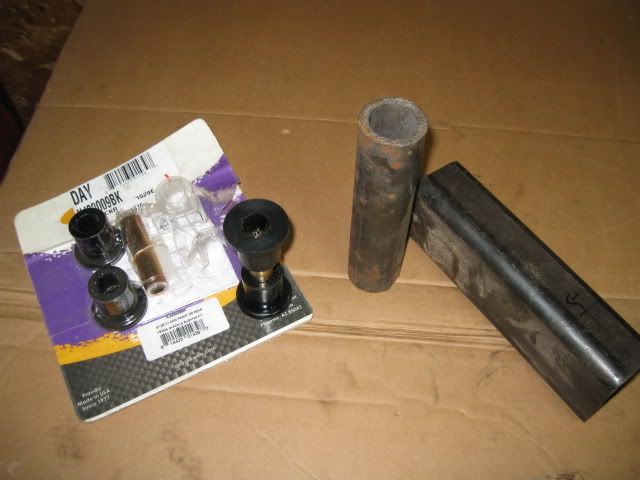
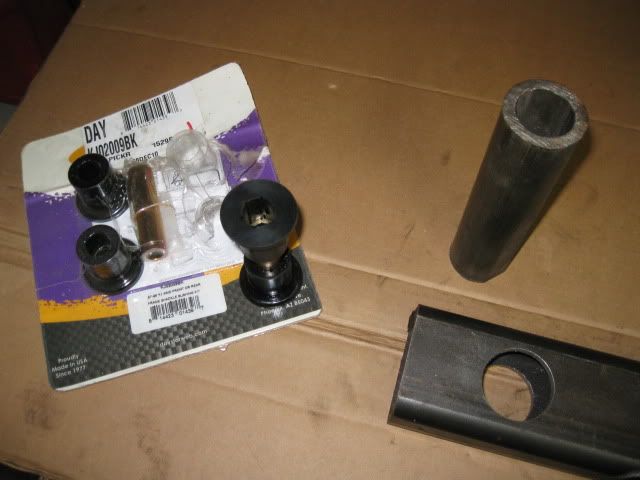
- Shackles and Front Cross Member (Linky)
- Front Shocks (Linky)
- Track Bar (Linky)
- HP Dana 60 Front (Linky)
- Rear Dana 60/14 Bolt
- Quick Rear Mock up and Bed Removal (Linky)
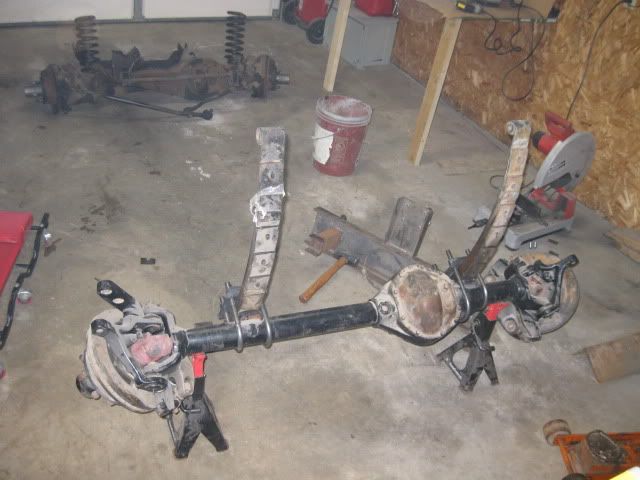
- Stripping the Rear and Quick rear spring location for 115" WB (Linky)
- Rear Dana 60 (Linky)
- Rear Test fit and Chevy 63’s (Linky)
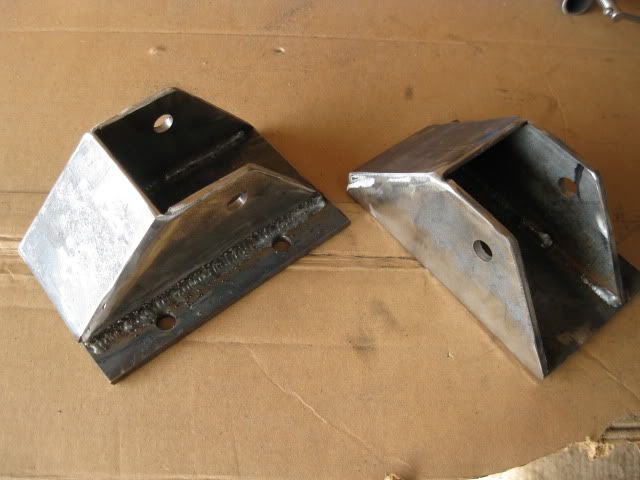
- Rear Test fit #2 and Leaf Mounts (Linky)
- Rear Leaf Mounts Final Location (Under cab) (Linky)
- Rear Add A Leaf to boost the Chevy pack (Linky)
- Bastard Pack (LInky)
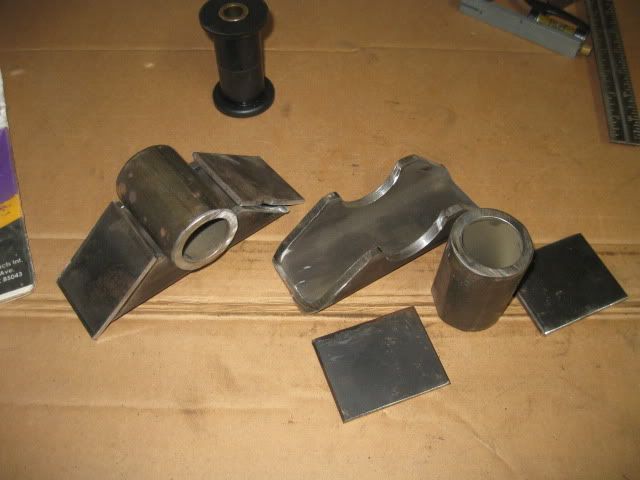
- Rear Shackle Mount Final Location (Linky)
- Rear Shock Mounting (Linky)
- Rear Shock Moutning V2.0 (Linky)
- Shocking the Rear (Linky)
- Moving the Shocks out (Linky)
- Rear Bump Stops (Linky)
- 14 Bolt Swap (Linky)
- Driveline Stuff
- M50D Maintenance (Linky)
- 1350/1354 Doubler Build with D&D Machine kit (Linky)
- Crawl Box upgrade (1354 guts in the 1350) (Linky)
- 1354 Manual Linkage (swapped out the E case for a manual one, had to make linkage) (Linky)
- Aerostar Speedometer Cable (Linky)
- Clocking the Transfer Case (Linky)
- Bronco II Fuel Tank Swap (Linky)
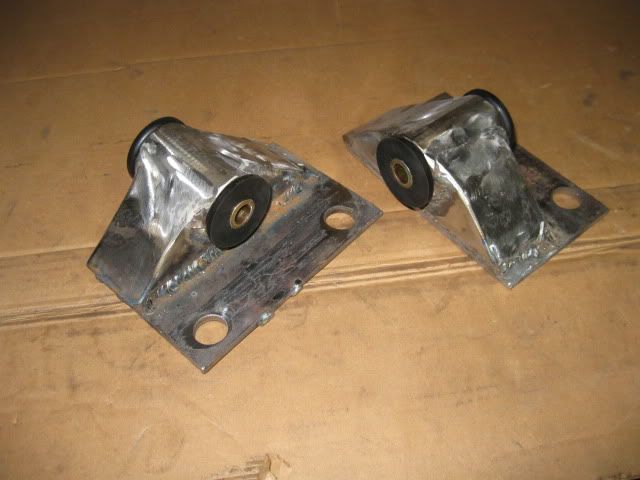
- Stock motor mount modification (Linky)
- Extended Spare Drive Shaft (Linky)
- Doubler Shifter Linkage (Linky)
- Master Cylinder Fun! (Linky)
- 1354 Flange to Yoke Swap (Linky)
- New Transmission Cross Member (Linky)
- Updated Transmission Mount/Crossmemeber (Linky)
- Chaining Down the Motor (Linky)
- 4 Banger Gear Swap, using Plum Crazys Thread (Linky)
- Misc. Maintenance (Lower intake Fix and 2 row Radiator Swap) (Linky)
- Reid Knuckle Upgrade (Linky)
- Trans mount v3.0 (Linky)
- Armor
- Bed Bob
- Misc Stuff (I'll come up with a better name latter)
- First time streching its legs (Linky)
- The death of a Cherokee (Linky)
- Second Stretch (Linky)
- Fender Trimming (Linky)
- Liscense Light (Linky)
- Winch Mounting (Linky)
- 2,000 mile update (Linky)
- Re-centered H1's (Linky)
- Steering Update (Linky)
- Intermediate Steering Shaft Refresh (Linky)
- Military Take Off Review (Linky)
- A bit of an update... (Linky)
- 30,000 mile update (Linky)
- Trips
- 1st Long Road Trip (Linky)
- 1st Offroad Trip - 2011 SIJA Jeep Jam at SMORR (Linky)
- 2nd Offroad Trip - 7/30/11 Washita MX (Linky)
- WY/MT 2011 Trip -(Linky to very long vacation post)
- 3rd Offroad Trip - 9/24/11 Interlake (Linky)
- 4th Offroad Trip - 10/15/11 SMORR (Linky)
- 5th Offroad Trip -11/19/11 Washita MX (Linky)
- 6th Offroad Trip - 3/12/12 Interlake (Linky)
- 7th Offroad Trip - 4/21/12 Washita Mx (Linky)
- 8th Offroad Trip - 5/5/12 SMORR (Linky)
- 3rd Road trip -5/6/12 Ha Ha Tonka State park (Linky)
- 4th Road trip - 6/2/12 Valley Glades Mo (Linky)
- 9th Offroad Trip - 6/16/12 Washita Mx (Linky)
- 10th Offroad Tip - 7/21/12 Washita Mx (Linky)
- 11th Offroad Trip - 8/5/12 Flat Nasty Offroad (Linky)
- 12th Offroad Trip - 11/17/12 Flat Nasty Offroad (Linky)
- 13th Offroad Trip - 12/29/12 Washita Mx (Linky)
- 14th Offroad Trip - 2/23/13 Badlands Offroad (Linky)
- 15th Offroad Trip - 3/9/13 Flat Nasty Offroad (Linky)
- 16th Offroad Trip - 4/6/13 Interlake (Linky)
- 17th Offroad Trip - 5/18/13 SIJA Jeep Jam at SMORR (Linky)
- 18th Offroad Trip - 6/1/13 Moonlight Racing (Linky)
- 19th Offroad Trip - 7/27/13 Turkey Bay (Linky)
- 20th Offroad Trip - 8/24/13 Flat Nasty (Linky)
- 21st Offroad Trip - 9/21/13 Interlake (Linky)
- 22nd Offroad Trip - 9/22/13 Stocker No Locker at Moonlight Racing (Linky)
- 23rd Offroad Trip - 3/15/14 Moonlight Racing (Linky)
- 24th Offroad Trip - 5/3/14 Flat Nasty Off Road for SIJA Jeep Jam (Linky)
- 25th Offroad Trip - 6/21/14 SMORR (Linky)
- 26th Offroad Trip - 7/26/14 Washita (Linky)
- 27th Offroad Trip - 10/11/14 SMORR (Linky)
- 28th Offroad Trip -11-1-14 Moonlight Racing (Linky)
- 29th Offroad trip - 1-1-15 Washita MX (Linky)
- The end of the line? (Linky)
- The End (Linky)
Well I’m finally far enough along on my current project to go ahead and start a full blown build thread on it. I’ll try to keep the top post updated with current information as well as the links that I’ll put in as I go. The name comes from the fact that in the St. Louis area, I’m surrounded by Jeeps. Its very rare to see something other than a Jeep-type-thing out on the trails (even the buggies out here are mostly Jeep based).
As I said, I’ll update this thread as I get things done, so it may be a few days between posts. Don’t fear though, I will keep it updated.
Back Story: (This will be a little winded, but fun!)
I’m not really new to this kind of fun as I’ve been playing off-road for several years now. It started out with an ’84 Bronco II that I picked up on the cheap. I threw some 31’s on there with a James Duff lift and proceeded to beat the crap out of it. This poor thing saw air time daily. In spite of this routine abuse, it never left me stranded (except when it got stuck, which was often). While it was a love/hate relationship, I can point to this little BII as the starting point in my off-road adventures. Here’s the only photo I have of it electronically:
’84 Bronco II:

After selling off the BII, I got the urge to build another toy, this time in the form of an ’85 Toyota X-cab (the last year of the solid front end). I tore this one down to the frame and did a pseudo restore on it. Unfortunately, I sold it off to help pay for college so it never really got the chance to scratch the off-road itch with it. (No photos, they’re “Pre digital”).
Several years passed went by while I managed to put off getting another toy (going to college, working two jobs, getting married, and living in an apartment at the time also helped stifle those urges as well
 . It would be a few years before I got to make the trip out to CO/UT, but the wait was worth it.
One of the Teaser Photos he sent:

I finally caved in to the craving and picked up another toy to get me back out into the woods. For the past 4 years I’ve been beating on a ’87 Jeep Cherokee (XJ) that’s served me well. This poor thing has gotten me out wheeling more often than all the prior vehicles combined, and served me well during those times. However, being a unibody, it has a finite life before things start to go down hill (Stress cracks, shell tweaks, etc). I won’t go into too many details about it here (PM me if you have a question) but its Locked at both ends, with a 4.7 in it (Stroked out 4.0), and a small lift.
CL photo:

Quick Build:

Whoops: (Chicks dig body damage, wives don’t)

Chopped:

Kept on wheeling the poo out of it:

As I mentioned earlier, this XJ shell is pretty much done for after 4 years or hard wheeling on it, so it was time to look for its replacement.
Enter The Ranger:
I literally spent several months researching what the next vehicle would be. The basic requirements were for it to have a frame, and a 5 gear. Eventually I stumbled upon Bray D’s build and my interest started moving toward the Rangers. After more research, and plenty of CL surfing, I found the next build platform. A 1994 Extended cab Ranger STX with a 4.0 and a 5 gear (Stupid electric transfer case though, but at least it works). At 218k miles on it when I bought it, that motor is by far the quietest high mileage motor I’ve ever heard. As an extra bonus, I’m the second owner
I’ve been driving it around since October ’10 and have racked up an additional 3k miles on it since it was purchased. Its been a fun little truck as it sits, and I’m a little sorry I’m going to hack it up (Heck, its even got some of the best brakes I’ve had on a vehicle in awhile
Day I brought it home:

The stickers disappeared the next day:

Project Goals:
I’m not out to be the biggest/best rig out there, just something that suits my needs the best that it can. So this next rig needed to:
- Be road worthy
- I don’t often have access to a tow rig, and with the nearest off-road park (Washita) being 2 hours away, I need to be able to drive the thing down there
- I don’t have the space to store a dedicated trail vehicle (this is a 2 car garage build in suburbia).
- This rig will take us out on our next vacation in MT.
- Reliable as possible
- Since most of the trips are a decent distance away, I need to not have to worry about simple mechanical failures. That also means I need to build this as bomb proof as possible with the funds available (You’ll see a contradiction on this later on). With the 4.0/5 gear combo being what it is, I'm not too worried about mechanical failure in that department.
- The ultimate here would be to wheel all weekend, and park it without having to do any “real” maintenance to it when I get back from a trip.
- As Low as possible
- I’m not one for big lifts, so I’m going to try to compact this whole package as much as possible. This should help with the on road manners.
- Lower package should help keep the local law enforcement happy as well.
- Going by IL 625 I’ve got to keep the frame at or below 26” and the bumpers at 27/29” (F/R) (GVWR of 4500-7500 lbs)
- Within the budget
- The idea being that I can sell off my Jeep stuff and be able to pay for this build. Maybe I should call this thing “The Dumpster” since its getting all leftover parts from other peoples projects

- The idea being that I can sell off my Jeep stuff and be able to pay for this build. Maybe I should call this thing “The Dumpster” since its getting all leftover parts from other peoples projects
- 1978 F-250 Full Width D44 Font with leafs
- Detroit with Yukon Shafts
- Wagoneer front leaf’s
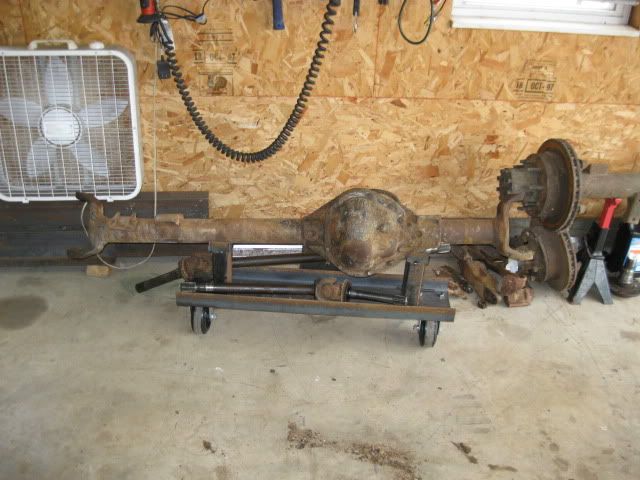
- 1999 Full Width E350 D60 Rear with Discs (somehow managed to find one with the right bolt pattern, the bonus is that the spindles are already large enough for 35 spline shafts if I need to go bigger).
- LSD in the rear (For now)
- Chevy Leafs (63’s I think, might be 64’s, off a 4wd 1500) with a AAL
- 4:10 gears
- Will probably wind up changing these, but I want to get it moving so they’ll do for now. I’m not looking for a race truck, but I don’t want to burn clutch too much when cruising around town.
- 1350/1354 Double (From D&D)
- This might be enough to make up for the 4:10’s
- 1” NHL lift (to help clear the Doubler)
- 37” Nittos on H2 rims (waaay to big for the D44, but they’ll work)
- Bed Bob
- I’m trying to wind up around 110-115” wheel base, I’d like to cut 10-15” out of the bed, however with my lack of body skills, it might wind up being a tube bed by the time I’m done

- I’m trying to wind up around 110-115” wheel base, I’d like to cut 10-15” out of the bed, however with my lack of body skills, it might wind up being a tube bed by the time I’m done
- Exo of some sort
- I tend to rub the tree’s a lot around here (see the XJ photos), so it would be nice to have some protection to allow me to open the doors after a wheeling trip.

- I tend to rub the tree’s a lot around here (see the XJ photos), so it would be nice to have some protection to allow me to open the doors after a wheeling trip.
- 1979 F-350 Full Width D60 Font with leafs
- Spartan Locker (I love how tight this thing locks up)
- Wagoneer front leaf’s – "Stock" pack from Tear Grand Wagoneer (Much beefier than the stock 7 leaf pack)
- 1987 Surbaban Full Width 14 Bolt Rear
- Yukon Locker
- '77 K20 Disc Brake swap using Ruff Stuff Brackets
- Bastard Chevy Leafs (63’s I think, might be 64’s, off a 4wd 1500) with a AAL
- 4.88 gears
- 1350/1354 Double (From D&D)
- 1” NHL lift (to help clear the Doubler)
- 37x12.50 .mil take offs and TWF Recentered H1's
- Bed Bob
- Sitting at 113.5" for the Wheel Base
- Exo
- Its ugly, but it gets used hard every trip out.
This project has now come to the end of the line. It's been a fun ride, and I hope I've detailed enough information to make it easy for someone to copy some of the things that were done to this truck.
Last edited:


