|
|
|
|
Ford F-250 Shock Tower Modification: By Chris Bailey |
|
I take no credit for the idea behind this fairly easy and economical modification. I have seen that several others have done it, including one that provided helpful pictures. I did it with the limited skills that I have and with available tools. I believe this modification to be safe, but who really knows? If you perform this modification, do so at your own risk. This is only to give an idea of what is involved. I am wondering if this modification is really worth the effort. It provided me with an additional inch or so more down-travel, coils are now the limiting factor in my rig. The 9000's ride pretty nice, however. I like "4" for both on- and off-road.
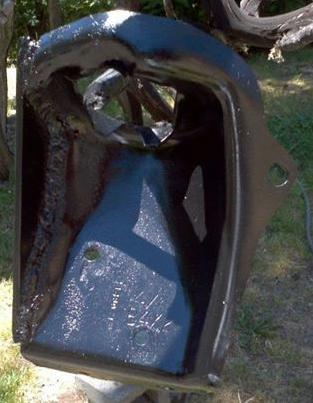
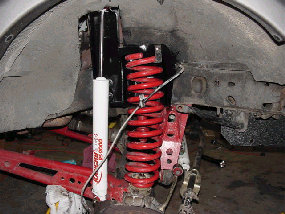
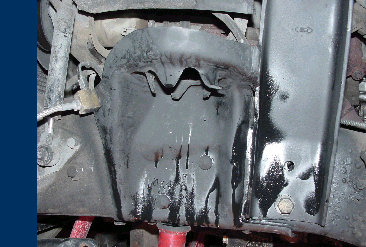
The above photo is not Bailey's, but was used to show an F-250 mount. You can see in the example above (right) where the upper shock mount was cut off and the coil bucket was reinforced with a metal plate. You can can see in the photo (left) that the F-250 mount was mounted up next to it.
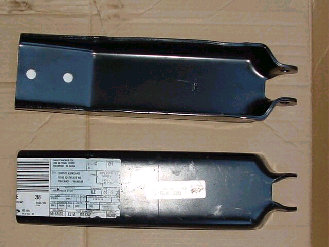
Here's a pair of Ford Ranger coil buckets that had the stock upper shock mount cut off and added the F-250 mount
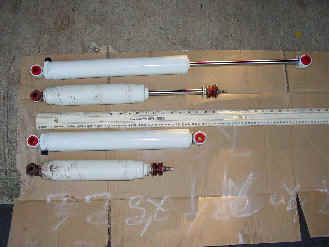
The Rancho 9012's (above # 1 & 3) have substantially more travel than the Skyjacker base-model shocks (above # 2 & 4) that came with my 6" lift. They also have upper eyelet-style mounts vs. the factory stem mounts, and are less likely to bind. The increased length and new upper mounting style necessitate shock tower modification.
These are the shock mounts for an F-250. I can't remember the year, but the Ford part no. is E5TZ 18183A. They ran me about $16 bucks each from the local Ford dealer, I'd bet you could get them cheaper (this dealer seems to charge more for parts). But I was at the dealership anyways, and they had them in stock.
Above is the stock coil bucket with the shock mount cut off and the new F-250 shock mount in place. I used a Sawzall for the easily accessible portions and a 4" cut off wheel on an angle grinder for the flat parts adjacent to the frame. It was tedious, more so on the drivers side due to the presence of hoses, brake lines, etc. Would have been much easier (I think) with a air cut-off tool, but I don't have a compressor. Overall, the modification was fairly easy and, once you look at the shock/coil on your truck, self-explanatory. But I snapped several pictures anyways, and decided to share them with y'all. I test fit the
towers, trimming the inner plastic fenderwell as needed. The
passenger side air box on my '94 lost one mounting point. No big
deal, it still seems sturdy enough. And the truck is due for an
entire revamp of the intake anyways. The drivers side had to have
several wire bundles slightly relocated and re-secured. I used the
4" grinder with a well-used cutting wheel for most of the
fenderwell trimming and a Dremel tool with a rotary cutting bit for
the tight spots.
|
|
|