|
|
|
|
C-Clip Eliminators For Your Rear Axle |
|
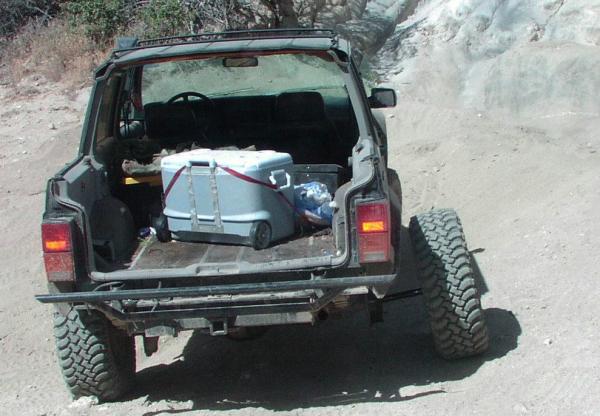
The reason the axle is sticking out of the right rear of this vehicle is because the c-clip that retains the shaft broke.
believe it or not, that c-clip is the only thing holding the axle shafts in your rear end. When your axle shaft passes through the spider gears inside your differential, the c-clip slides over a groove in the shaft, and then the axle is pulled back (outward) inside the spider gear where it's recessed. The cross pin keeps the shafts from sliding in and allowing the c-clip to fall out.
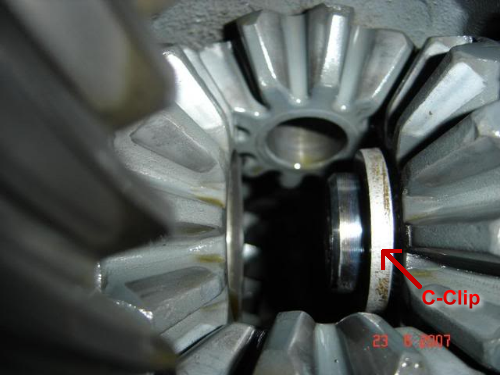
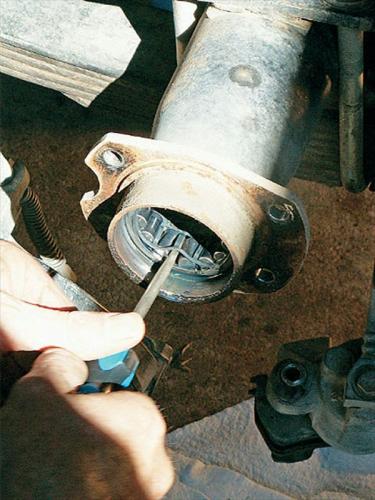
The photo below shows the groove on the axle shaft where the c-clip goes. The cross pin is shown to the left.
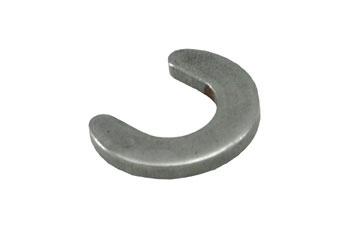
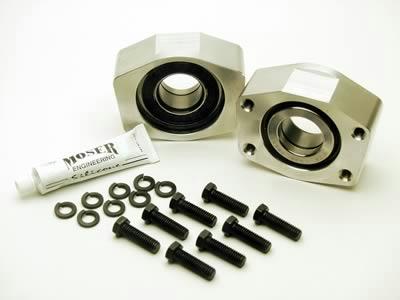
C-Clip Eliminators: Moser Engineering, Strange Engineering, Ford Racing offer c-clip eliminators for the Ford 8.8-inch axle. Moser Engineering also offers a kit for the Ford 7.5-inch axle.
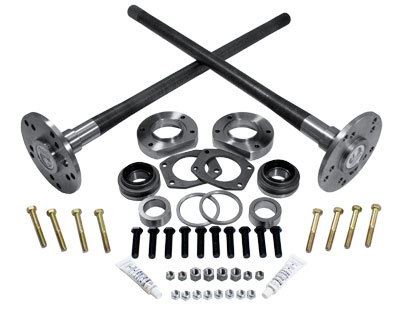
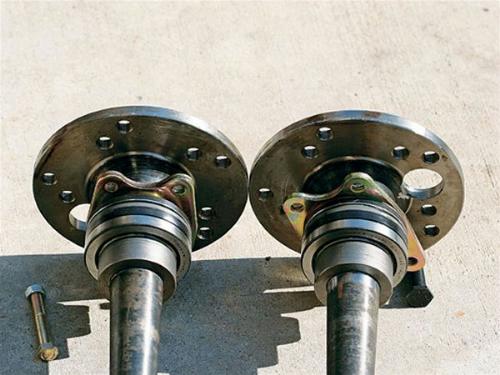
The c-clip eliminators show above contain bearings that are pressed on to your axle shafts, and then bolted to your axle flange when the shafts are installed in the housing. Companies such as Yukon gear and Strange Engineering offer new axle shafts with the eliminators already pressed on them Yukon Gear P/N YA WF88-31-KIT: Yukon Ultimate 88 axle kit 95-02 Explorer, 4340 Chrome-Moly (Double drilled axles). Ultimate 88 axle kit 95-02 Explorer, 4340 Chrome-Moly (Double drilled axles). The Yukon Ultimate 88 kit eliminates the factory c-clips and converts your housing to use two 4340 Chrome-Moly bolt in axles. No welding is needed, just a little cutting to remove the factory axle bearing seat. The result is a super strong setup to give you years of hard use on the trail! Yukon 4340 Chrome Moly alloy rear axles come with a limited lifetime warranty against manufacturing defects. Technical Notes: The axles in this kit are double drilled for 5 x 4.5" & 5 x 5.5" bolt patterns. The kit eliminates the factory c/clips and increases the overall axle width 1" per side.
Yukon Gear P/N YA WF88-31-KIT
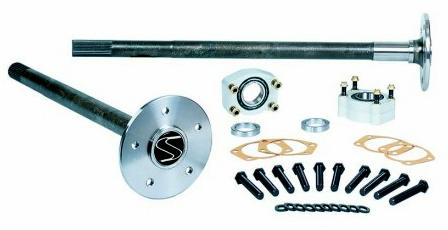
Strange Engineering Axle Kit Superior Axle: Superior Axle offered a kit similar to the Yukon kit. Here is a look at that kit being installed. Installing: This kit eliminates the C-clip axle retention, works with any locker currently available for the 8.8, and adds over an inch and a half to the width of the axle! This alone sounds like a great idea, but the guys at Superior took it one step further and produced a kit that can be installed in your driveway with no more than some basic wrenches, a hacksaw, and a file in just about an hour.
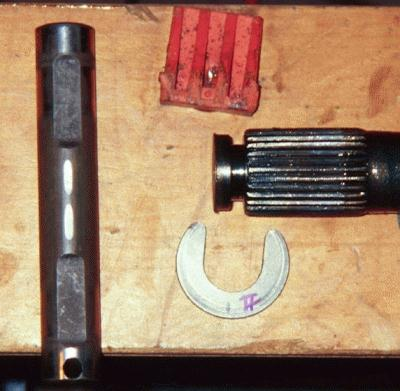
The axleshafts that come in the kit are a one-piece forging made in the U.S.A. from American steel. The 31-spline, 4340 chromoly shafts are CNC-machined, rolled-splined, and induction-hardened for added durability. Also, the larger, thicker flanges will not bend like the stock pieces do. The wheel-stud holes are drilled and tapped for 1/2-inch thread in wheel studs in both the stock 5-on-4.5 and 5-on-5 bolt patterns. This kit comes complete with everything you will need to do the installation. The kit contains the new shafts, the C-clip housing end adapters, new bearings and retainers, and all the hardware you will need to bolt up the kit. The bearings included in the kit are commonly used by custom axle manufacturers on Dana 60s and other 35-spline axle applications. To begin installing this kit, you need to remove the dreaded C-clip retainer inside the differential, which means draining the oil and pulling the cover. With this done, pull the tire and wheels after placing the axle on jackstands. Remove the old axleshafts, and unbolt the brake components from the housing ends. Axle seals and roller bearings need to be removed from the ends of the axletubes for the new kit to be installed. The seal is easily popped out, but the bearing can be a bear. If you don't have an internal three-prong slide hammer, a chisel or punch can be used to remove the inner race and bearings, and then the outer race can be chiseled in half and removed.
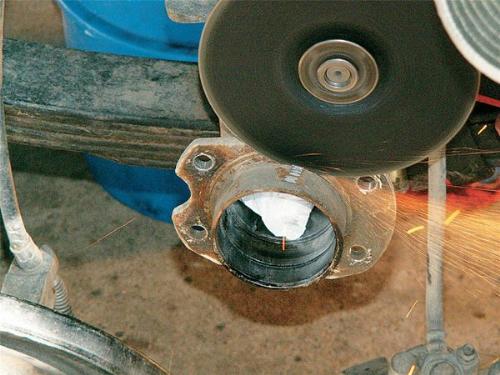
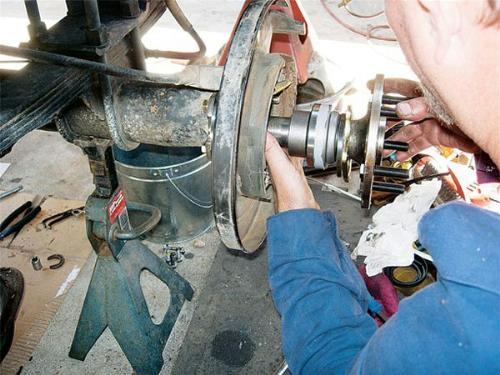
The outer stub ends of the axletubes need to be cut down flush with the shoulder protruding from the axle end flange which holds the brakes. This step is critical to ensure a good, leak-free seal. We used a big cut-off wheel, but a hacksaw can be used as well.
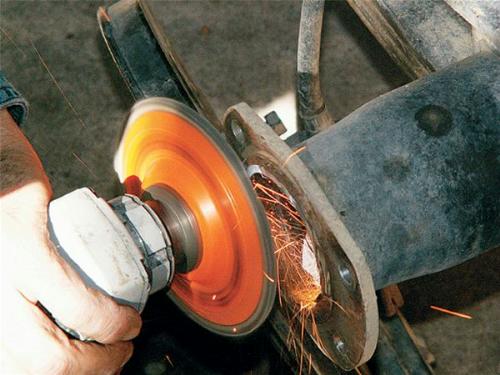
A small lip is left in place on the end of the tube where the welded bracket is, but it must be ground smoothly and squarely with a grinder, although a file can be used if you have the time. The inside edge or the bearing bore also needs to be deburred, and the brake plate needs to be reamed a bit on the inside diameter to ensure that the new axle bearing slides through it easily.
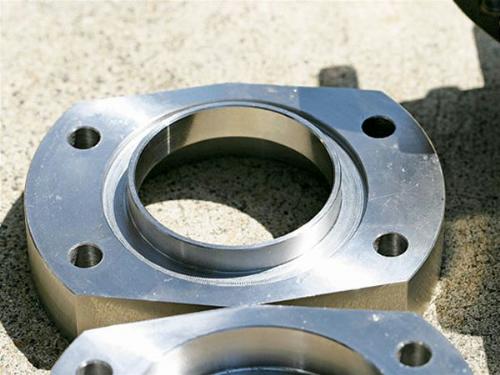
The C-clip eliminator plates are precision machined to fit perfectly inside the axletube to keep the new ends square and concentric with the tube. The back of the plate has a recess that fits over the axletube, while the indexing ring fits inside the tube. RTV silicone is slathered on the back side before installation to keep oil in and water out.
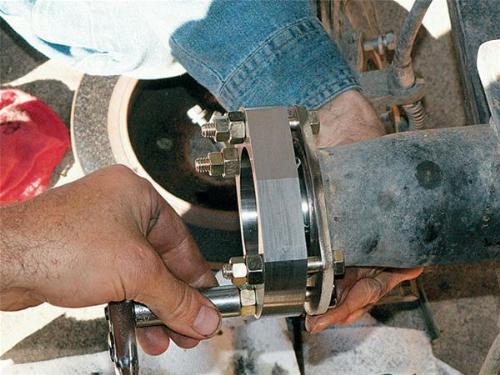
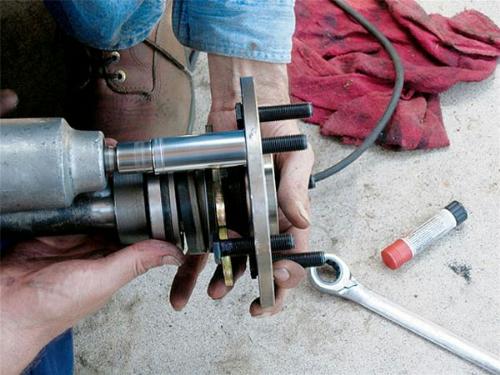
It is critical that this end plate be bolted on squarely, and not beat onto the housing with a framing hammer. Superior supplies longer bolts and extra large nuts to squeeze-press the plates into the tube a small bit at a time from each bolt. After the plates have been pressed on, the brake caliper and dustshield can be reassembled onto the new tube ends. It may be necessary to grind the lip of the dustshield down so that the bearing will go through easily.
The shafts are 4340 chromoly with 31 splines and a large axle bearing found on 35-spline custom Dana 60 axles. The big bearing indexes into the new end flange and has more than twice the capacity of the stock roller bearing. The bearings and seals come pressed onto the axleshafts, so you don't need a press or a machine shop to help you.
The wheel-stud holes are drilled and tapped for 1/2-inch thread-in-style wheel studs in both the stock 5-on-4.5 and 5-on-5 bolt patterns. Make sure you pick the right pattern, then apply some thread locker and zip them home.
The final install is a breeze. The brake assembly is slipped onto the new flange and bolts, then the axleshafts are installed. The retaining flange on the axle is bolted to specs, and the rotor, caliper, and tires are installed. Make sure you fill up the diff with fresh oil, and your driveway install is a done deal.
So, do you really need them? If you're running a disc brake 8.8-inch axle from an Explorer, the rotor, caliper and caliper mount will hold the axle and tire onto the housing. If you have drum brakes, the c-clips can be more of an issue. Resource:
|
|
|