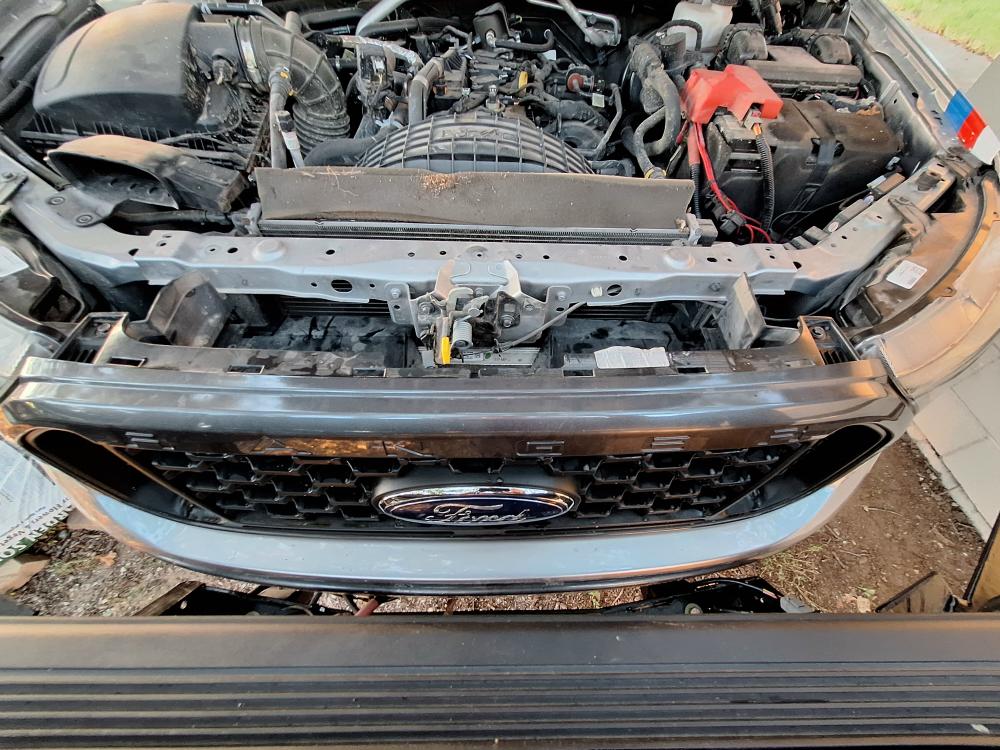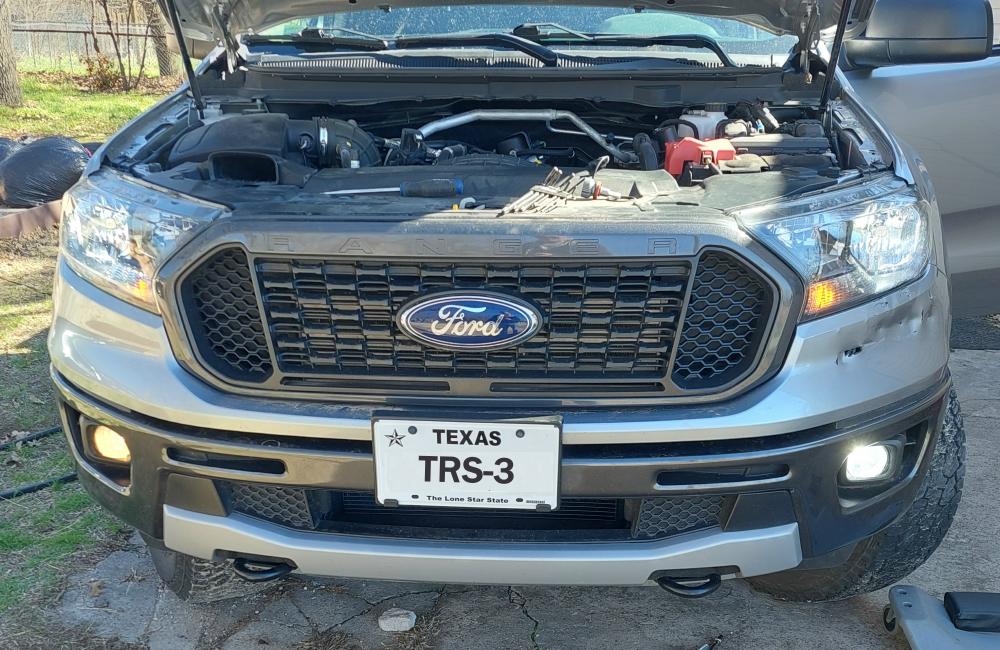
When I purchased this used 2021 Ford Ranger FX4 in the fall of 2022, it came with a damaged bumper cover. In order to replace the bumper cover I needed to remove the grill. If you’ve found yourself needing to remove your grill, the information below should help.
Removal:
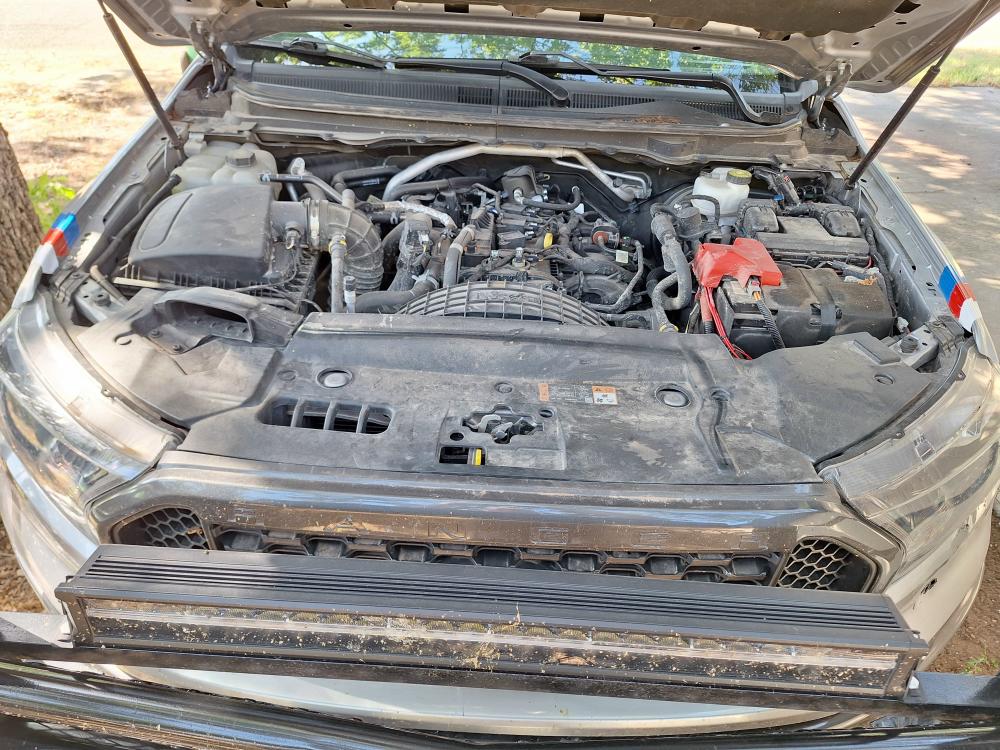
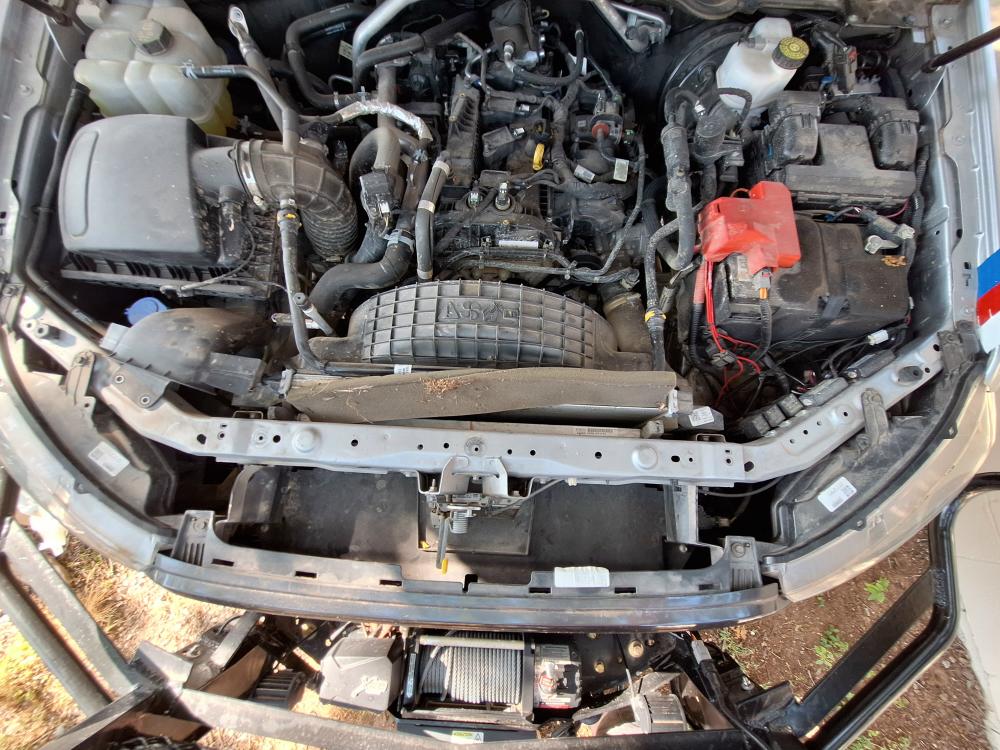
Begin by removing the radiator support access cover (the plastic cover between the grill and the radiator). The cover is held in place by (5) plastic push pin clips and (2) T30 Torx screws that hold the air intake in place.
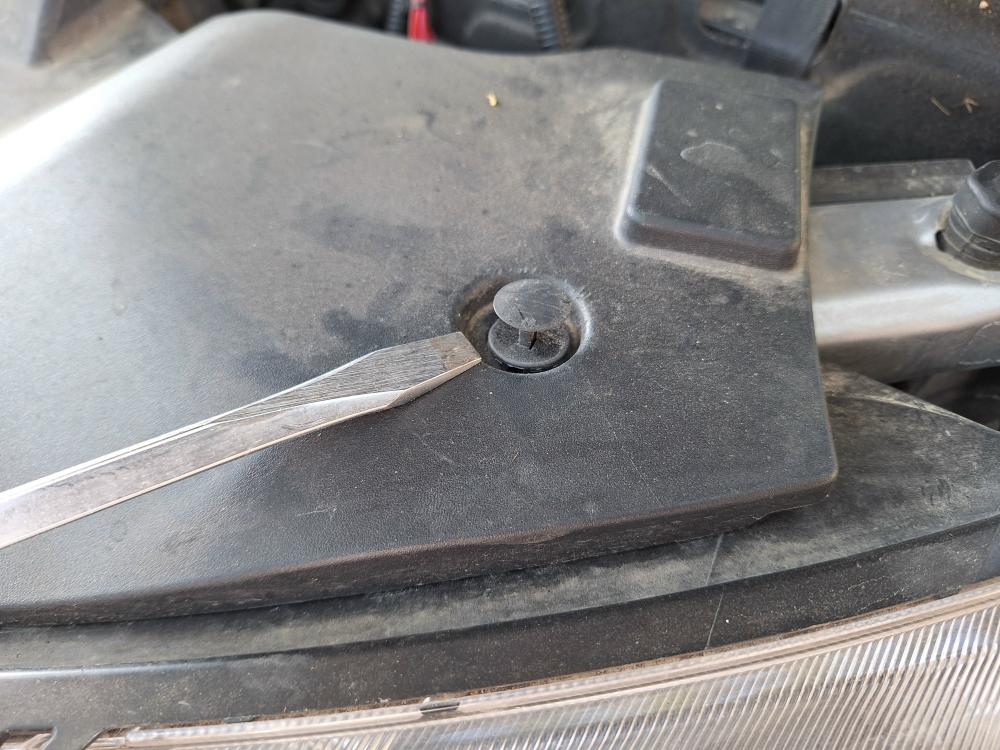
Use a flathead screwdriver to lift the push pin in the center of the clip and then remove the clip from the mounting hole. Sometimes it’s easier to remove the clip from the hole after the center pin is completely removed.
Remove the (2) T30 Torx bolts that hold the intake in place.
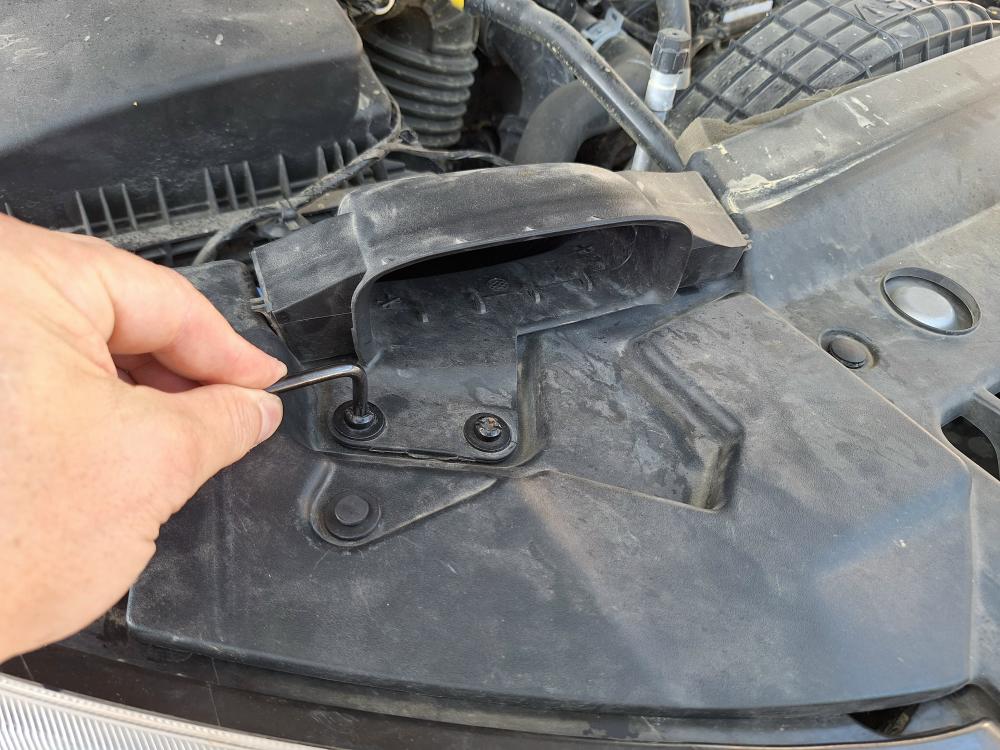
Now you can remove the radiator support access cover.
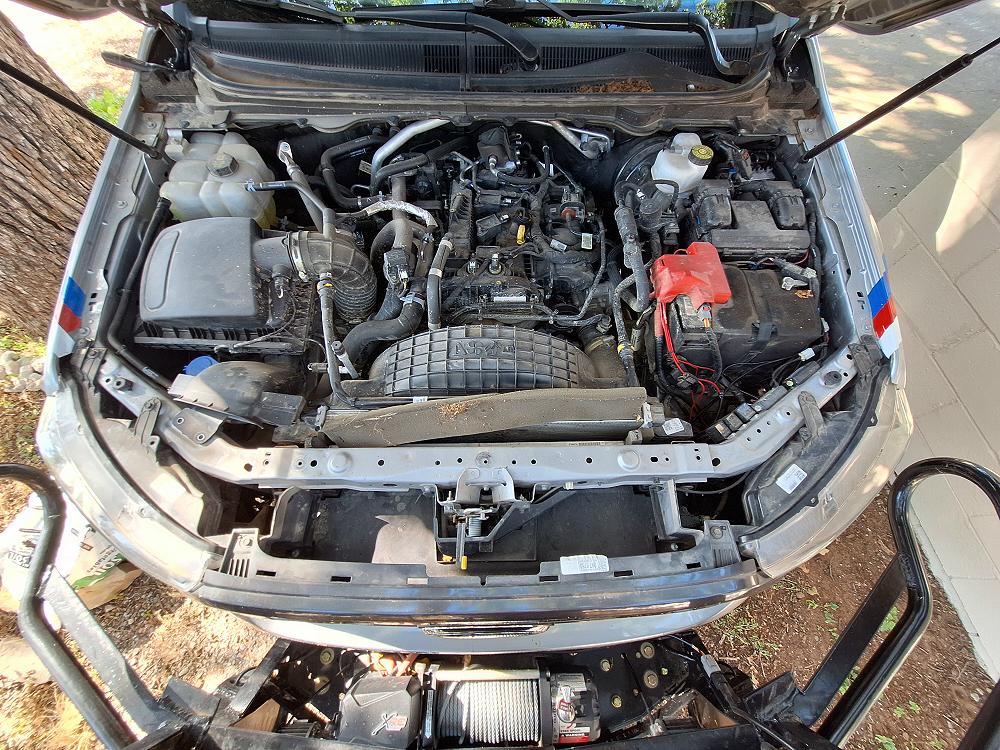
Remove the plastic hood latch cover from around the hood latch. The cover is held in place with a plastic mounting clip and an 8mm bolt.
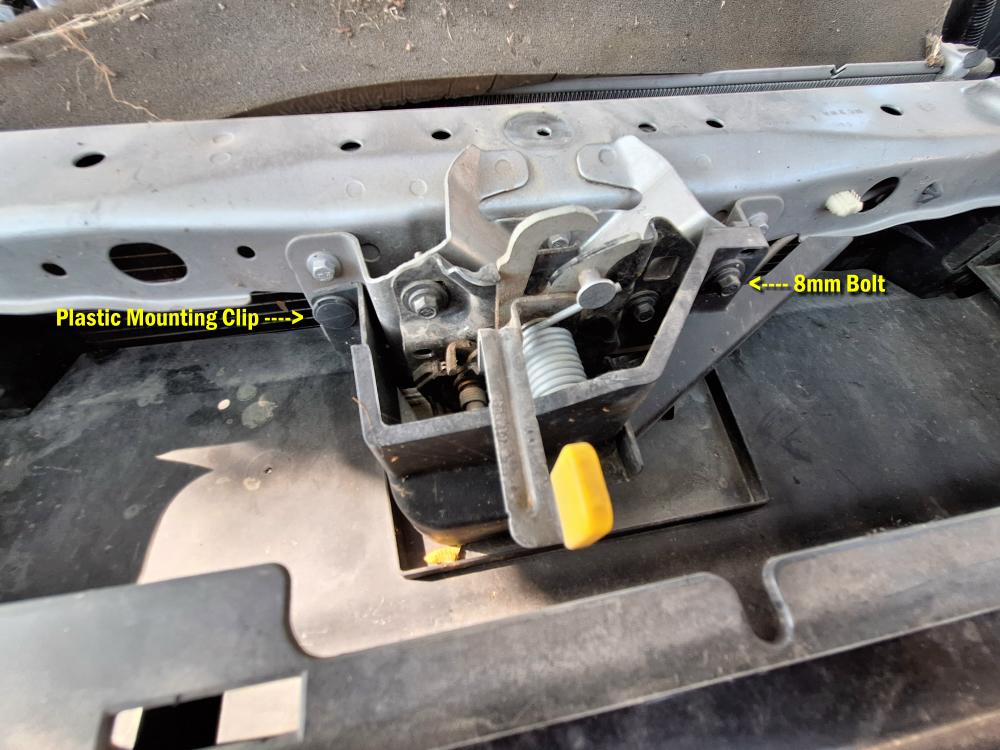
With that cover removed, you’ll have to remove the plastic air deflector that’s below it.
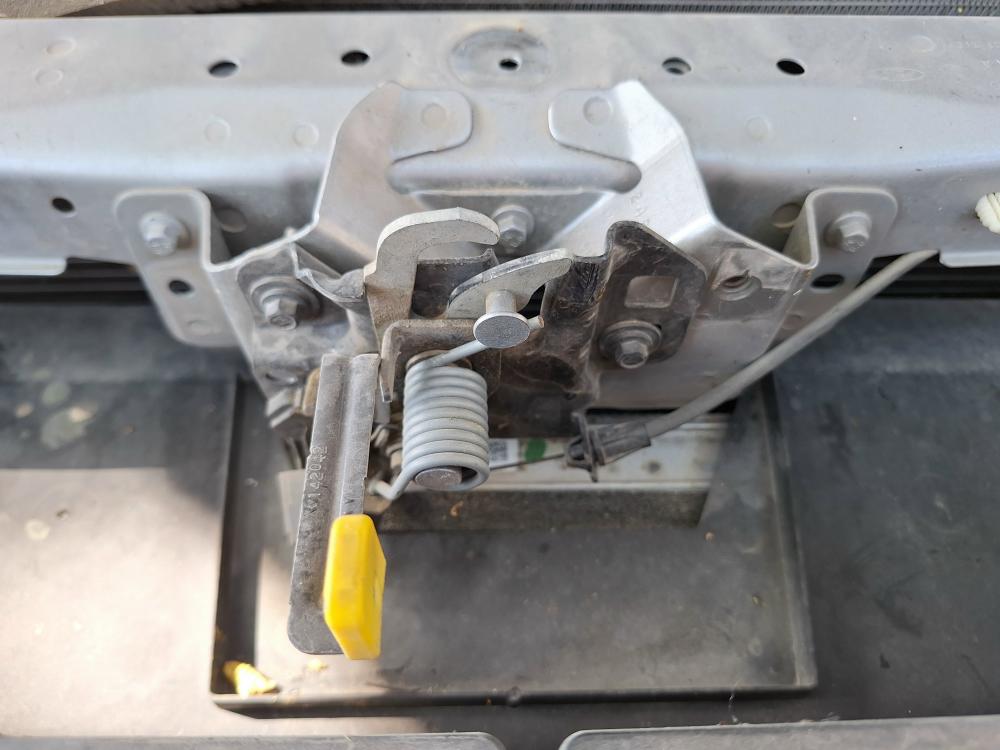
The air deflector is held in place by (4) 7mm bolts. (2) on the left and (2) on the right.
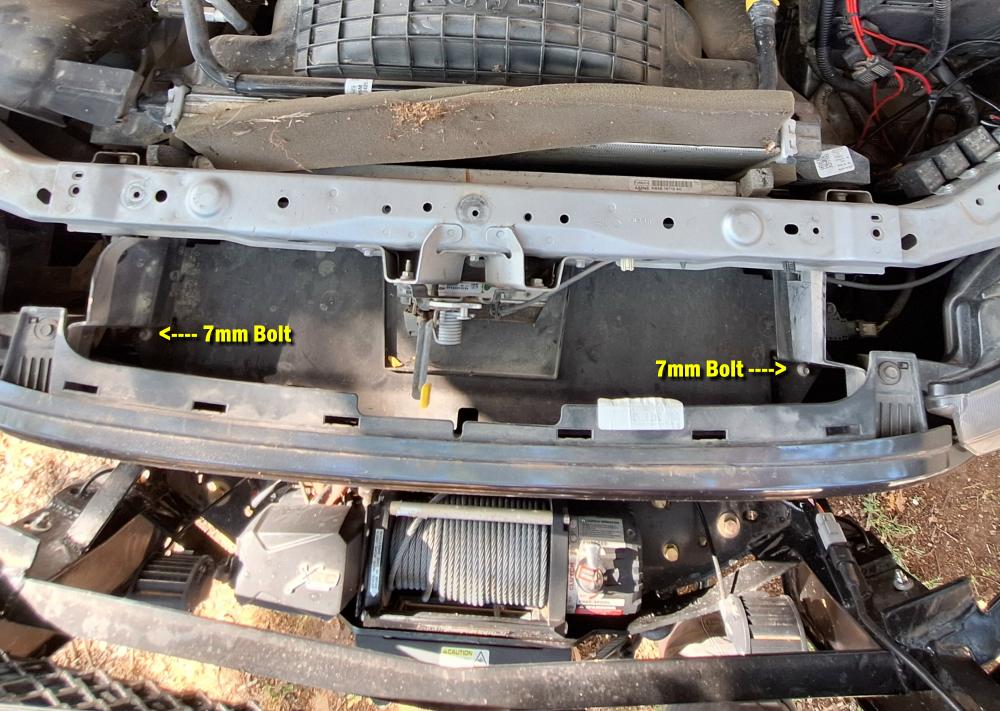
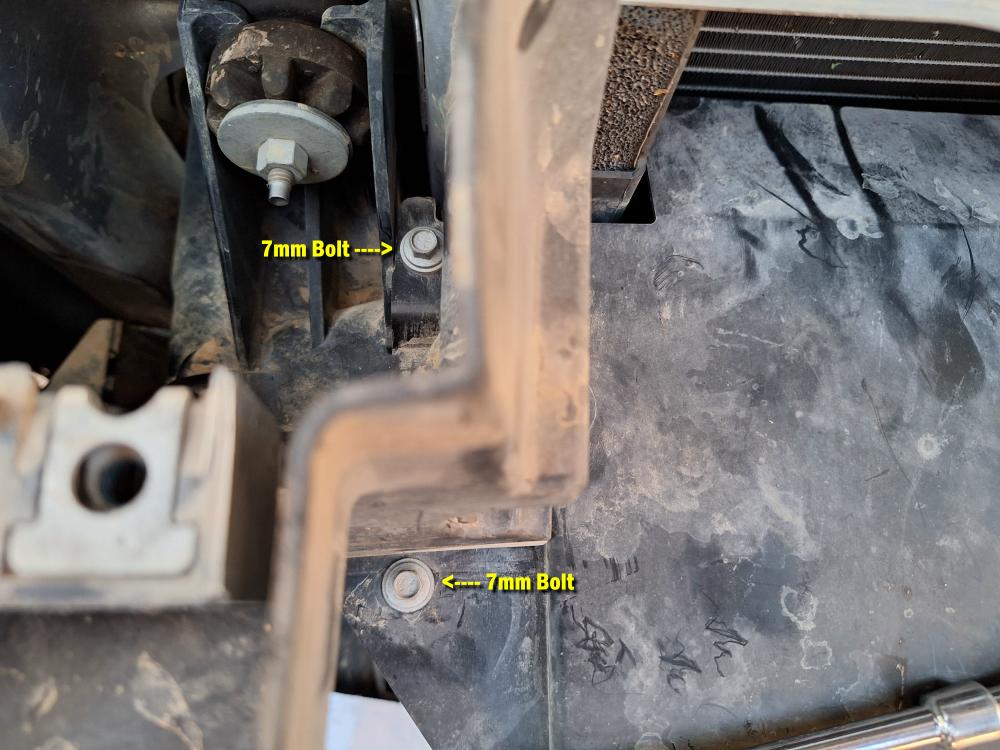
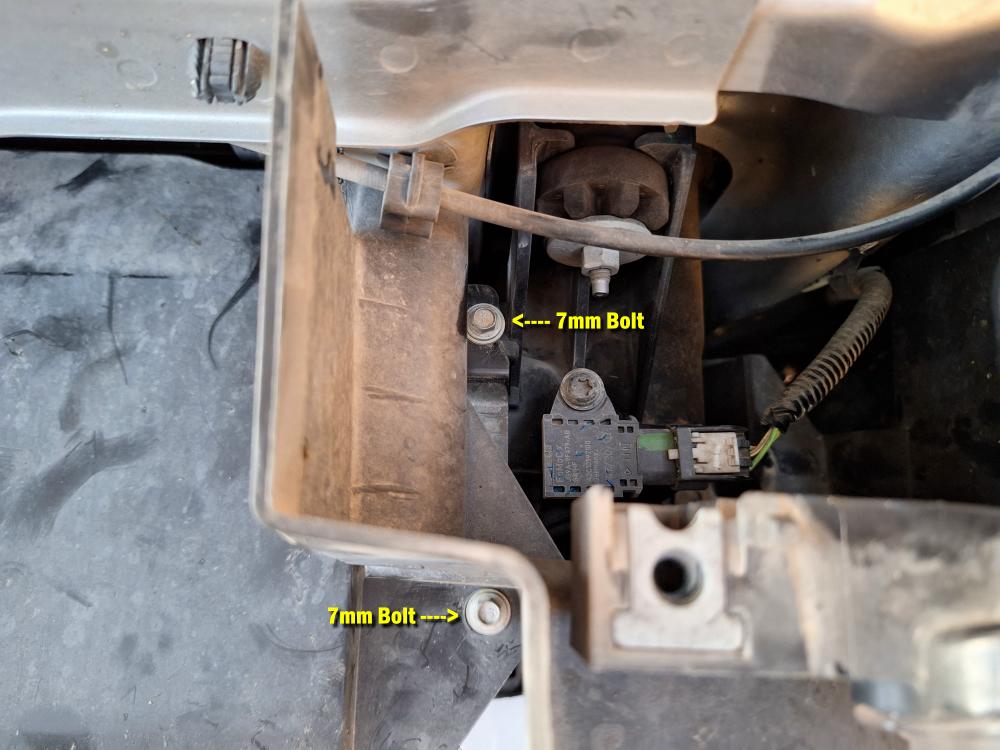
With those (4) 7mm bolts removed, you should be able to slide the air deflector forward (towards the grill) and then slide it down towards the bumper to get it free and then lift it out.
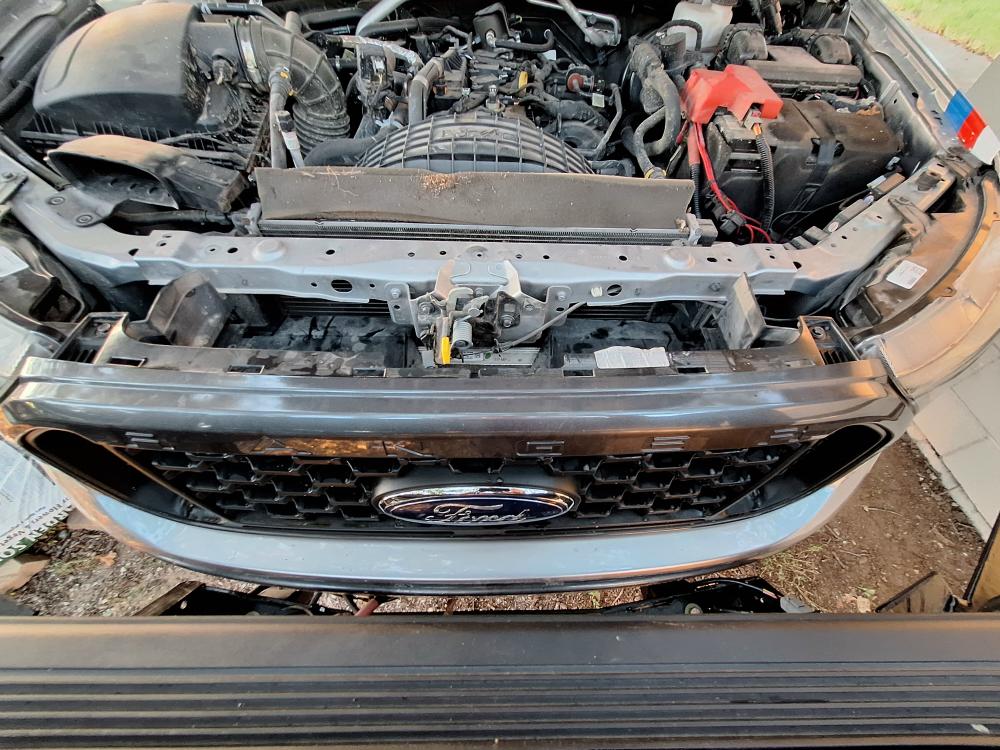
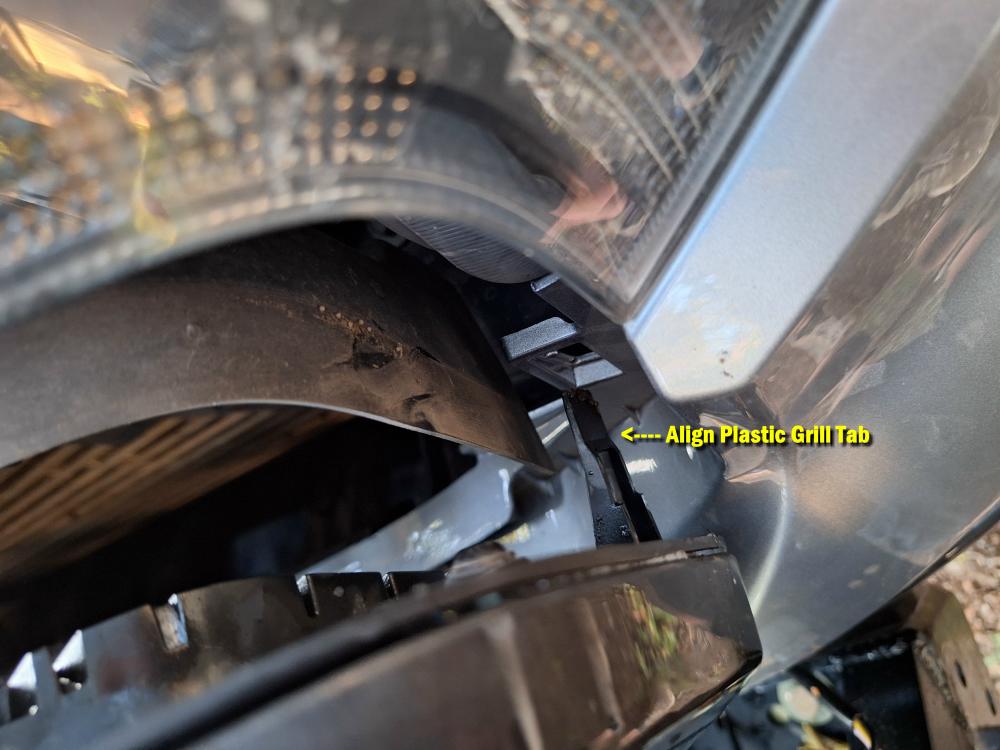
Next, remove the 10mm bolt at the left and right side of the grill. There’s a plastic tab that holds the grill in place as well. You’ll have to lift the grill up and over it.
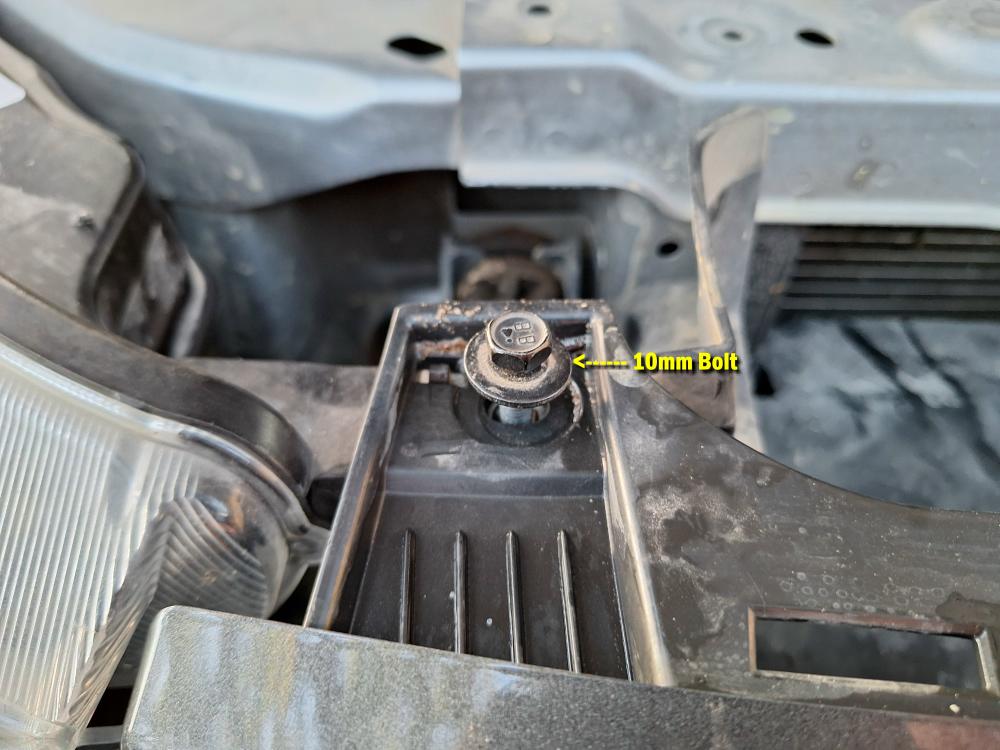
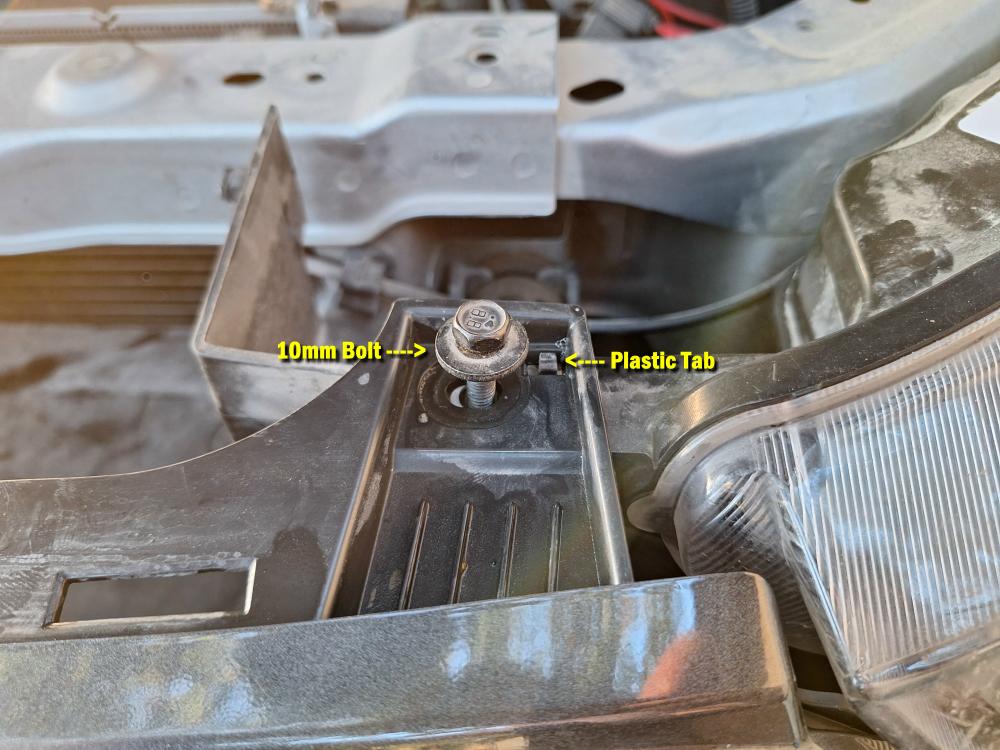
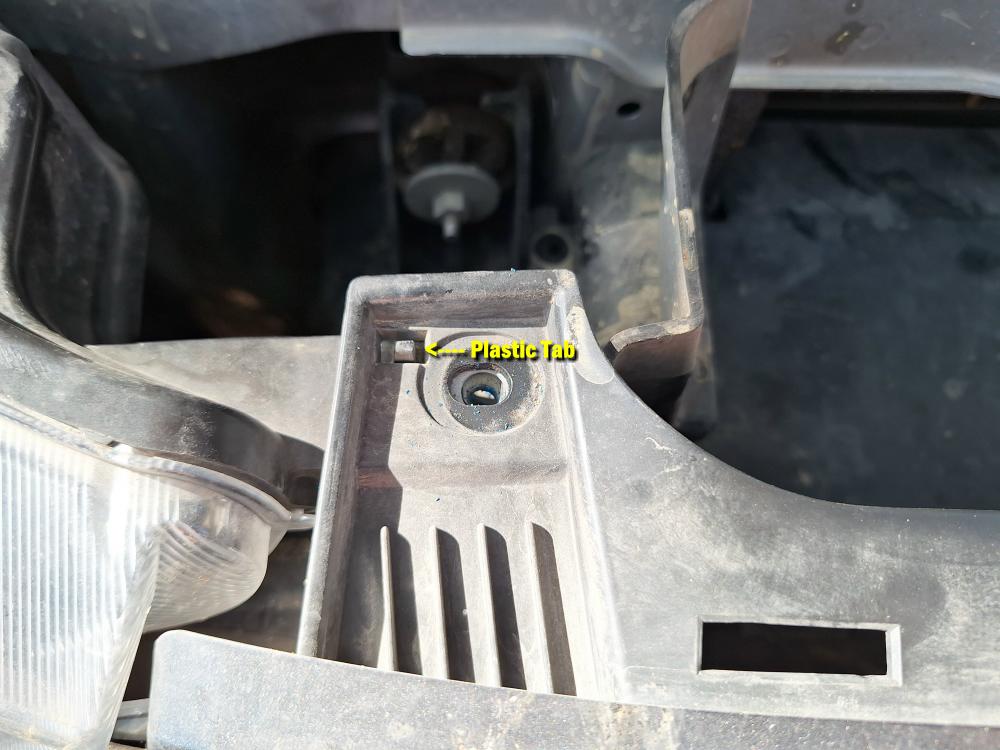
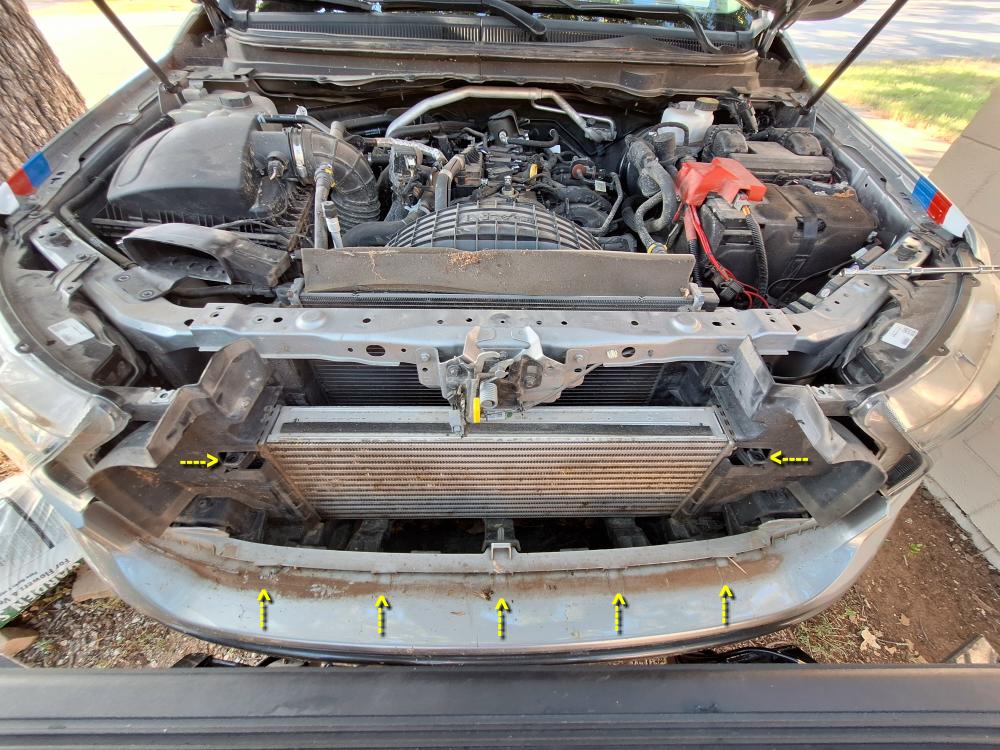
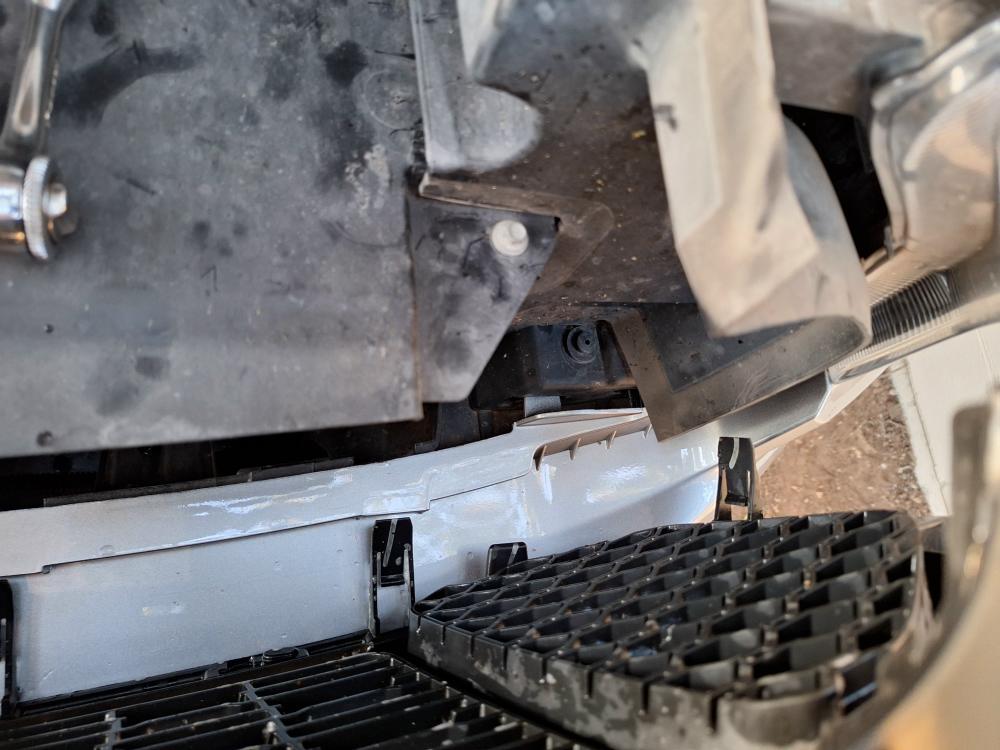
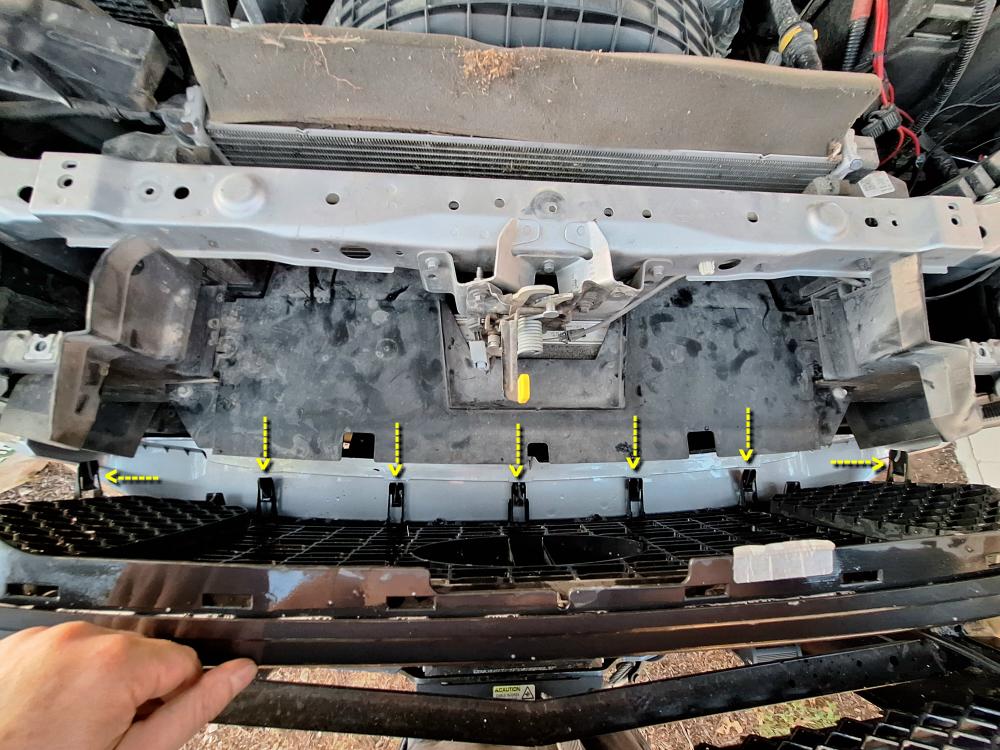
When you look down behind the grill, you’ll find (5) black plastic tabs sticking through the back of the bumper cover.
DO NOT GRAB THE GRILL AND TRY TO PULL IT LOOSE WITHOUT RELEASING THOSE TABS!
I’ve seen videos of people grabbing the grill and yanking it off. You could very easily break the plastic tabs that holds the grill in place.
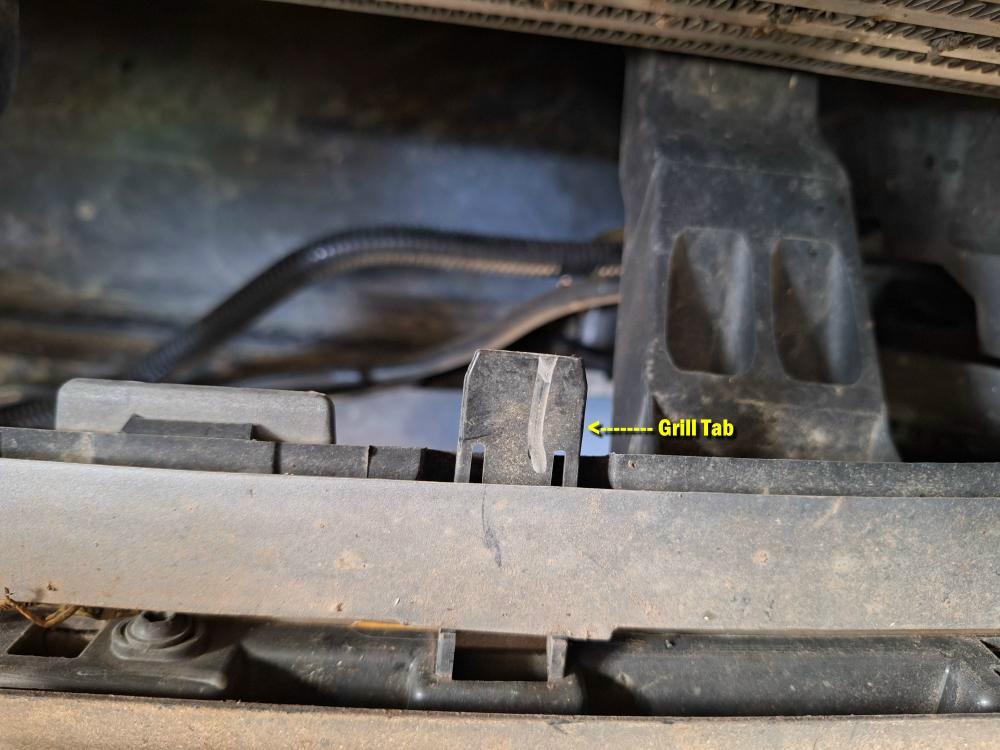
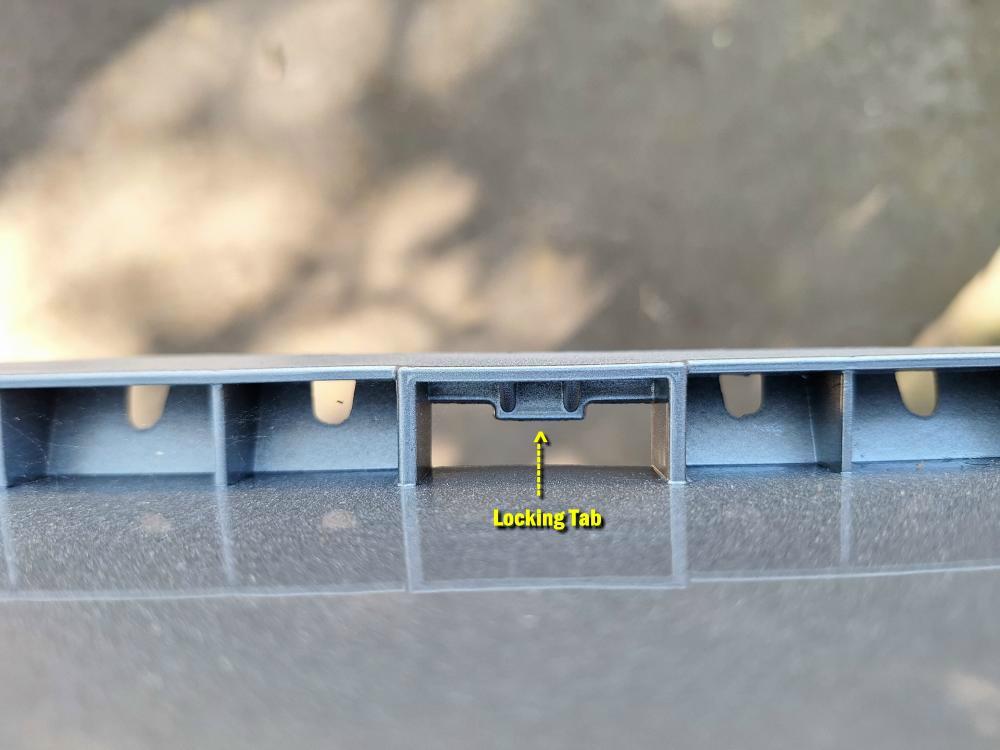
Below is a look through the slot in the bumper cover where the grill tabs mount. You can see that there is a tab in the top of that slot. When you slide the grill in place, that tab locks into the TOP of that black plastic mounting tab. So, to remove the grill, you have to push the black grill tab down to release it. Actually, you have to slide something between the top of the black plastic tab and the bumper cover to get it to unlock.
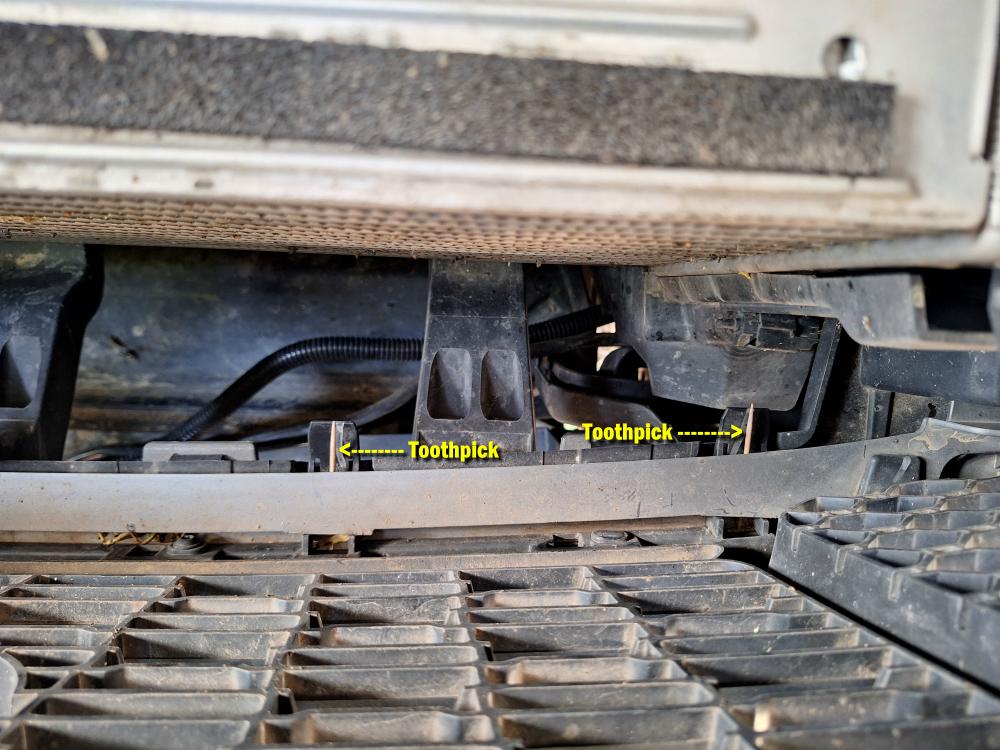
To remove my grill, I used a screwdriver to create a gap between the top of the black plastic grill tab and the bumper cover, and then slid a toothpick in the gap to keep the tab from locking back in place. You can see the toothpicks in the photo below.
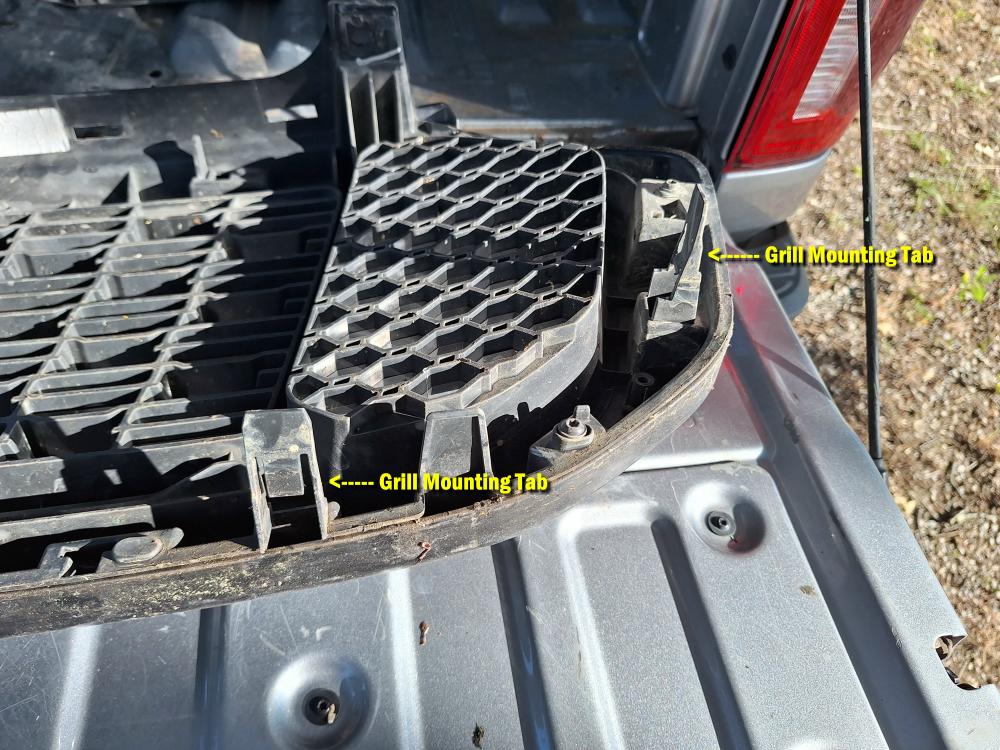
There’s also (1) mounting tab on each side of the grill.
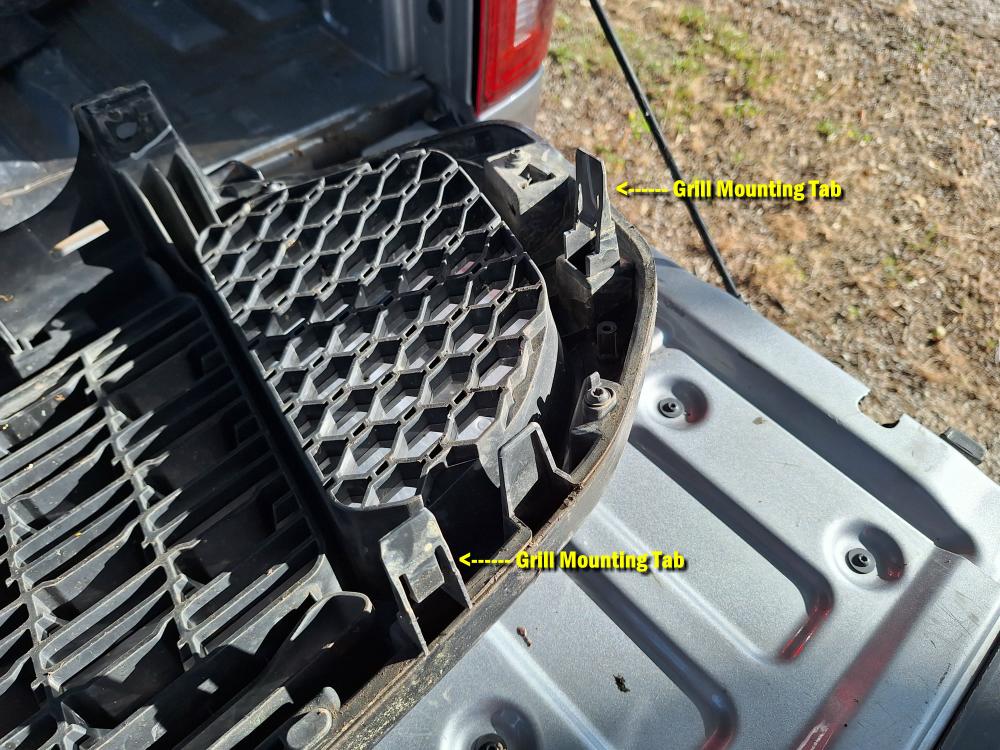
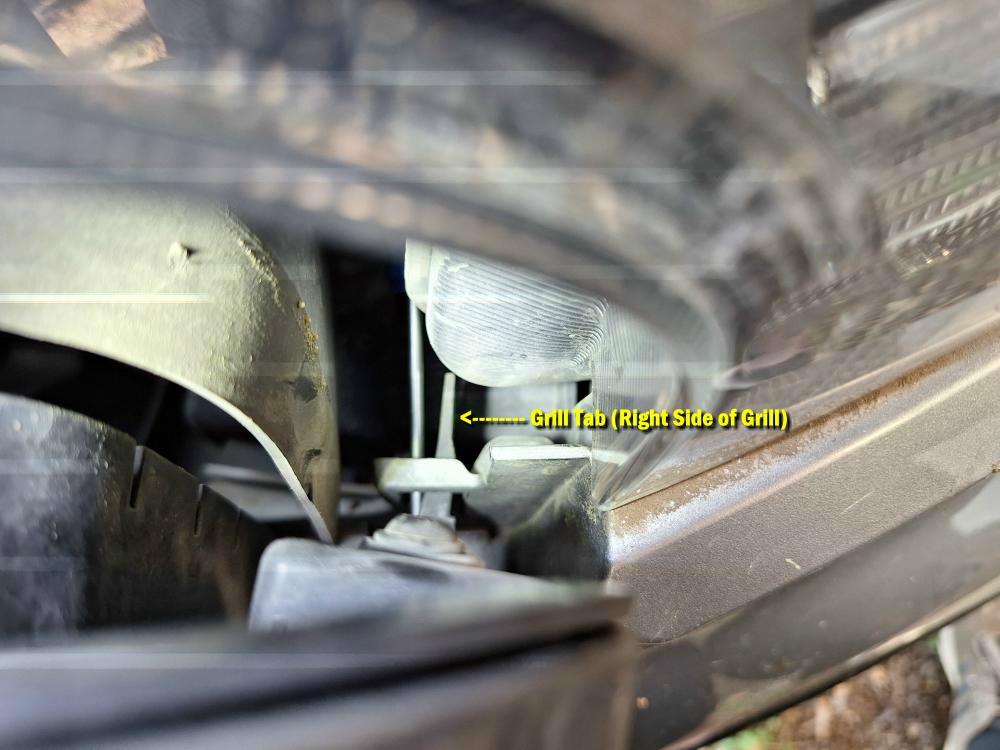
I used a small flathead screwdriver to release the locking tab on the right (drivers’ side) of the grill, and then started working it loose from the right to the left by pulling on the bottom of the grill. As I worked from the right to the left, I released the locking tab on the left side (passenger) of the grill and then completely removed the grill.
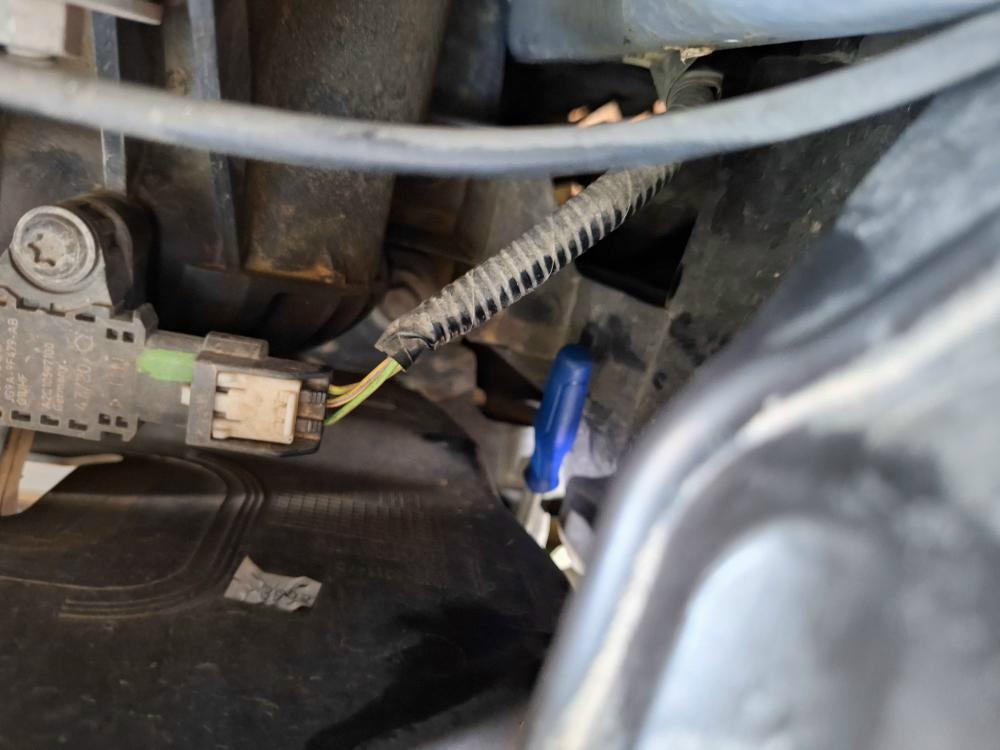
The yellow arrows in the photo below are meant to show you the locations where the grill clips to the truck.
Installation:
Installation is basically just doing all of this in reverse, but before you start installing the grill, set the plastic air deflector in its place and reinstall the (4) 7mm bolts.
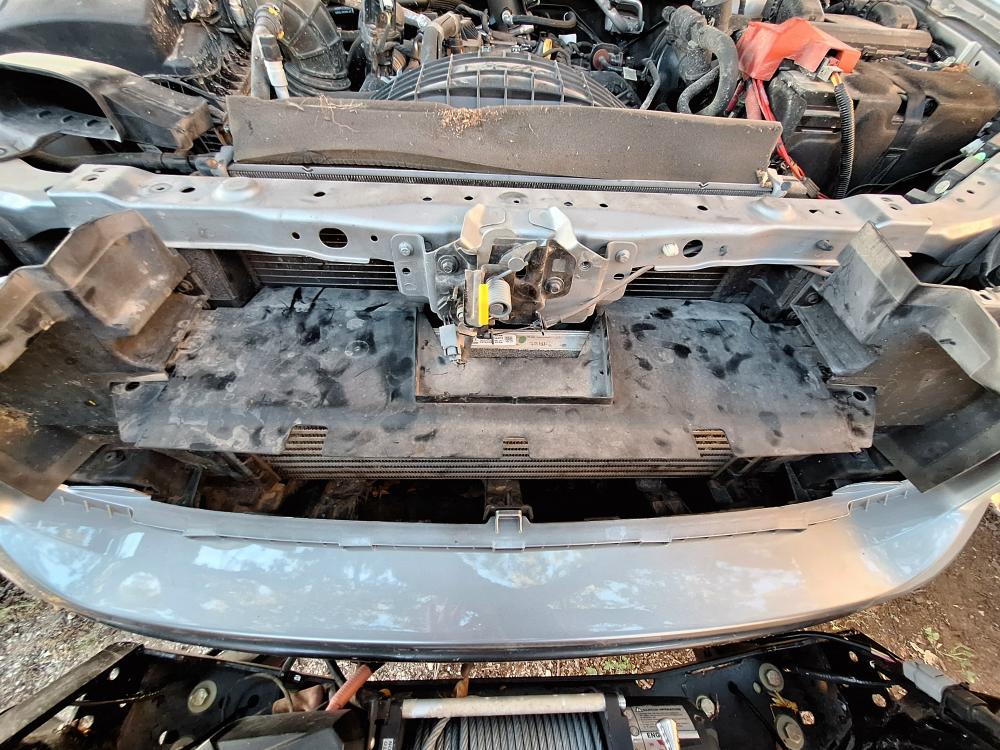
Then make sure all (7) of the grills plastic mounting tabs are properly lined up before you try to snap it in place. Especially the side mounted plastic mounting tab at each end.
From there you can reinstall the (2) 10mm bolts at the top of the grill, the plastic hood latch cover, and then the radiator support access cover.
