Updated: 05/11/2020
WARNING: Using leveling spacers or coils can lead to quite an alignment problem. Positive camber results from this type of lift, and if you do not have enough adjustment available in your factory camber bushings you will need aftermarket ones. It is important to understand how camber alignment on the Ford TTB is accomplished, and what you will need to do to bring the tires back into spec after the lift. Otherwise you will have headaches with alignment afterwards.
Introduction
Stock Rangers sit 1-1/2 inches lower in the front than the rear. Actually, it’s not the the front sits down…the rear sits up a little so that once the bed is loaded up it won’t sag as bad. Many enthusiasts don’t haul that much and would prefer to have the truck site more level.
Over the years Ford Ranger enthusiasts have discovered that you can lift the front of their Ford Ranger with a factory Ford coil spring seat spacer used in some models of Ford trucks.
The spring seats that everyone looked for were these:
- P/N E8TA-5A307-BA
- P/N E8TA-5B316-BA
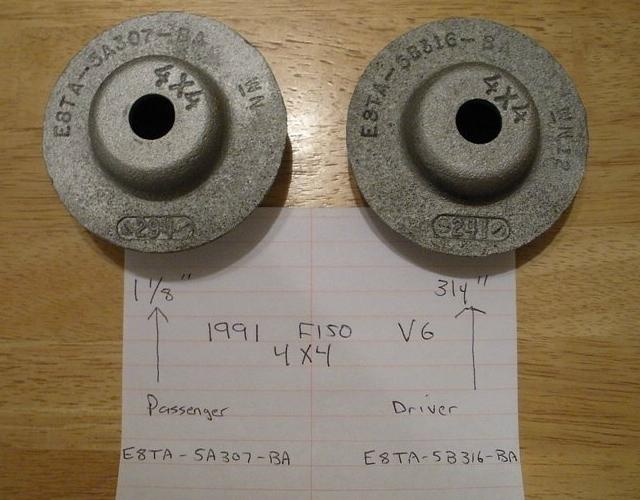
The E8TA-5A307-BA (Right) is 1-1/8″ tall, and the E8TA-5B316-BA (Left) is 3/4″ tall. These spacers were said to be found in a 1991 Ford F-150 4×4 with a 6-cylinder engine.
Those part numbers are now obsolete. They appeared to have been replaced with:
- F2TZ-5A307-A
- F2TZ-5A307-B
These parts are shown to fit 1990-1996 Ford F-150 & F-250 and are also now obsolete.
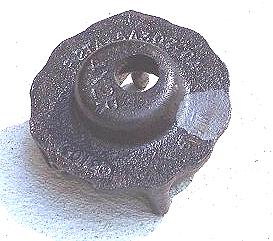
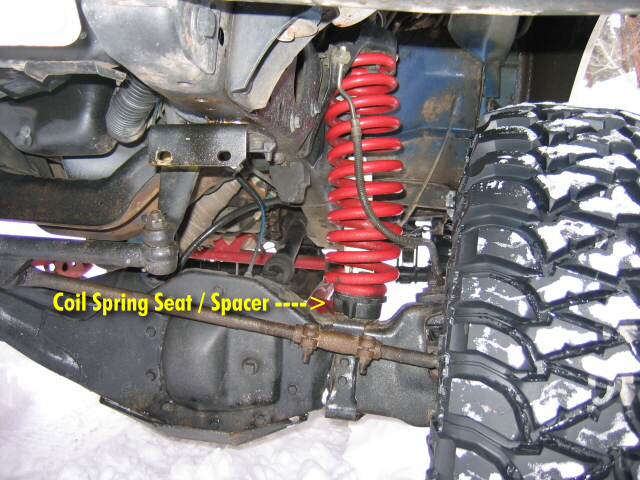
The reason for the (2) part numbers is because there is a left side, and a right side. These pieces sit on top of the axle beams and take the place of the Ranger’s stock spring seat that the coil spring sits on (see below). They are marked 4x2R or 4X2L. However, when fitted on the Ranger, they seem to do best with the 4X2R on the LEFT and 4X2L on the RIGHT.
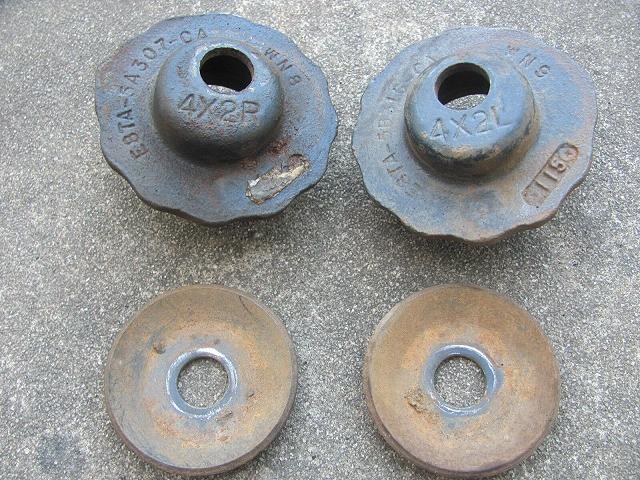
(These spring seat spacers replace the Ford Ranger factory coil spring seat)
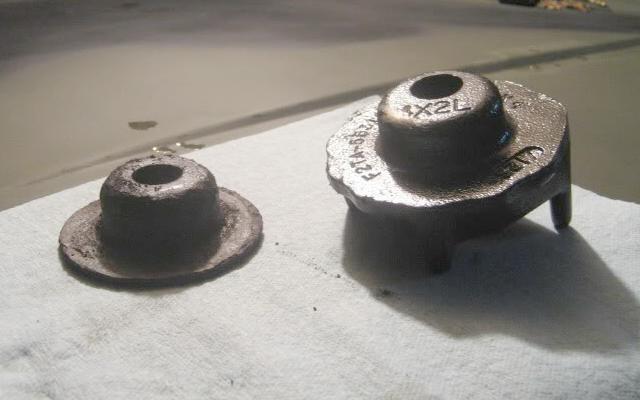
(The Ford Ranger Coil Spring Seat VS Coil Spring Seat Spacer)
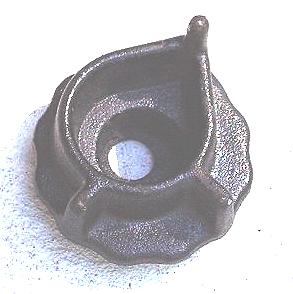
In the photo below you can see that the spring seats have an angle to them, and the hole in the top (where the spring seat slides over the stud) is off center. They also have a stem that hangs down over the axle to keep them from spinning. You can clearly see that the parts are different, and designed to fit a specific side of the vehicle.
The Latest Versions of Ford Coil Spring Seats
Ford also used coil spring seat spacers on some of the Ford Excursions, and newer Ford F-250/350 trucks. These newer versions all seem to have ‘ears’ on them to mount a stabilizer bar.
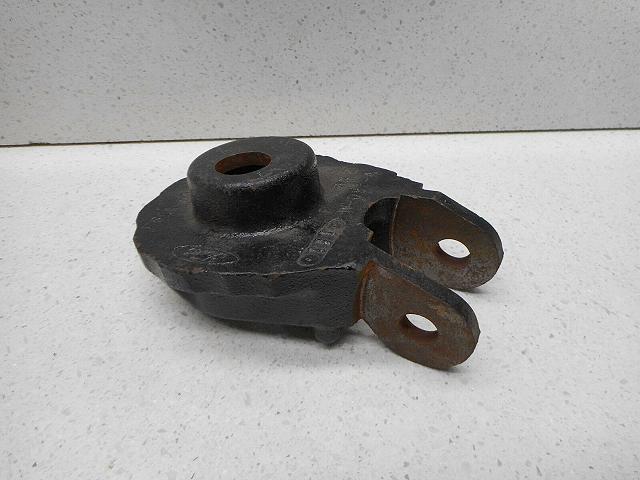
(Ford F81Z-5A307-AB Coil Spring Seat)
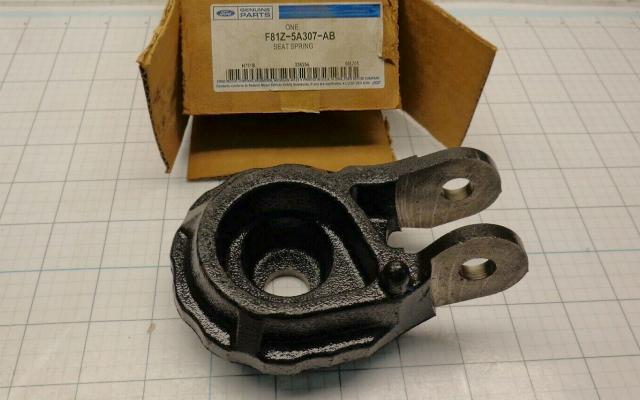
Decoding The Part Number Numbers:
There doesn’t seem to be an exact method of decoding the part numbers. What I do know is:
The 1st digit is the year.
- E = 1980’s
- F = 1990’s
The 2nd digit is the last digit of the year. So an ‘E8’ part number is from 1988.
The 3rd digit is the model.
- T = Truck / Bronco
- 1 = Excursion / Super Duty
The 4th digit is the Design Engineering Office.
- A = Light Truck
- Z = Ford Service Parts
The suffix (last part) generally tells you the change level of a part, regardless of whether it is applied to the casting, the finished part or the service part. However, sometimes a single letter indicates specific application. The suffix can also refer to the color or finish of the part, or the left- or right-hand use of a part.
Ford did not seem to have a uniform method for using suffix’s for these parts. However, if the suffix for the part number is the same for both parts, than 307 would be the right side, and 316 would be the left. If the part numbers were the same and the suffix was different, then the suffix designated if it was right or left.
They Are Not The Same Height:
The left (driver side) seat spacer is always shorter than the right. The right side spacer seems to be 3/8″ (0.3750″) taller.
Part Numbers / Heights:
I have started compiling a list of Ford Coil Spring Seats along with their heights and applications. I will add to this as information becomes available. If you have access to any of these parts and can measure them, please contact me with the measurements.
| Part Number / Side | Height of Spacer | Vehicle Usage |
| E7TA-5B316-EB (4x2L)
(F2TA-5B316-BA) |
1-5/16″ (1.3125″)
Matching right is 1-7/16″ (1.4375) |
1987-1997 Ford F-250/350 |
| E8TZ-5A307-B (4x2R) | 1-7/16″ (1.4375″) | Ford F150 w/o stabilizer bar, before 1/92 |
| E8TA-5B316-CA (4X2L) | 1-1/4″ (1.25″) | 1987-1994 F150 2WD |
| E8TA-5A307-CA (4x2R) | 1-7/16″ (1.4375″) | 1987-1994 F150 2WD |
| E8TA-5B316-BA (4x4L) | 3/4″ (0.75″) | 1988 Ford F150 2WD
1991 Ford F150 4×4 with 6-cylinder |
| E8TA-5A307-BA (4x4R) | 1-1/8″ (1.125″) | 1991 Ford F150 4×4 with 6-cylinder |
| F2TA-5B316-DA (4X2L) | 1-5/16″ (1.3125″) | 1992-1997 Ford F250/F350 |
| F2TA-5A307-DA (4X2R) | 1-1/2″ (1.50″) | 1992 Ford F-150
1994-1997 Ford F250/350 |
| F2TZ-5A307-B (4x2L)
(replaced E8TZ-5A307-F) |
1992-1996 Ford F150/350 w/o Stabilizer Bar | |
| F2TZ-5A307-A (4x2R)
(replaced E8TZ-5A307-B) |
1-1/2″ (1.50″) | 1992-1996 Ford F150/350 w/o Stabilizer Bar |
| F2TZ-5A307-D (4x2L)
(replaced E8TZ-5A307-G) |
1992-1996 F150/350 2WD w/ stabilizer bar | |
| F2TZ-5A307-C (4x2R) | 1992-1996 F150/350 2WD w/ stabilizer bar | |
| F2TZ-5A307-F (4x2L) | 1995 Ford F-250 w/stabilizer bar | |
| F2TZ-5A307-E (4x2R)
(replaced E8TZ-5A307-C) |
1992-1996 F150/350 2WD w/ stabilizer bar | |
| F81Z-5A307-AB (4x2L) | 1-1/16″ +/- 1/32″ (Likely 1-1/4″) | 1999-2007 Ford F250/350
2000-2005 Excursion |
| F81Z-5A307-AA (4x2R) | 1999-2007 Ford F250/350
2000-2005 Excursion |
|
| 7C34-5A307-AB (4x2R) | 2011-2016 Ford F250/350 | |
| 7C34-5B316-AB (4x2R) | 2011-2015 Ford F350 | |
| 7C3Z-5A307-AL (4x2L) | 2008-2019 Ford F250/350
2012 Ford F350 w/ stabilizer bar |
|
| 7C3Z-5A307-AR (4x2R) | 2016-2019 Ford F250 King Ranch w/ stabilizer bar
2012 Ford F350 |
The Wrong Seat:
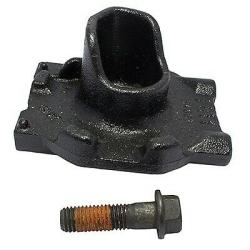
(P/N 5C3Z-5A307-AA)
This is not the coil spring seat that you want. This one is from a 2014-2016 Ford F250/350.
And so is this one. Clearly different.
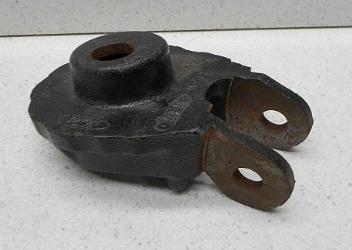
(P/N F81A-5A307-AB)
Installation By: Eric Steinberg
Ford used spring perches on the early 1990’s F-150’s that sat under the bottom of the coil spring. The part numbers are;
- F2TZ-5A307-A
- F2TZ-5A307-B
These cost me about $15 each at the local Ford dealer’s parts counter.
The part numbers apparently refer to right and left and can be ordered from your local Ford parts department. These pieces fit on top of the TTB’s and take the place of the current perches the front coils now set on. They are marked 4x2R/L. However, when fitted on the Ranger, they seem to do best with the 4x2R on the LEFT and vice-versa.
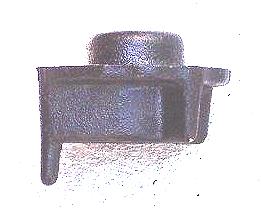
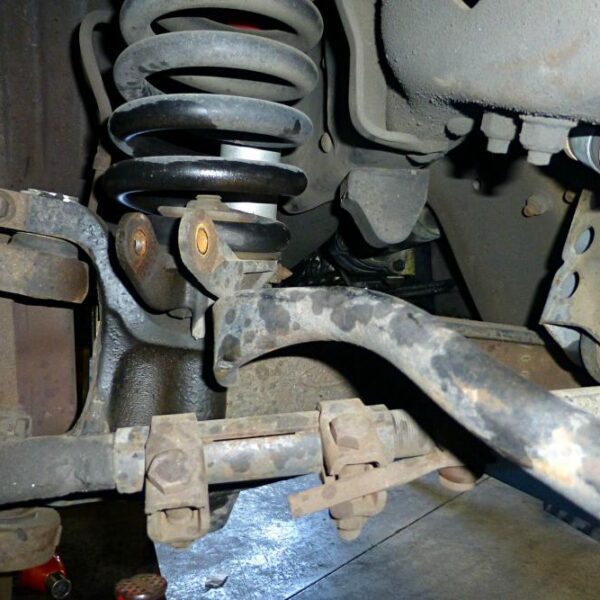
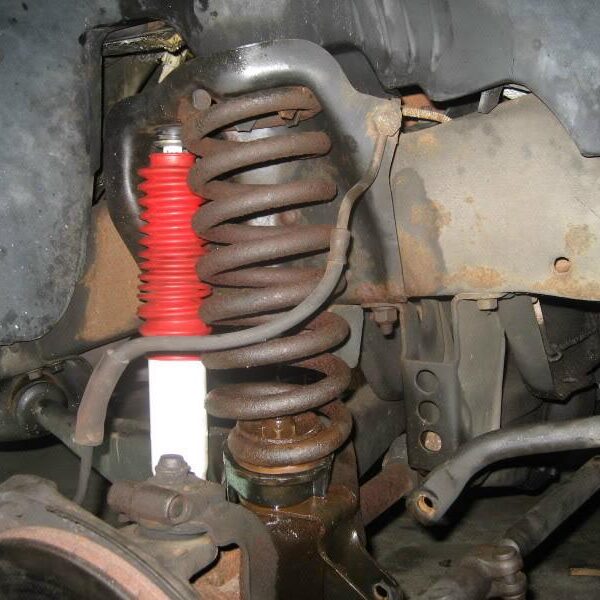
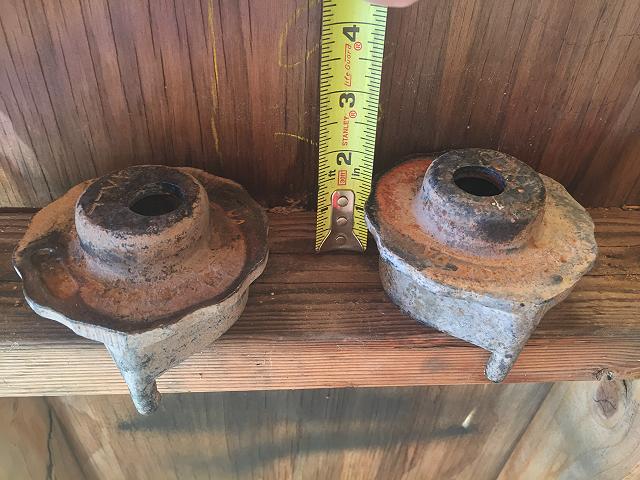
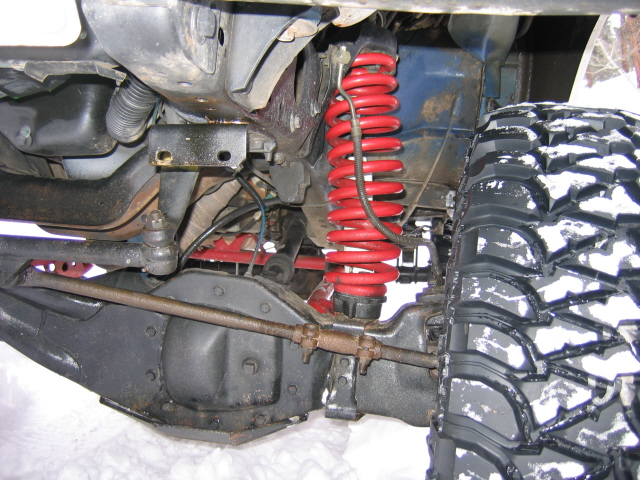
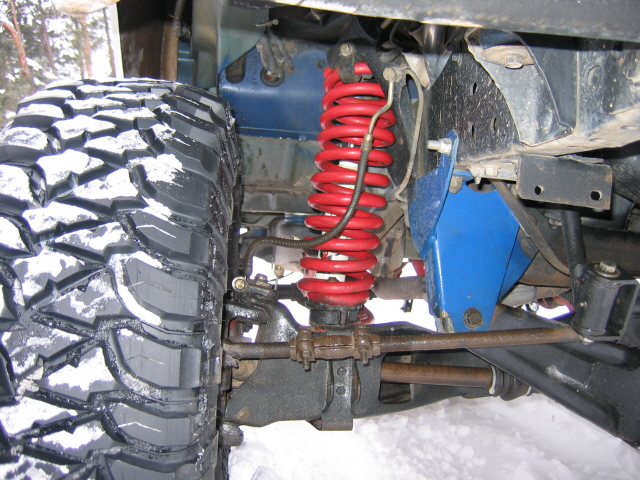
Below are different views of a factory spacer:
The install went relatively smoothly. At first we didn’t have the correct tools to get the spring retainer nut off. A 1-1/8″ box-end wrench seems to be the best tool for the job. Aside from that you will just need your metric wrenches or sockets (18mm) for the shock and sway-bar nuts. Just make sure you can get some leverage. Several applications of penetrating oil (such as Liquid Wrench) to shock, sway bar, and spring retainer nuts a few days before can’t hurt either. An impact driver is nice to have.
To begin, jack up the suspension on either side, place a jackstand under the frame, and pull the tire. Before you let the jack on the suspension drop, detach your shock and swaybar link. If you drop the suspension first you will have a hard time pulling both of these off. Once removed, slowly drop the jack letting the frame sit on the jackstand. The I-beams will drop far, and the spring will likely pop out immediately. Note the orientation of the spring (rotation) so that you can put it back in just like it was. Start working on that spring retainer nut with your box-end wrench. A length of cheater pipe may be needed.
While you have the chance, take a wire brush to that bolt. It will remove some of the rust and the nut will go back on a lot more easily than it came off.
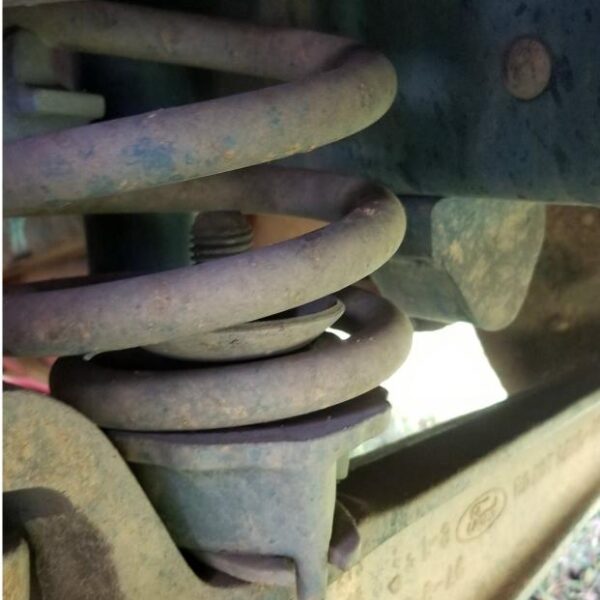
The spacers are marked 4x2R and 4x2L. This would seem to mean that one is for the right and one for the left. However, I found that with the offset of the new spring perch, the 4x2L fit better on the RIGHT and vice-versa. The only important thing is that the offset faces towards the truck. The springs seem to fit better this way. The spacers have a little “finger” on the bottom that fits nicely just outside of the radius arm as shown.
Make sure the spacer sits down flat and does not rock on that “finger”. Install the nylon washer that was under the spring and be sure that it is facing the same way as it was originally. Do not use the old metal spring perch, just the nylon washer.
Re-install the coil spring, retainer, and nut. Once everything is looking good, get that nut good and tight. The nice thing about these spacers is that they leave just enough thread on the bolt to get the entire retainer nut threaded on. Jack the suspension up enough to re-attach the shock and swaybar link. Put your tire back on and repeat on the other side.

More Information:
The ‘5A307’ in the part number appears to be a reference number for a spring seat. Just because it has ‘5A307’ in the number doesn’t mean it will have any height for lift. For example, F0TZ-5A307-A is a coil seat for a Ford Ranger. This doesn’t provide lift. It’s just a stock part that covers the radius arm stud and helps position the coil spring.
The Nylon Washer / Isolator:
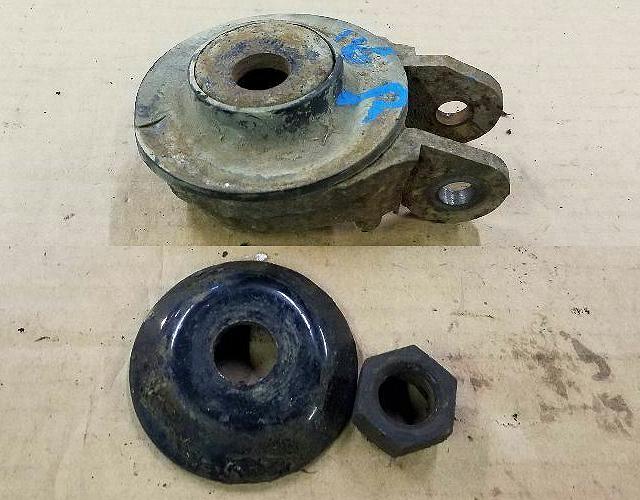
The nylon washer referenced in the installation is a coil spring isolator. This isolator keeps suspension Noise, Vibration, and Harmonics (NVH) from being transmitted to the rest of the chassis. Over time, they deteriorates due to wear and exposure to the elements.
Make sure you remember to install the isolators when you install the spring seats!
Moog offers a replacement P/N K160065
More Photos
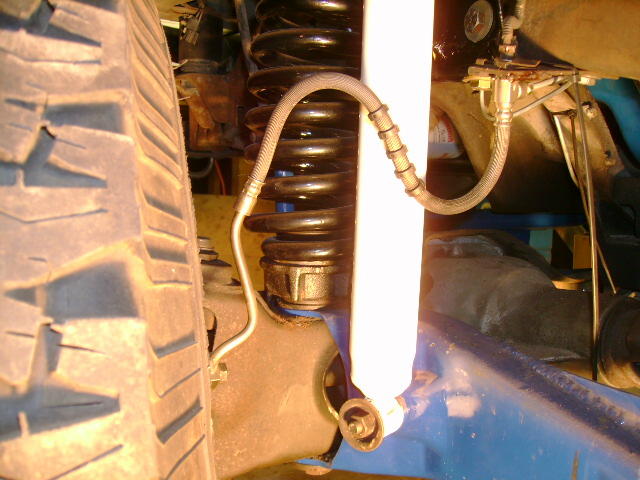
Click the photos to enlarge:
Diagrams
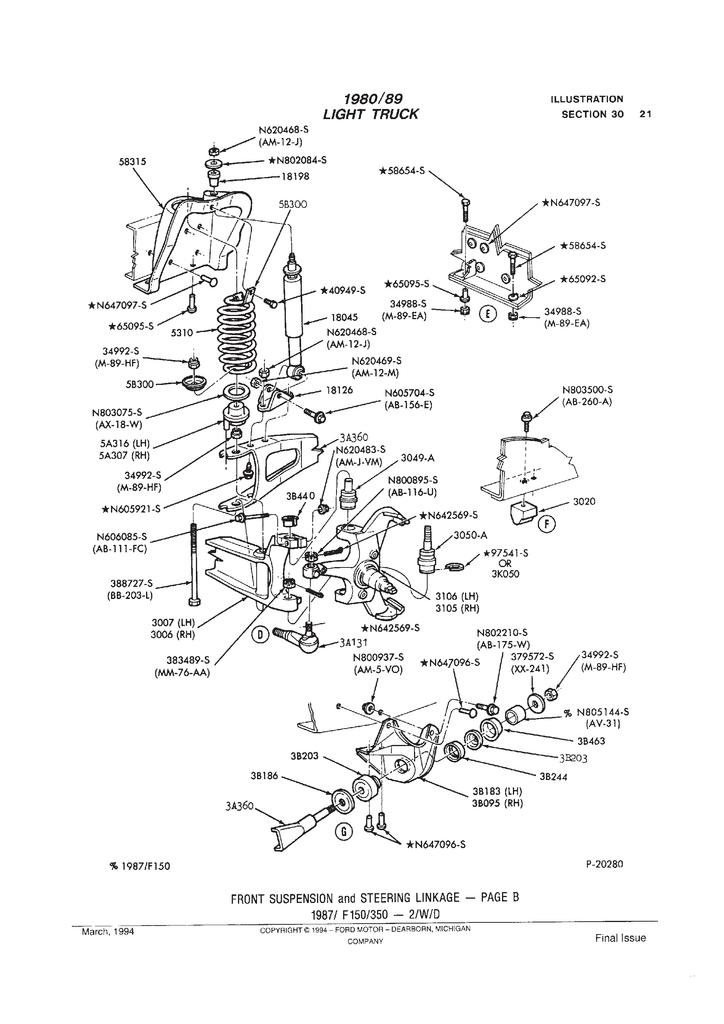
(Parts 5A316 & 5A307 Above)
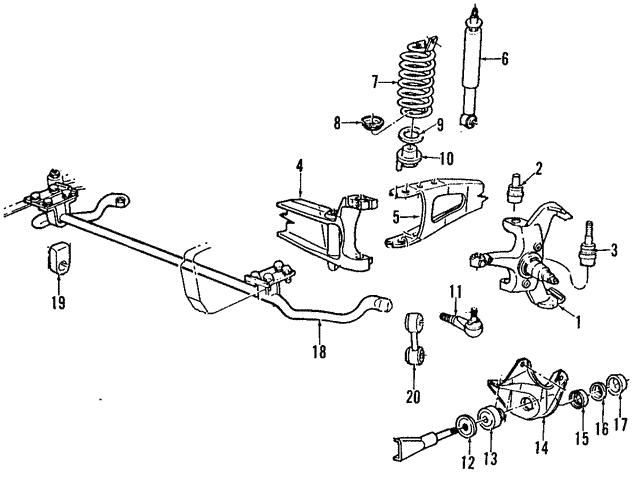
(Part #10 Above)


