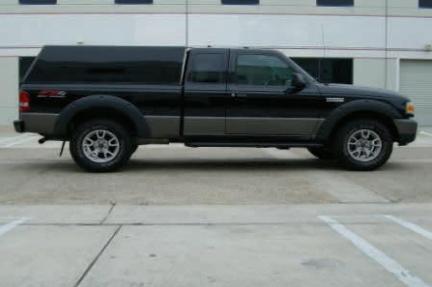
Buying torsion bar keys to lift your Ford Ranger has been a controversial discussion amongst Ford Ranger owners. The debate is usually over:
1) Are they a waste of money?
2) Will they make your truck ride harsher?
3) Will they cause your balljoints and CV’s to wear prematurely?
Whether they are a waste of money is up to you. People that have installed the ReadyLift keys have reported that the ride did not get worse, and sticking to 2.00 to 2.25 inches of lift should not cause your balljoints or CV’s to wear prematurely. The premature wear generally comes from over cranking them.
What ReadyLift says:
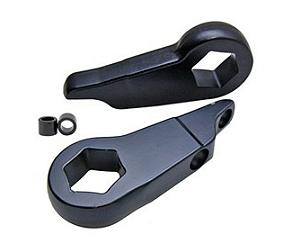
ReadyLift® Torsion Keys are engineered to provide the CORRECT amount of “clocking” to provide the lift necessary to level the vehicle without compromising the ride quality and working within the factory geometry specifications. Our keys provide the ability to apply specific force to the rotation of the torsion bar to establish the desired lift while allowing the torsion bar to be able to rotate during downward suspension cycles. Our Keys are designed specifically to accommodate what the owner wants as well as what the suspension needs in order to operate correctly.
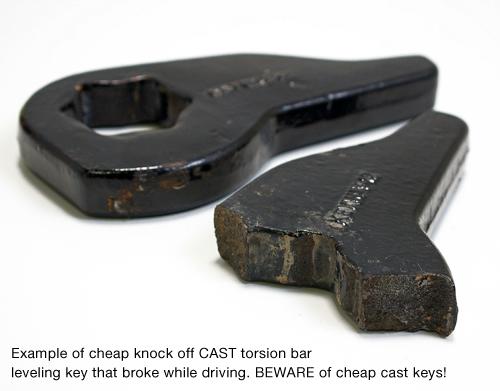
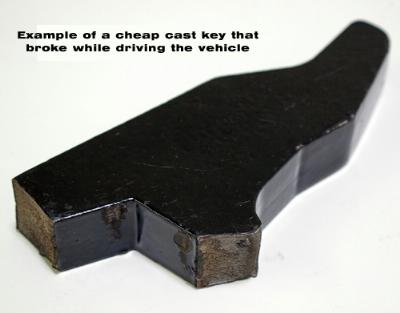
ReadyLift® Forged Torsion Keys are designed beyond the OEM cast key requirements (25% stronger) because increasing the rotation of the torsion bar also increases the torsional energy and force. Cast keys often cannot handle these additional forces and will FAIL. It is not uncommon for an installer to discover a dangerous surprise when trying to load a cast key that is most likely incorrectly and haphazardly clocked. Installing a torsion bar leveling key takes incredible force, something many cheap cast keys that can be found on the market simply cannot handle. Some cheap cast keys break during installation or while simply driving down the road, both of which present dangerous complications to both life and vehicle.
(Beware when buying cheap or no name ebay kits)
Notes Forum Our Members:
From Elmobile (reference shocks):
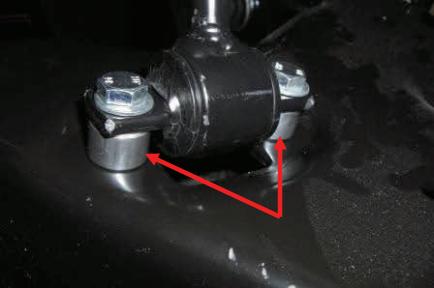
It is HIGHLY RECOMMENDED to upgrade to extended length front shocks during the install process. The reason being that when the new torsion keys are installed the stock shocks have to be extended unnaturally to accommodate the 2.50 inch front lift. When the old shocks are maxed out like that there is nothing to allow them to actually compress and “shock” anything. As a side note, it also causes the bushings to become flattened which also can cause unnatural wear and risk damage to the mounting brackets. In short, using the old shocks will make the vehicle behave like a bobble head toy. I recommend using the Rancho RS5000 1.25 to 2.25 inch extended shock part #RS5374. Once you install the new torsion keys, rancho shocks, and have an alignment done; the ride quality will be restored to stock quality and will neither be too stiff or too weak.
From DirtyDave (ride quality):
I noticed zero difference in the ride after I installed them. Pretty Pleased with the results. 2009 Ford Ranger Sport 4×4 4.0L – ReadyLift 2.25′ Leveling Kit.
Other Comments Found Online:
I’m running the ready lift keys on my 2009 and the keys are indexed a lot more than the stock keys. When we installed the keys and turned the bolts to the original position I had to back off those bolts by 5-6 turns my ride height was too high. So once we got the truck leveled I was surprised to find out the ride stayed the same and my CV’s (axle shafts) were only angled slightly. To sum up I’ve been running this setup for almost a year with no problems at all.
Installing Readylift 2.25-Inch Torsion Key Lift P/N 66-2020:
Installation Warning: All steps and procedures described in these instructions were performed while the vehicle was properly supported on a two post vehicle lift with safety jacks. Use caution during all disassembly and assembly steps to insure suspension components are not over extended causing damage to any vehicle components and parts included in this kit. Included instructions are guidelines only for recommended procedures and are not meant to be definitive. Installer is responsible to insure a safe and controllable vehicle after performing modifications.
Suspension components that use rubber or urethane bushings should be tightened with the vehicle at normal ride height. This will prevent premature wear or failure of the bushing and maintain ride comfort. Larger tire and wheel combinations may increase leverage on suspension, steering, and related components. Due to payload options and initial ride height variances, the amount of lift is a base figure. Final ride height dimensions may vary in accordance to original vehicle ride height. Always measure the vehicle ride height prior to beginning installation.
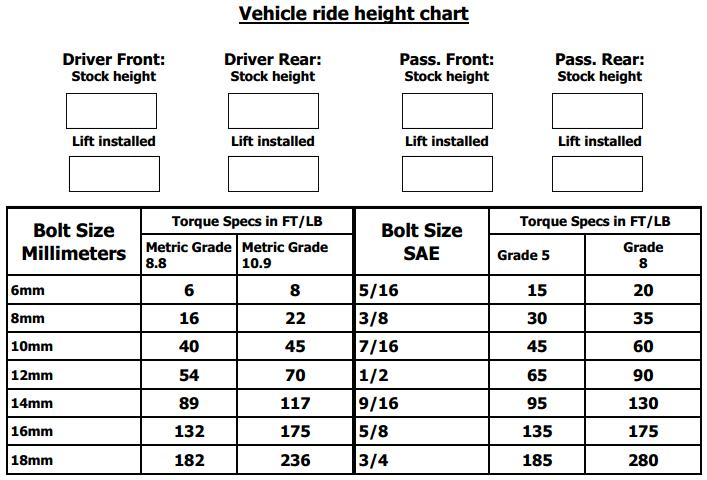
Unless otherwise specified, tighten all bolts and fasteners to standard torque specifications listed within the OE Service Manual, or as referenced in the torque specification list provided in these instructions.
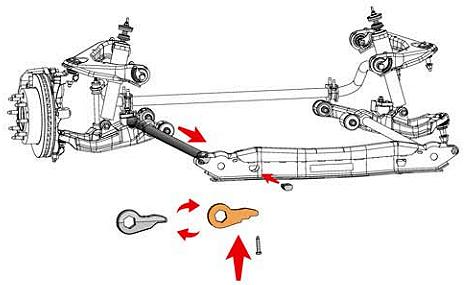
Raise vehicle and support frame with jack stands
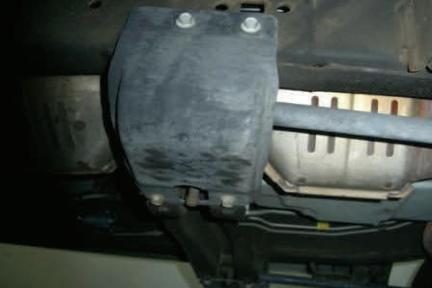
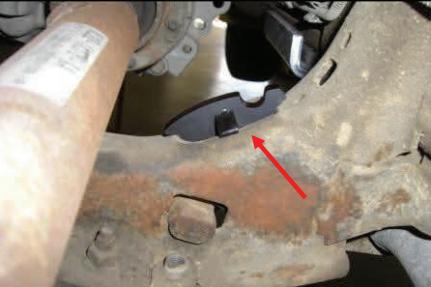
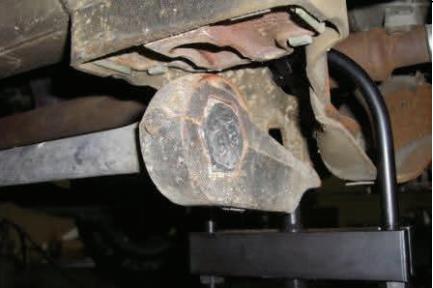
Locate cross member cover and remove bolts
Cover will expose torsion keys
Remove torsion key adjuster bolt
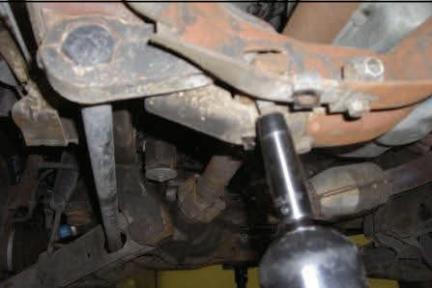
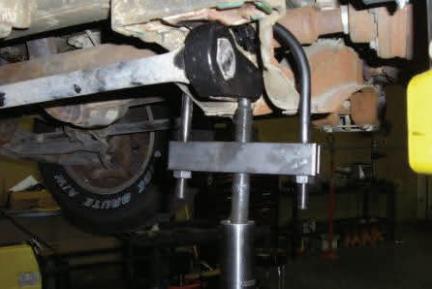
Place torsion bar unloading tool adapter above cross member
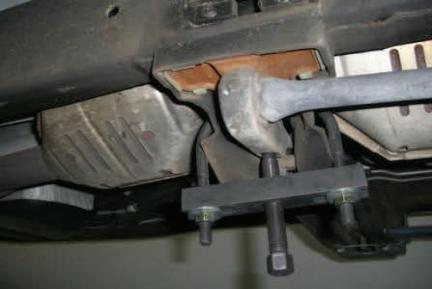
Attach u-bolt over cross member and install tool
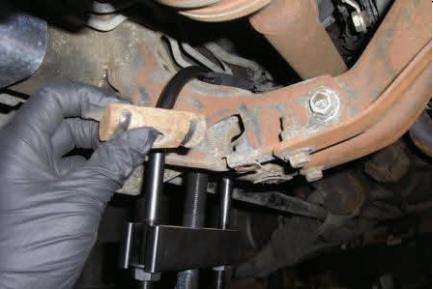
Adjust tool enough to remove keeper block
Unload tool and torsion bar will lower, remove torsion key
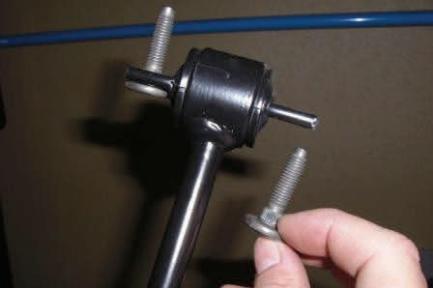
Install new torsion key and reload tool
Adjust torsion key tool enough to replace keeper block
With the new torsion keys installed, reinstall adjuster bolt into torsion key keeper block.
Do not adjust torsion keys until the following steps are completed.
Remove the front shocks from vehicle in order to perform the next few steps. Use caution to avoid damaging shocks.
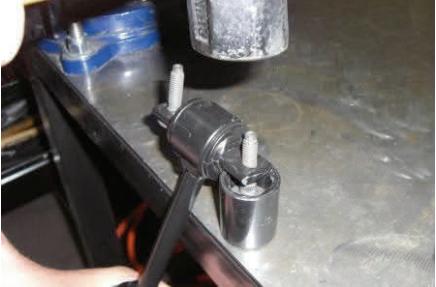
Hammer out OE mounting bolts
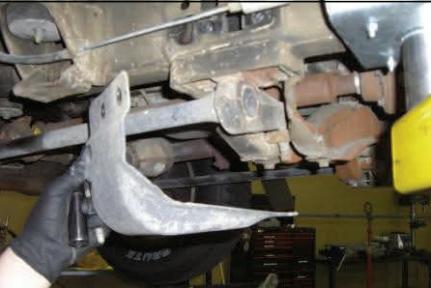
Now you can adjust the new torsion keys to the desired ride height. Finally, replace the cross member guards under torsion keys.
Recheck all work, test drive and then have vehicle aligned.
Final Checks & Adjustments
Post Installation Warnings: Once the vehicle is lowered to the ground, check all parts which have rubber or urethane components to insure proper torque. Torque wheels to factory specs. Move vehicle backwards and forwards a short distance to allow suspension components to adjust. Turn the front wheels completely left then right and verify adequate tire, wheel, brake line, and ABS wire clearance. Test and inspect steering, brake and suspension components for tightness and proper operation. Inspect brakes hoses and ABS lines for adequate slack at full extension. Failure to perform the post inspection checks may result in vehicle component damage and/or personal injury or death to driver and/or passengers. Test drive vehicle and re-check the torque of all fasteners and re-torque wheels on vehicle. Re-adjust headlights.
Vehicle Handling Warning: Vehicles with larger tires and wheels will handle differently than stock vehicles. Take time to familiarize yourself with the handling of your vehicle.
Wheel Alignment/Headlamp Adjustment:
It is necessary to have a proper and professional wheel alignment performed by a certified alignment technician. Align the vehicle to factory specifications. It is recommended that your vehicle alignment be checked after any off-road driving. In addition to your vehicle alignment, for your safety and others, it is necessary to check and adjust your vehicle headlamps for proper aim and alignment.
Vehicle Re-Torque and Safety Inspection:
Upon completion of all services and adjustments performed on your vehicle, and within 50 miles of driving, check to ensure all fasteners and hardware are properly torqued to specification as noted in the vehicles factory service manual or the torque chart included.
Aftermarket keys for the Ford Ranger are offered by:
Readylift 2.25 Inch P/N 66-2020
Rough Country 1.50 Inch P/N 50108
Truxxx 3 Inch with rear add-a-leaf P/N 101055
Resources:

