(Explorer Center Console – Lid and inner compartment not shown)
I was in the salvage yard and came across this center console in an Explorer while salvaging parts off of it. I decided to get it and install it between the buckets in my 1983 Ranger (TRS-1). Above is a photo of it with the lid and inner console compartment already removed.
These consoles aren’t that difficult to remove and install if you’re patient.
Note: I didn’t take photos when I was pulling this from the salvage yard. I did however take some while installing it to use for reference.
Also, my main purpose of putting this together after the fact was to give people some info on removing them from the vehicle in the salvage yard. People find them and then have questions on how to remove them.
Tools Needed:
Phillips Head Screwdriver
10mm Socket, Ratchet & Long Extension
Removal of Console:

Removing the console begins by opening the lid and removing the (3) screws holding the lid to the console
Once the lid is off you’ll see the (4) screws holding the black inner compartment up in place. The plastic console is somewhat flexible and once you remove those screws you should be able to pull that inner compartment out.
Next remove the screws that hold the front cup holder section in place. There are (2) screws in the front of the cup holder (Bottom part of photo above). There’s a good chance that your donor console may be full of crud and these screws aren’t visible. Clean it out so you can get the screws out and remove all (4) screws.
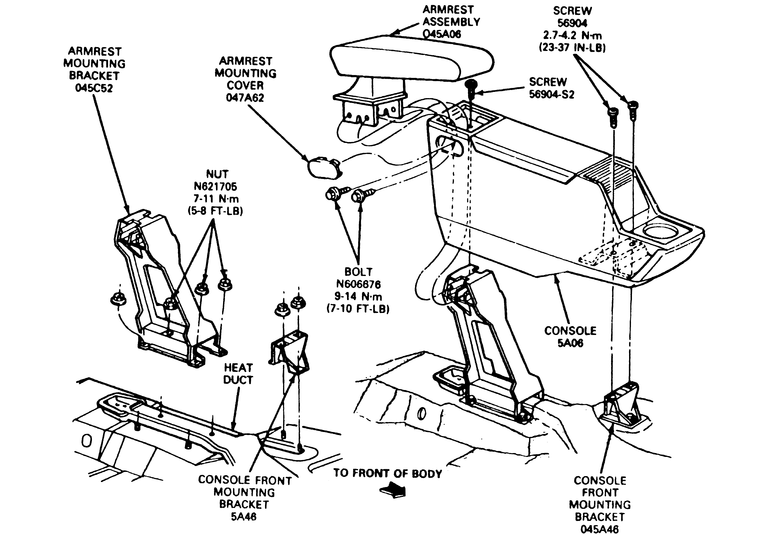
After removing the front cup holder section, remove the (2) screws holding the front of the console down to the mounting bracket.
Then remove the (4) 10mm nuts from the metal upright console bracket (missing from photo – see mounting holes in photo). The carpet and insulation will probably be in your way.
From here you should be able to remove the whole console.
Make sure when you remove it you get the front plastic bracket that’s still mounted to the floor.
Installation:
Installation is fairly straight forward. You’ll have to get (6) bolts to run through the floor. (4) for the rear upright metal bracket and (2) for the front plastic bracket.
Once you have the console positioned where you want it, you can mark the rear (4) holes. The front bracket is a bit more difficult. Since I don’t have carpet in my cab, I was able to attach it to the console and then mark around it on the floor with a pencil. Then I just took it back off, set it in the marks and marked the holes.
Here’s (above) a shot of the console in my 1983 Ranger (TRS-1). It isn’t pretty, but it serves my purpose. It gives me an arm rest to lean on, a storage compartment, and cup holders.
