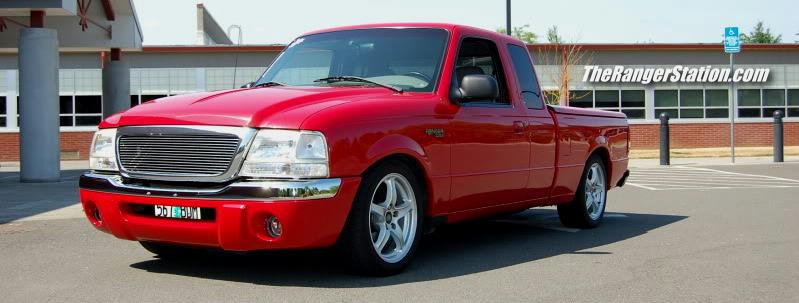
Ford’s dreaded twin I-Beam suspension has been the bane of all Ranger owners who want to drop their trucks. It wasn’t until 1998 that Rangers received the more conventional short and long arm front suspension. The change has opened up a whole world of dropped spindles and lowering coil springs, which make lowering easier than using custom drop I-Beams.
Below is a chart describing the amount of drop for different years and the components used to do it.
| Years | Drop Front | Drop Rear | Components |
| 1983-1997 | 2-inch | 0 | 2-inch dropped coil springs, lowered shock absorbers |
| 1983-1997 | 0 | 2-Inch | 2-inch drop hangers |
| 1983-2003 | 0 | 4-Inch | 4-Inch rear drop springs |
| 1983-1997 | 0 | 4-Inch | 4-Inch drop hangers |
| 1983-1997 | 0 | 4-Inch | 4-inch hangers and shackles, lowered shock absorbers |
| 1998-2003 | 3-Inch | 0 | Drop springs |
| 1983-1997 | 3-Inch | 4-Inch | Dropped I-Beams front – Axle flip kit rear – Lowered shocks |
| 1998-2011 | 2-Inch | 3-Inch | 2-Inch front drop coils – Axle flip kit rear – Lowered shocks |
| 1998-2011 | 4-Inch | 5-Inch | Drop coils & control arms – Axle flip kit & longer rear shackle – Lowered shocks |
Coil Springs:
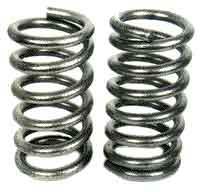
Lowering coil springs are the easiest way to lower the front of your Ford Ranger.
Dropped I-Beams:
Dropped I-beams are designed to maintain proper caster/camber. They maintain a factory like ride and are direct bolt-on replacements. Dropped I-beams are available for 1983-1988 Rangers and 1989-1997. Any drop in excess of 2-inches will require dropped I-beams.
Lower Control Arms:
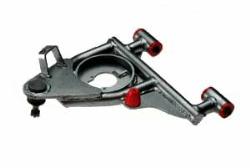
DJM makes replacement lower control arms, which lower a vehicle by deepening the coil spring pocket of the control arm, so the spring sits lower in it. They’re made from tubular steel for added strength and come with new polyurethane bushings. If you use control arms to lower your truck and keep the factory coil you will retain your factory ride quality.
Upper Control Arms:
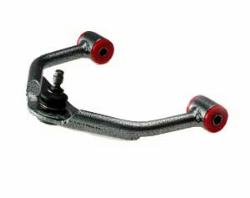
Upper control arms are typically used to help with negative camber. This occurs when you lower your truck and the tops of the wheels tilt inward. This can be bad for two reasons. One, your alignment is off, and two, it causes uneven wear on your tires. Replacing the upper control arm will push the top of the tire back out and make it easier to realign.
Flip Kits:
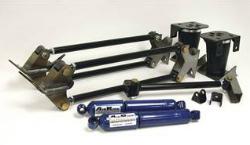
Flip kits lower the rear of your Ranger by relocating the springs under the axles. Flip kits will typically lower you 4 or 5″ depending on manufacturer. With the axle on top of the leaf pack (after a flip kit is installed) you can go lower if you want by installing a pair of lowering blocks. If you installed a pair of blocks with the axle below the leaf pack it would raise the vehicle the height of the block, where as if the axle is on top of the leaf pack blocks will lower the vehicle. Blocks are a cost efficient way to go lower, but if you go with blocks larger than 2″ you’ll be putting a lot more stress on your suspension components. However, if you go lower than 5″ it will probably be necessary to notch the frame.
Frame C-Notch Kits:
Usually a six inch drop of any kind causes you to need to “notch” the frame to gain travel. You actually cut relief (notch) in the frame directly above the axle and install a frame support bracket. The frame support is a big steel reinforcing plate that bolts to the frame more than making up for any loss of strength that may have resulted from the “notch”. These are typically 3/8″ thick plates bolted in with at least 8 – ½” hardened bolts, washers and locking nuts. Resist the temptation to weld these plates in. Your frame is probably tempered which means you can weaken it by applying heat. It’s a little more work to drill the holes but a lot safer.
Shackles & Hangers:
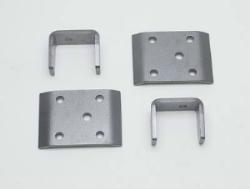
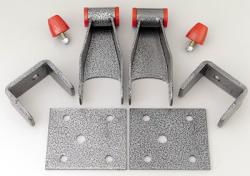
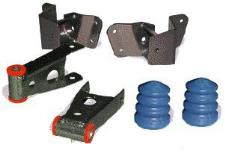
Shorter shackles and raised hangers are used to lower the rear end. What they do is relocate your leaf pack higher up into the frame, thus lowering the rear. They replace the factory hangers and will maintain a factory-like ride.
Bump Stops:
Vehicles come from the factory with bump stops already installed. These are rubber stops that cushion the suspension in case it bottoms out on the frame. This protects your suspension from damage when you hit a large bump or pothole. Aftermarket bump stops are shorter, and accommodate the lowered suspension, while still protecting your frame if you bottom out
Drop Shocks:
When you lower a vehicle you should always replace the shocks with shocks specially designed for use on lowered vehicles. When a vehicle is lowered with certain products, such as a coil spring, the factory shocks are too long and will bottom out, resulting in a harsh ride quality. Drop shocks are shorter so you get back the shock travel that you lost resulting in superior ride quality.
Air Bags:
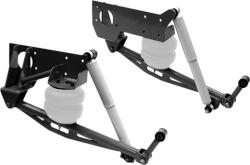
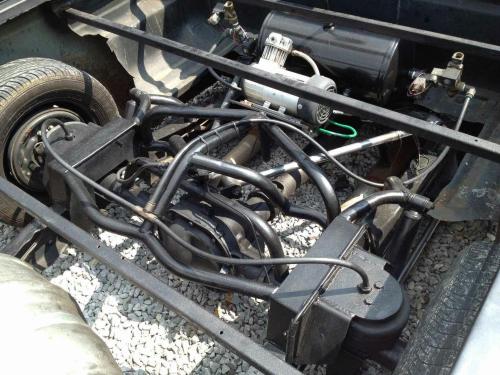
The most extreme drops do so using airbags and notched frames. When you get to this point, you’re venturing beyond bolt on. You’re getting in to custom fabrication.
Note the C-notch in the frame to allow it to clear the axle, the airbags, the compressor, and air tank.
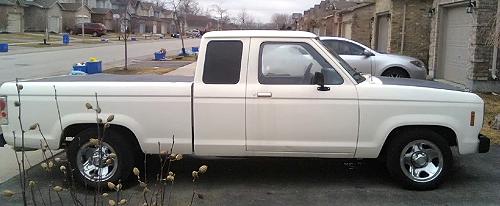
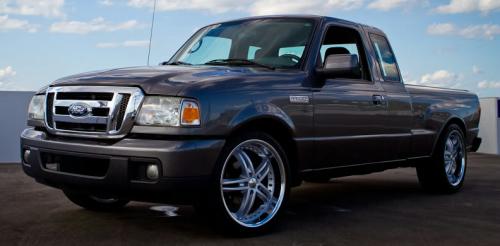
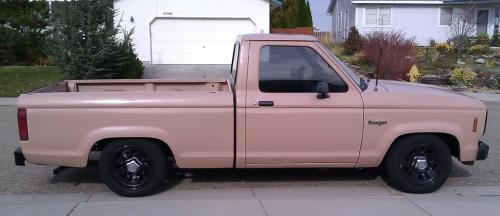
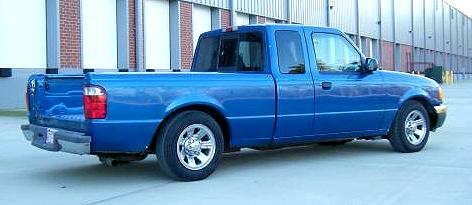
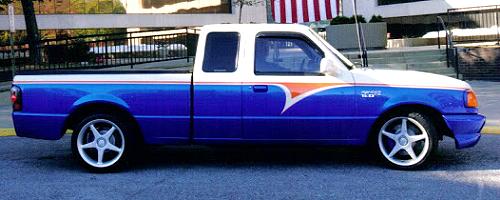
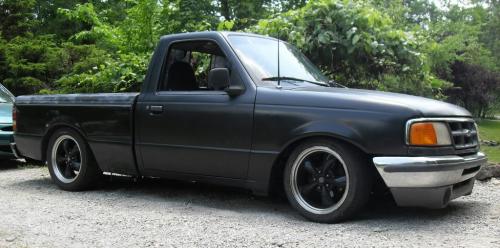
Examples Of Lowered Rangers:
2/2 Suspension Drop
2/3 Suspension Drop
3/4 Suspension Drop
4/5 Suspension Drop
5/7 Suspension Drop
7/9 Suspension Drop
Who Makes Kits:
Related Articles:
Ford Ranger 3/4 DJM Suspension Drop
Instructions:
1998-2005 Ranger 4-Inch Front Drop Instructions
1983-1997 4-Inch Rear Flip Instructions
1998-2007 3-5 Inch Rear Flip Instructions
We’re always looking…….
We’re always looking for dropped Rangers and tech articles on dropped Rangers. Show us what you’ve done in our forums below:

