|
|
||||||||||||||
|
|
||||||||||||||
|
|
|
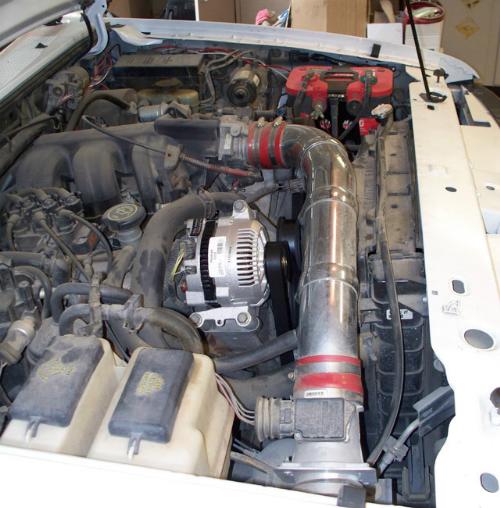
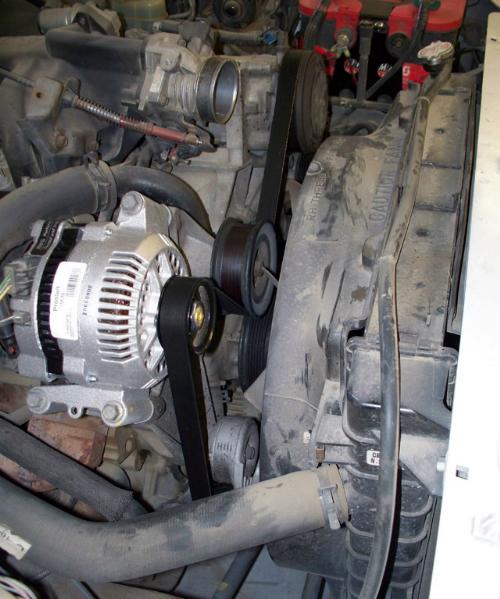
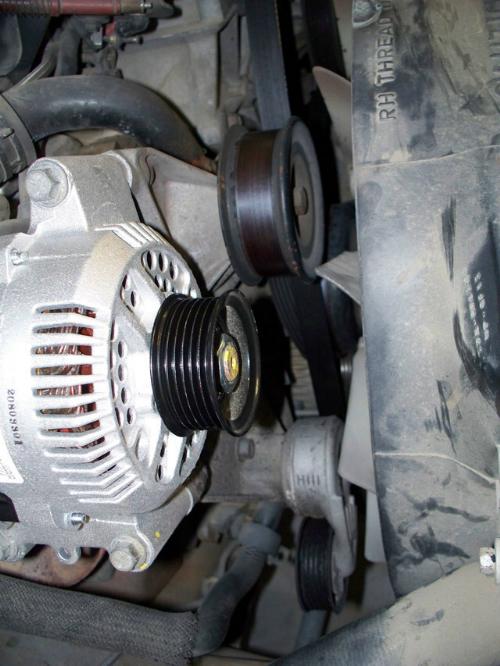
Original Poster: Hazmat Ranger Difficulty: 2 out of 10 Time to install: 30 minutes Disclaimer: The Ranger Station.com, The Ranger Station.com Staff, nor the original poster are responsible for you doing this modification to your vehicle. By doing this modification and following this how-to you, the installer, take full responsibility if anything is damaged or messed up. If you have questions, feel free to PM the original poster or ask in the appropriate section of The Ranger Station.com forums. Idler and Tensioner Pulley Replacement Article Ok the time has come to replace the squeaking hamster wheel in my engine bay – my Idler Pulley. While I am in there I am also going to replace the tensioner pulley, so read on to see how it was done. First the engine bay:
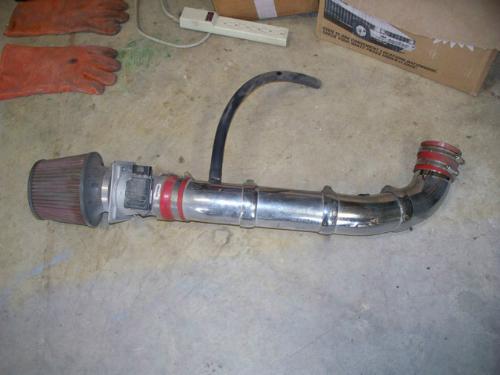
I have to remove the cold air intake first, so I get my flat head screw
driver and remove the worm gear clamps on the coupler at the throttle
body, remove the air flow sensor and the MAF connector as well as the hose
attached to the oil filler.
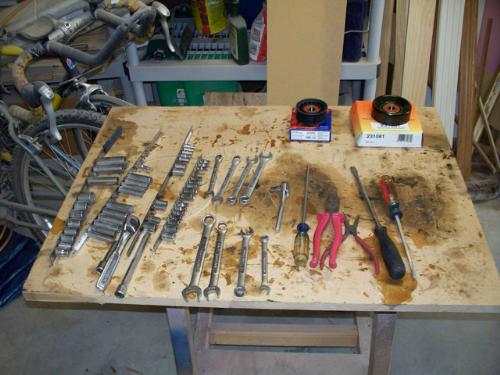
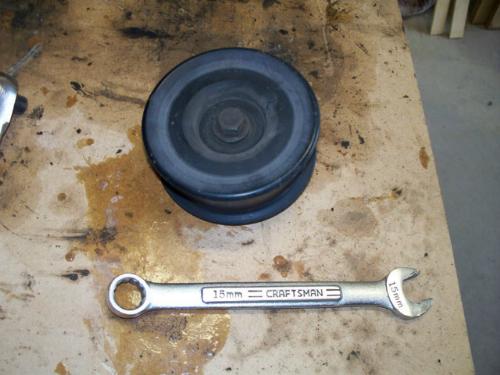
I determined I would need a 15mm socket or wrench to remove the Idler Pulley and a 1/2” socket or wrench to remove the tensioner from the engine bracket.
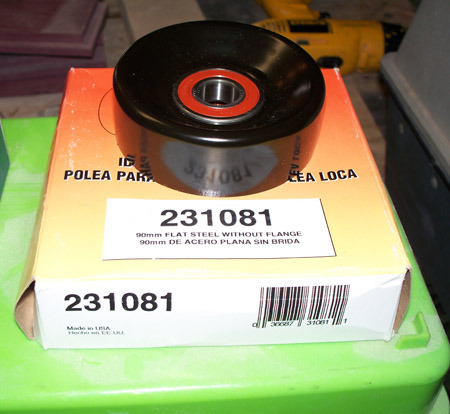
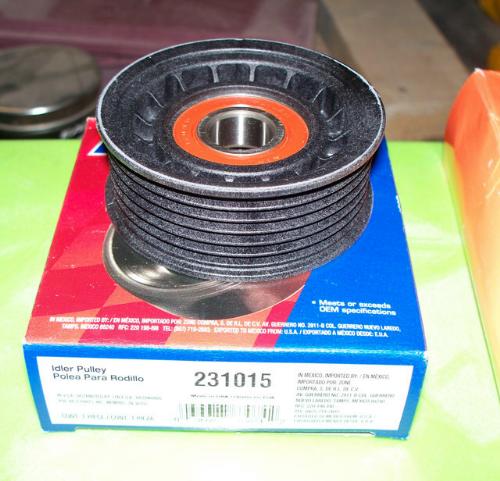
Tools – more than I needed, but hey I had them if I needed them. New Pulleys: Idler:
There are no tabs/wings on the new pulley, but I am assured they are an acceptable replacement. Tensioner Pulley:
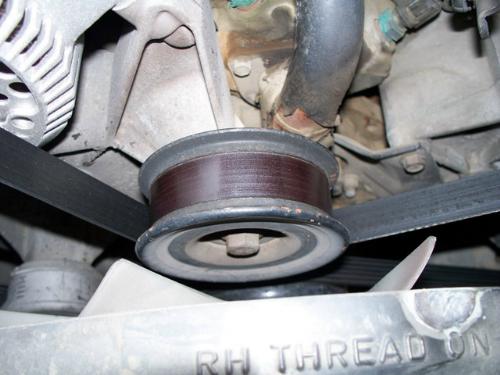
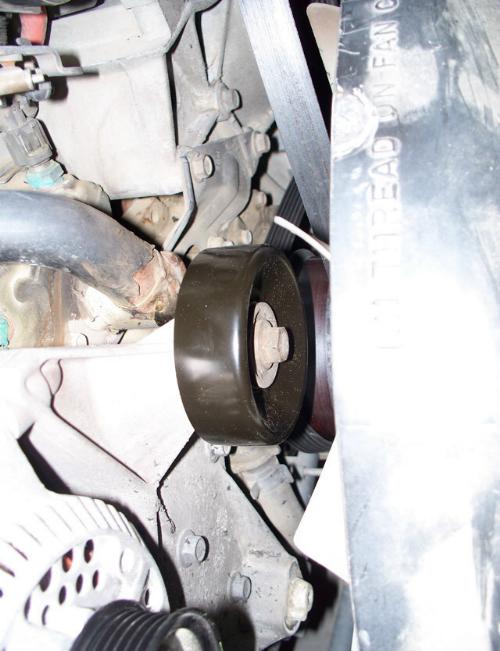
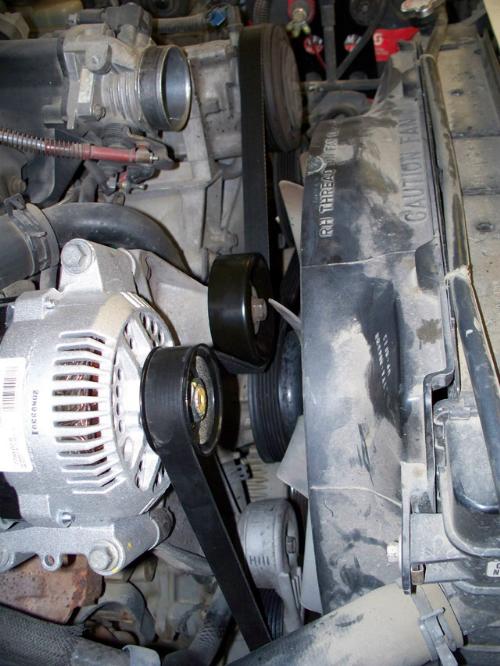
Here are a couple photos of the pulleys and their locations before I started. Side view of belt system – Idler is at the top
Idler Pulley:
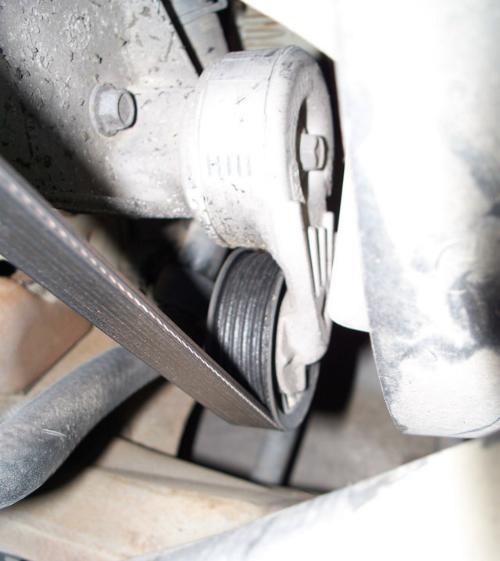
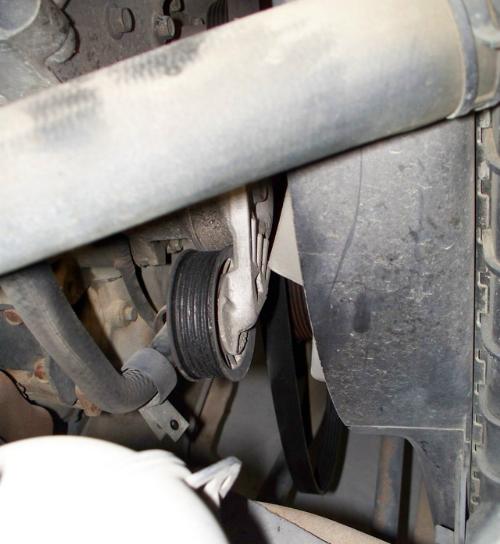
And this is the Tensioner Pulley.
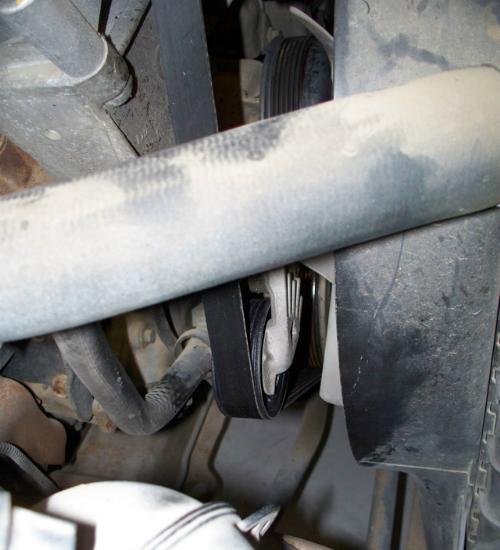
Ok now you need to remove the belt, put your 3/8” Ratchet into the tensioner pulley arm and turn it down and towards the engine releasing the tension. Below you can see the belt loosened but not removed, no need to remove it completely.
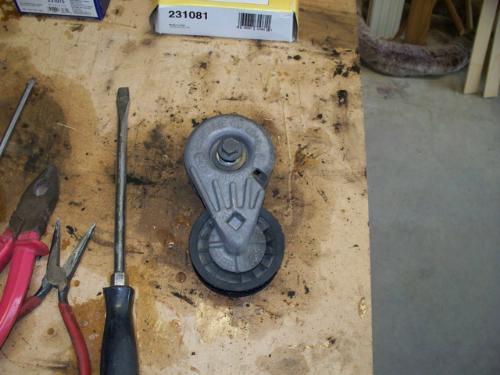
Ok now choose which one to start with and grab the proper tool to remove the pulley. I started with the tensioner pulley and arm. Again it was a 1/2" bolt head. Here it is removed and set aside while I remove the idler pulley.
The idler pulley needs a 15 mm to remove it, and here it is removed.
Also if this is the first time the idler was removed there is a retainer spring on the bolt. You need to remove that spring (#$^@#&* - LOL).
Retainer spring/washer – remove it – no need to keep it, only a factory item to help with assembly of the engine. Ok – now that the pulleys are off you can remove the pulley from the tensioner arm, this also requires a 1/2" wrench/socket. Mine was not that difficult to remove, I could simply hold the bracket and removed the bolt, but is may need to be clamped down in order to turn the bolt – just use caution and do not damage the arm. Now you can begin replacing the pulleys in their correct location. I do not know the correct torque settings, but for mine they are simply “tight” – LOL. Make sure when you install the idler pulley that the bolt is installed correctly – the pulley should ride on the large shoulder of the bolt not the threads. Here are some shots of the new pulleys in place and the belt installed . . .
|
|
|