|
|
||||||||||||||
|
|
||||||||||||||
|
|
|
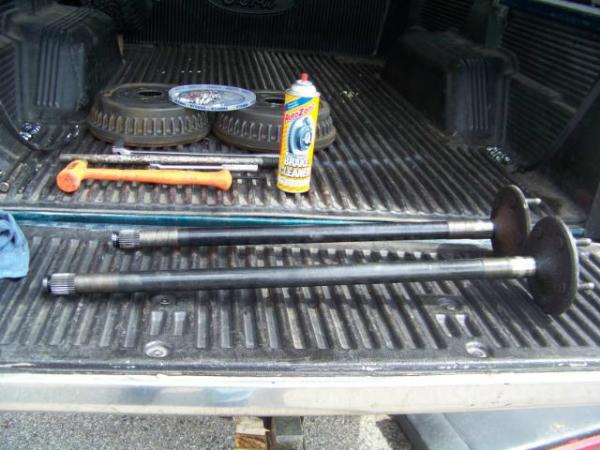
Original Poster: Dave Bird (racsan) Difficulty: 5 out of 10 I guess it depends on your skill set, no need for fancy difficult stuff like you would need for a differential setup, if you can do your own brake work and fluid changes, chances are this will be pretty easy for you to deal with. Time to install: id say no more than a couple of hours. Disclaimer: The Ranger Station.com, The Ranger Station.com Staff, nor the original poster are responsible for you doing this modification to your vehicle. By doing this modification and following this how-to you, the installer, take full responsibility if anything is damaged or messed up. If you have questions, feel free to PM the original poster or ask in the appropriate section of The Ranger Station.com forums. Brief Explanation: block front tires, remove both rear tires & brake drums, remove diff cover, remove cross pin, remove axle "C" clips, remove axles, pull old seals, clean everything, install new seals, reinstall axle shafts & retaining "C" clips, install cross pin, install rear cover, refill with oil. Tools Needed:
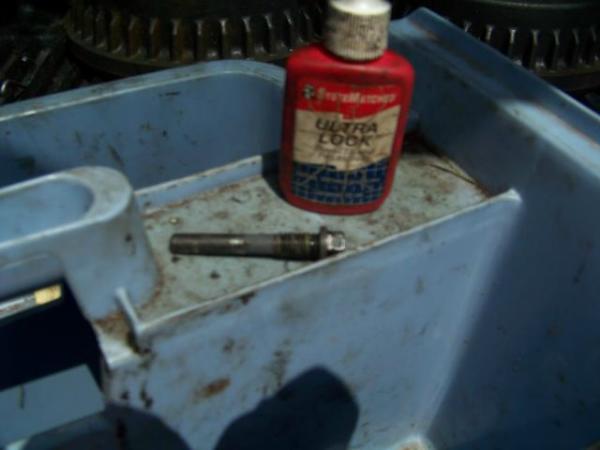
Parts Needed:
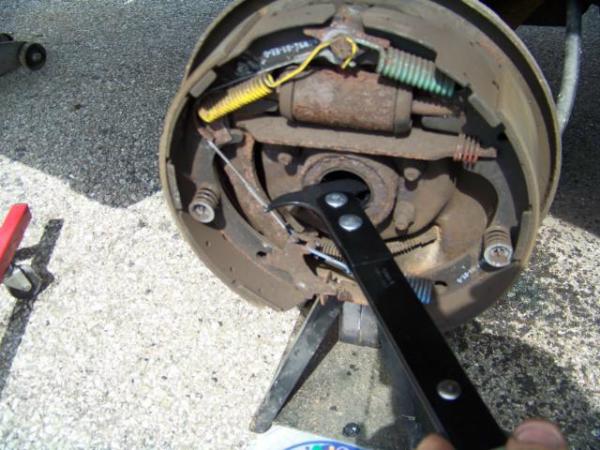
Have you noticed an oil leak when doing a brake job? Don't let it ruin the shoes and affect the braking ability, the risk of running the differential low on oil, and the mess you'll have the longer you let this problem go. I started with blocking the front tires. There will be times to have the transmission in neutral, and times you will want it in park or 1st (depending on trans type). After blocking the tires, slide a pan under the rear differential and remove the cover bolts. Crack the cover loose so the oil starts draining out. While its draining, take off both back tires. Place jack stands under the axle housing at each side, and remove the brake drums. Place a floor jack and blocks under the rear bumper (receiver hitch if you have one) and jack up the body about 2-3 inches to give yourself some working room, but not so much that your off the jack stands. Remove the rear cover completely. You will now want the transmission in neutral. Rotate the ring gear until you can see the retaining bolt for the cross pin.
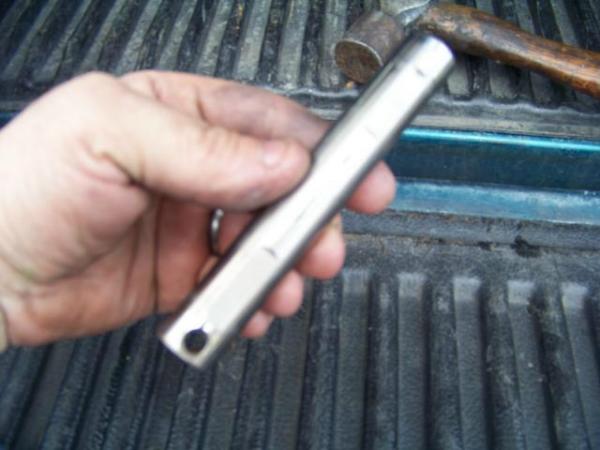
When it is directly in the middle with the cross pin level, put the transmission in park (or 1st gear on manuals) to hold the drive shaft-ring/pinion in place. The cross pin retaining bolt is a 5/16 hex head. It is in tight and with loctite from the factory. Get a 5/16" wrench with a 6-point box end and put it on the bolt. Tap it with a hammer to break it free.
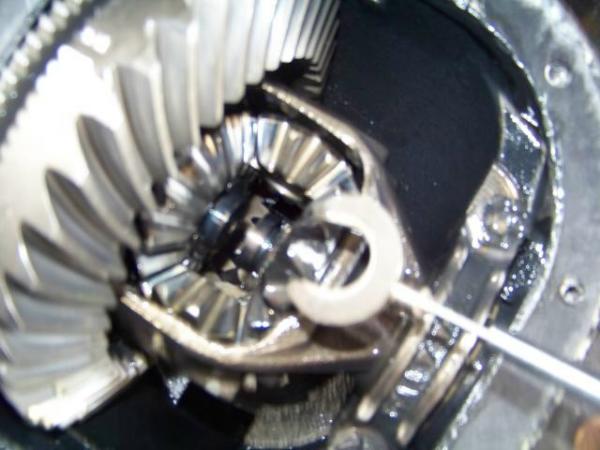
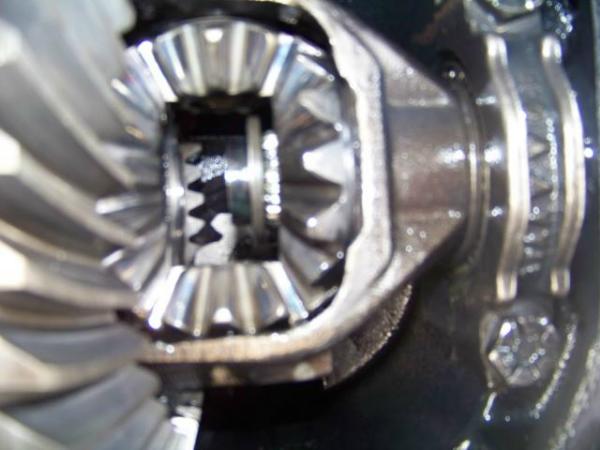
Once you remove the retaining pin, put the transmission back in neutral so the carrier will move. Turn the carrier and the cross pin should slide out.
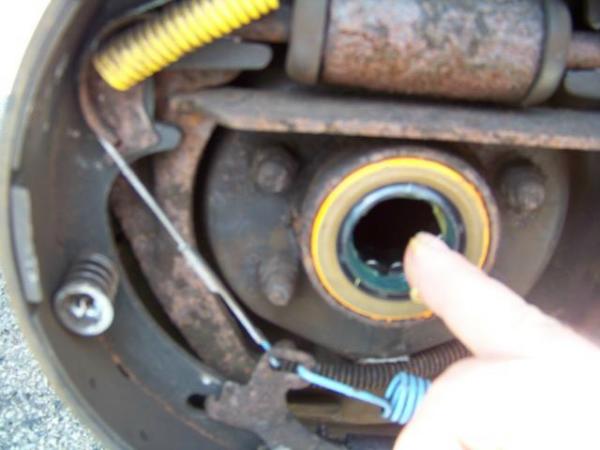
Once the cross pin is out, push each axle shaft in one at a time and remove the "C" clip retainers.
I used a magnet. Needle nose pliers will work also. Once the "C" retainer clips are out, the axle shafts can be removed.
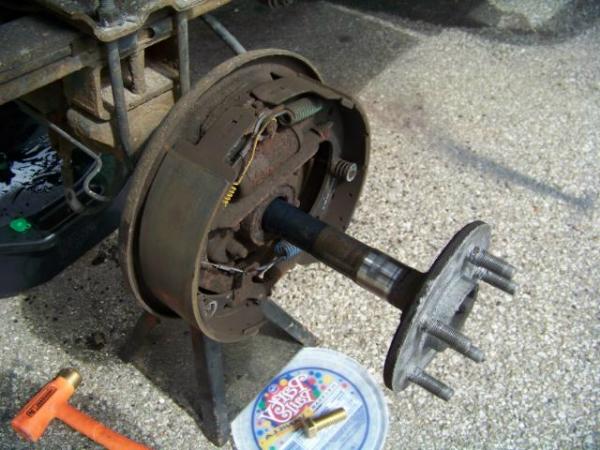
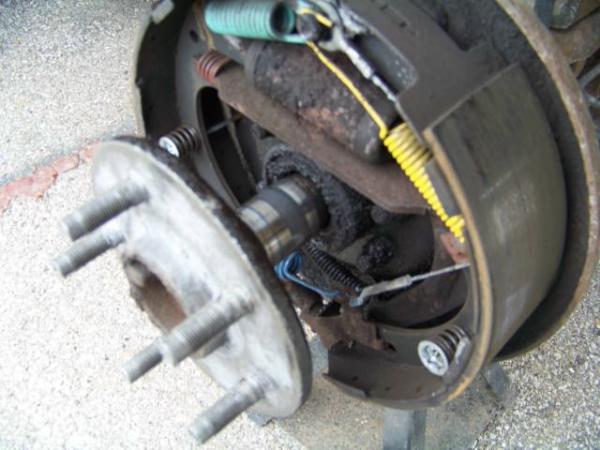
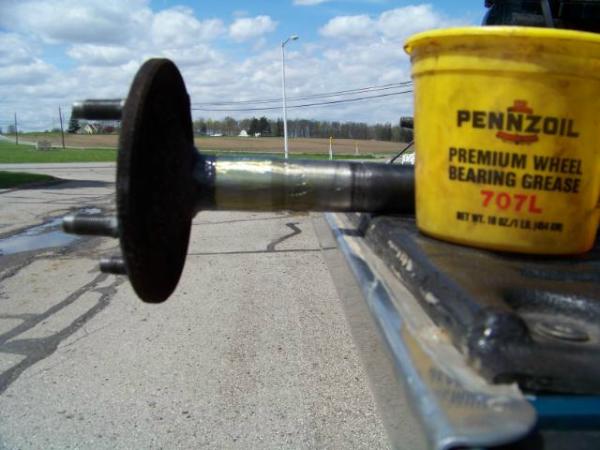
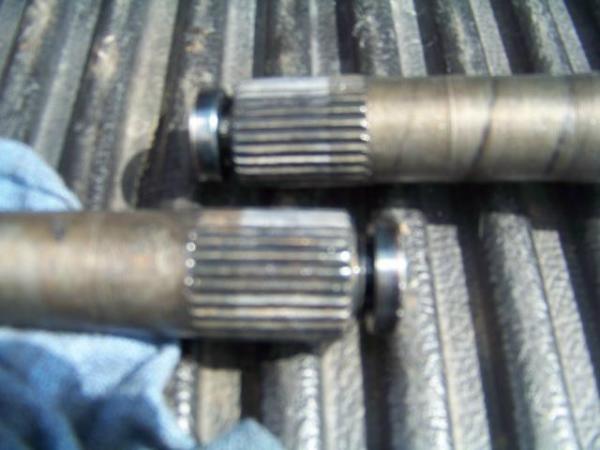
Before you pull the axle shafts out, put a shallow tray (like the top off a gallon ice cream tub) under each brake assembly. This will catch any oil that is still in the axle tube. It will also catch any nasty mess created when you spray brake clean later. Remove the axles and slide them into the back of the bed. The driver side shaft is longer than the passenger side by about 2-inches (I didn't measure, but its a noticeable difference).
Remove the old seals. You may only have one leaking, but do both. You're here anyways. It's only $4.00 per seal, and you shouldn't have to do this again any time soon. I use a seal puller from Sears. It's kind of like a pry bar with curved sharpened ends. Its about $10-$12 bucks. A lot easier than trying to use a screwdriver.
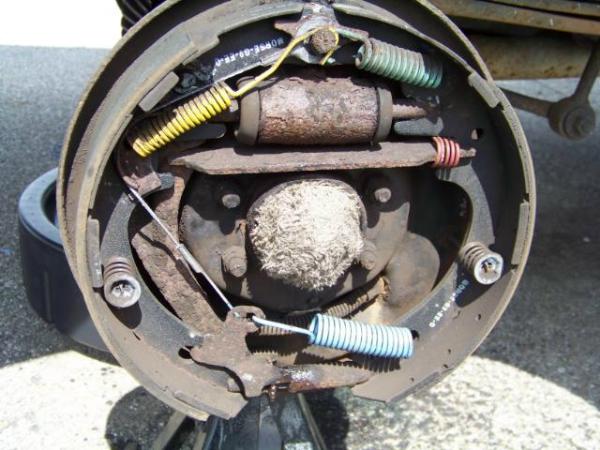
Once the seals are out, stuff a small rag into each bearing and spray the heck out of your brake assemblies with brake clean.
Since you're probably doing this job because you have a bad seal, this is the time to get all the nasty mix of hypoid oil and brake dust removed.
Mine was leaking just bad enough to run down the inside of the back plate. It wasn't soaking the brake shoes yet. If yours has gotten that bad, you may want to put new brakes on.
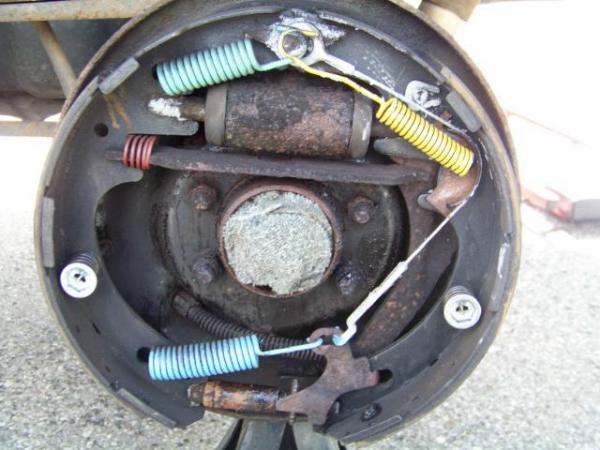
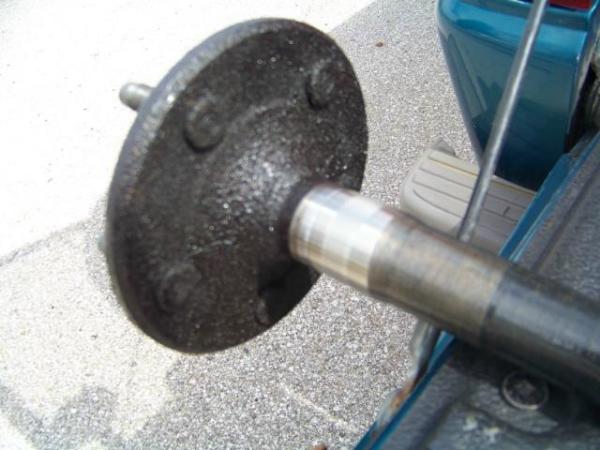
Also, clean the axles at the wheel flange end. Use a little Scotch Brite where the seal/bearing rides.
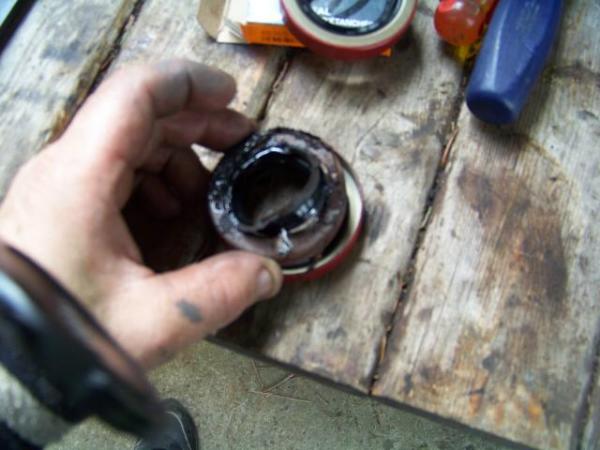
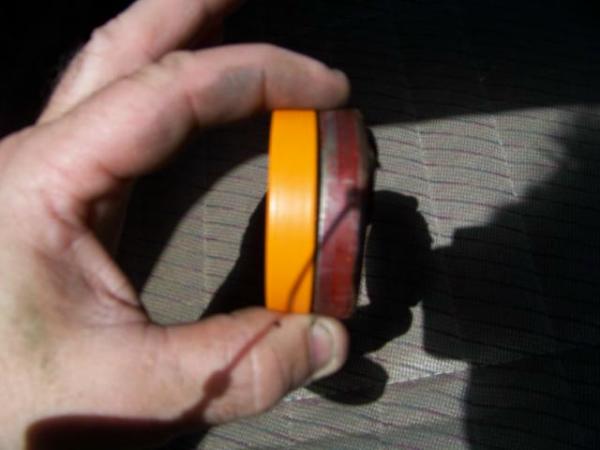
Next, compare your seals. I was given the wrong ones and had to go back, even though I gave the correct information. It happens. This is one of those times you're not sure you have the correct part until its time to re-assemble.
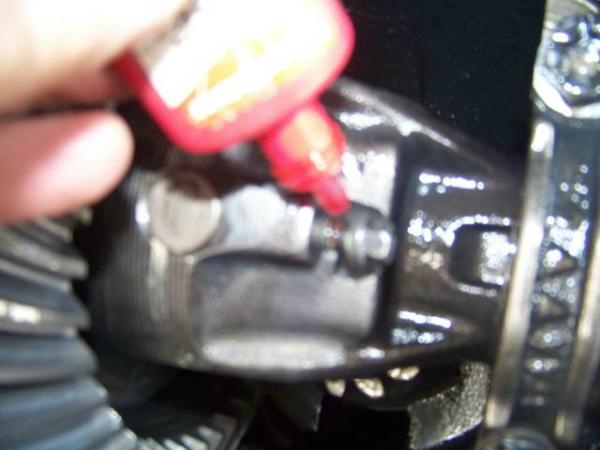
When you're sure of your seals, gently tap them into the bore. I don't have a socket big enough to use as a driver. I've used a small 2x4 block before, but I've done enough seals that I just usually tap back and forth. Then work my way around the seal until its flush with the housing. This is no place to rush.
Once the seal is in, take some light grease and coat the inside lips of the seal.
I also coat the axle shaft where the bearing/seal area is. Next, slide the axle shafts back in.
There is a small o-ring there where the retaining clip goes. Not sure why Ford does this. GM uses a similar retention design, but no o-ring.
Push the axle shaft all the way in. Slide a clip onto the axle are where it goes, then move the axle shaft back out to seat the clip within the side gears. Spray the threads of the cross pin retaining bolt, and the threads where it goes in the carrier, with brake clean. You may have to move the carrier slightly to line up the carrier with the spider gears. Sometimes the spiders like to move a little when your moving the carrier without the cross pin in place.
Once the cross pin is in, slide the retaining bolt in, but don't tighten it. Put some loctite on the threads before tightening. This is one bolt you do not want coming out! Place the transmission in park (or 1st gear if a manual) to hold the carrier in place so you can tighten the retaining pin down.
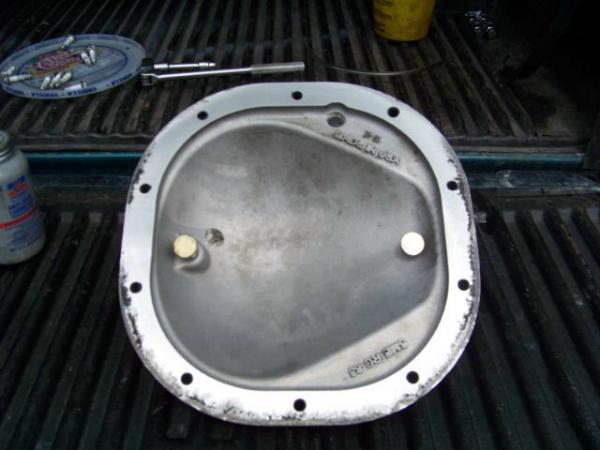
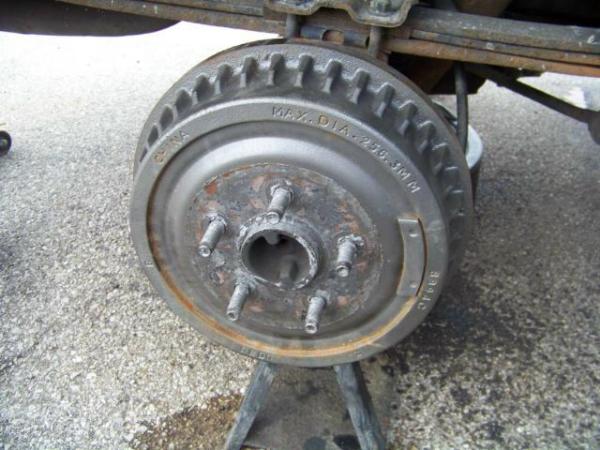
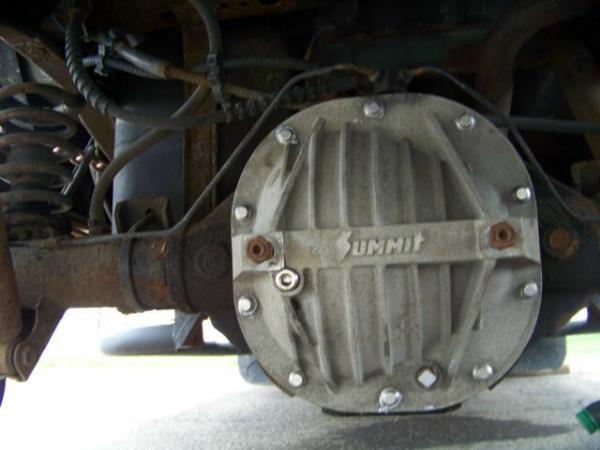
Clean up your cover and the mounting face of all silicone or gasket material. Wipe them down with brake clean. A lot of these covers did not come from the factory with gaskets. They just used RTV silicone. You can get a gasket if you choose. I have an aftermarket cover, and prefer a gasket. After you clean both surfaces, take a break and slide the brake drums back on.
Adjust the brake shoes if needed (my self adjusters don't work, I'm sure many others have this issue). Use whatever method you wish to seal your cover, RTV or gasket. Put the cover on and start all the bolts.
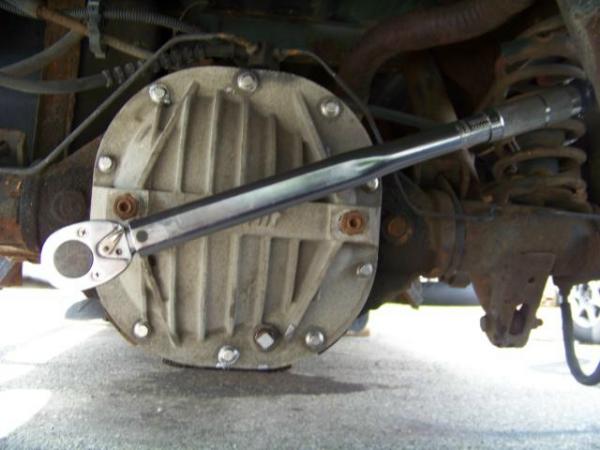
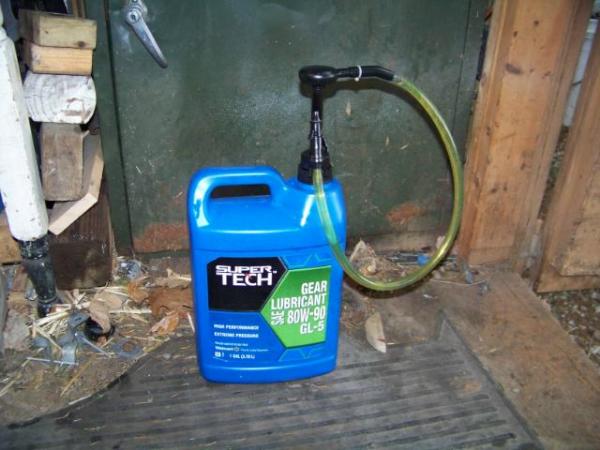
I'm uncertain what you're suppose to torque the cover bolts to. Haynes book didn't list it. I went online and found various figures anywhere from 15/20 ft pounds to 25/35 ft pounds. I would think the lower figure is for the composite cover, and the higher for a steel cover. I went with 25 ft pounds. Remember to tighten it down like you would a tire or cylinder head. Go back and forth across the cover to torque it down evenly. Next, fill the differential with oil. Remove the plug and put oil in until its running out. The amount will vary with axle type, and mine takes more than it used to because of my non-factory cover.
I used a gallon jug of 80w 90 std gear oil from Walmart. The pump made installing the oil easier. My axle took a little over half.
It was a little easier with mine since my cover has a rear drain and fill hole. Be sure to use limited-slip rated oil if you have a limited slip.
Finally, put your rear tires back on and tighten accordingly. Be sure you're in park (1st gear on manuals) before removing the blocks and jack. With the right parts and tools on hand, this isn't too bad of a job to tackle. I hope this has been informative and helpful. Dave. To view the original submission and discussion on this, click HERE.
|
|
|