|
|
||||||||||||||
|
|
||||||||||||||
|
|
|
Owned/Built By Jason Raney
Overview: Owner:
Jason Raney
The Beginning:
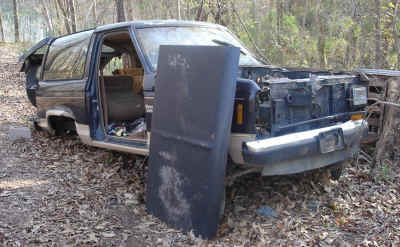
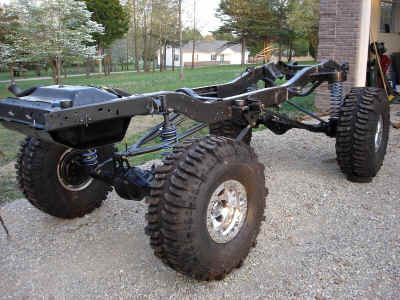
This rig started out as a trail/mud truck. The ideal was to have something capable of playing at the local mud runs but be flexible enough to work good on rough trails and a little rock crawling. I started out by stripping the truck to a bare frame, boxed it for strength, and replaced all the stock crossmembers with stronger ones. I made a wishbone rear suspension, extended the front radius arms and made custom coil towers.
I had an EFI 351 V-8 from a 1992 Ford truck built and bored with new heads. It was mated to a NP435, 4-speed and NP205 transfer case. I used a High Pinion Dana 44 and Ford 9-Inch rear from a 1979 Ford F150 for the axles. I installed 5.13's in the axles and welded the rearend. The front Dana 44 had a full spool. All the bearings, seals, ball joints and brakes were replaced with new equipment. Then a set of 38.5x15x15 Boggers were mounted to 15x10 Mickey Thompson wheels. The interior remained stock with just racing seats and 5 point harnesses, and the body was set back on the frame.
After about 6 months or so of doing some mud runs and a lot of trails, I decided it was a ton more fun on the trails than in the mud. After knocking out one of the big side windows at Southern Missouri Offroad Ranch in Seymour Mo, I decided that things weren't the way I liked em' so I decided to do some major surgery on her for the winter. Round 2: The
wheel base was a little too short for the trails I was running and the
radius arms I bent and added on to weren't holding up. The panhard bar
was causing problems and the James Duff front coils wouldn't stay
straight at all. I had them bent so far out of shape they looked like
they had been used as one of those kiddy things at the park that you
bounce around on, except with a 500lb man on them. I did the only thing any body with sense would...... I cut her up! First went the back cab half. Then I took 16-inches out of the floor of the remaining bed and doved the rear body. Next was the wheelbase issue. I needed a longer wheelbase and I needed a little bit lower gear ratio than the 5.13's for when I was wanting to crawl. I ordered a doubler kit from offroad design and put an NP203 in front of my NP205 with triple sticks. That made my driveshaft angle in the front a whole lot better but worse in the rear. I also did away with the panhard bar and the F'd up radius arms and four linked the frontend.
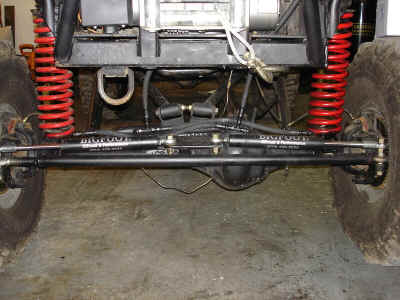
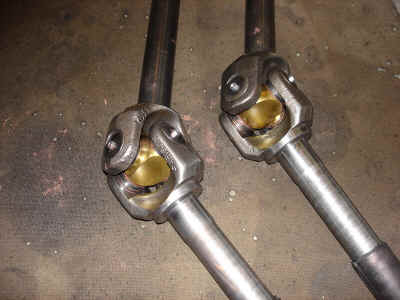
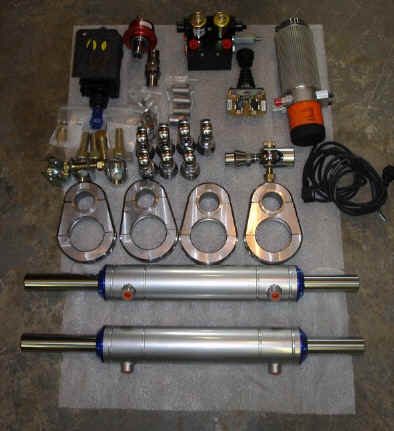
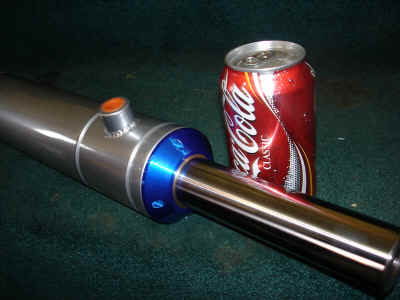
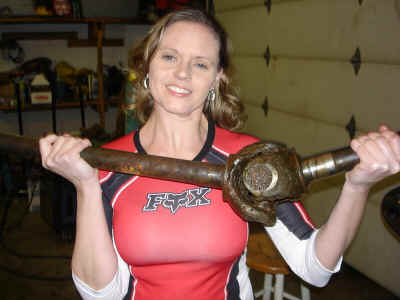
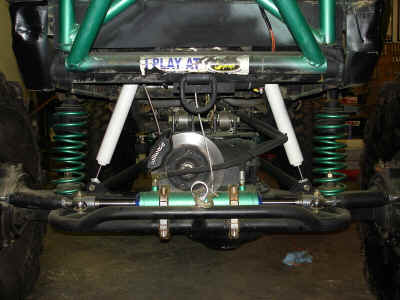
I wanted to get my approach angle better too so I wanted to move the frontend forward and get my big winch bumper and winch tucked back further. I moved the front forward about 6-inches and took the radiator out so I could put the winch under the grill. When I moved the frontend forward, I put on my double cylinders for the full hydro steering and put in 4340 chromoly axles with superjoints.
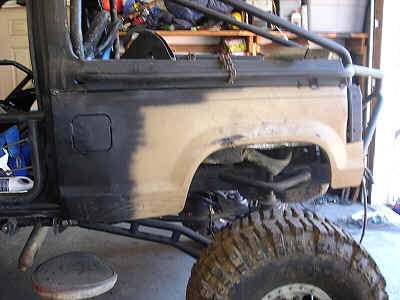
I then proceeded to the rear where I moved the rearend back about 15-inches. I had to cut the bedside back to improve the appearance and skinned some long bed Ranger bedsides and welded them on to the existing body.
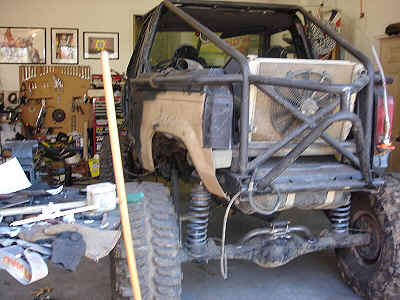
When I moved the front end forward, I changed the James Duff coils out for some 8-inch lift XJ coils. They work a lot better for my application, flex really well, and hold up the heavy V8. I then needed to address the radiator. Since I took it out of the front, I decided to put it in the rear and make protection around it by adding on to the exo-cage I had already made. Also the gas tank had taken a real beating being mounted above the rearend, so I installed a fuel cell and recessed it in to the floor.
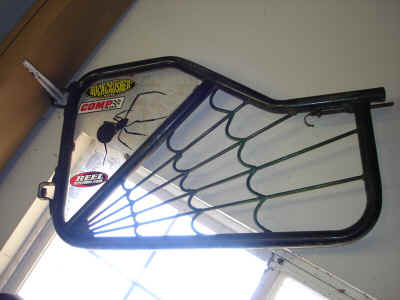
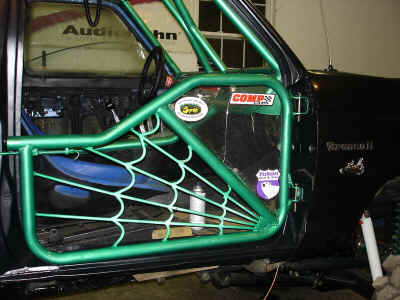
Next, I wanted some bar (tube) doors, so I fabricated some out of tubing to go along with our CreepyCrawlers theme.......spider webs.
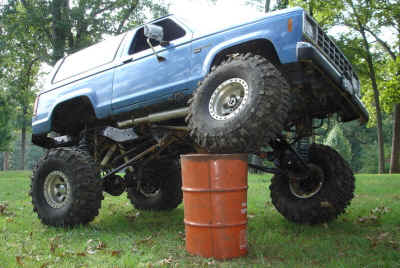
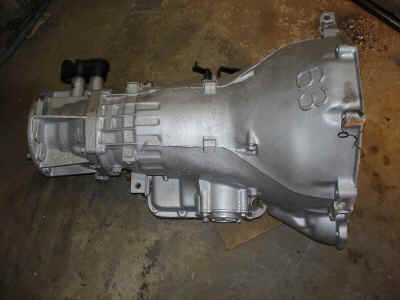
I kept the original doors and made both the bar doors and the hard doors where I could pin them on and off in about 1-minute. In reality, a Bronco II is not the best/easiest thing to make a crawler out of (in my opinion), but that's why I did it. It's different and I never have had anything that was the same as somebody else's. I always liked being different. Round 3: After wheelin' for 2 years, I decided to go to a drastic change. The Dana 44 with chromoly's just wasn't cutting it anymore. I needed to go with bigger axles so I upgraded to 2.5-ton Rockwells. I also decided to pull the 4-speed and put in a built C6 automatic.
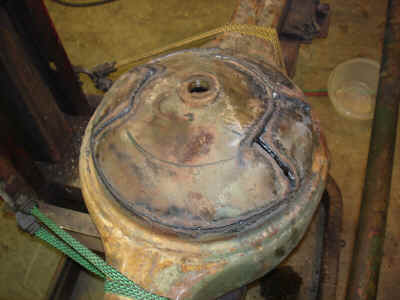
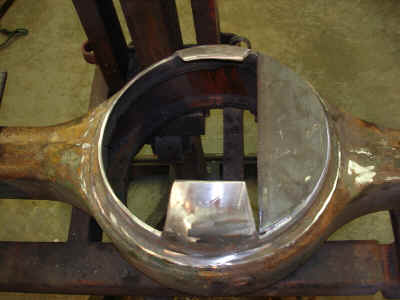
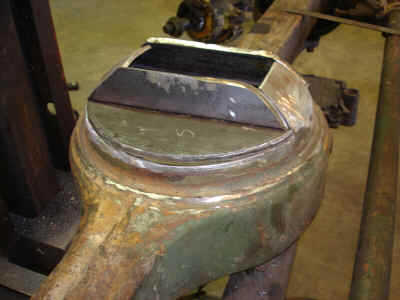
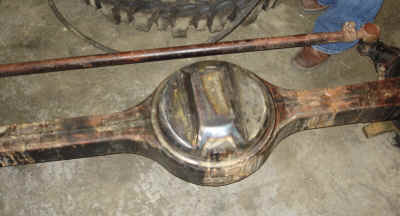
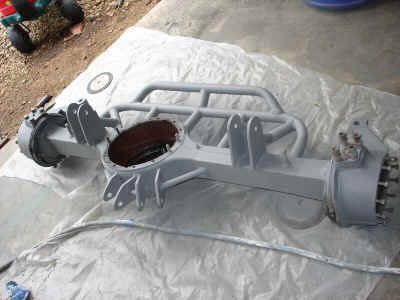
Here are some pics of my rock pans. We cut out the bottom of the Rockwells and made some plates to seal it back up. We shaved quite a bit off the bottom to add a lot more ground clearance. The idea is to cut out the excess while still leaving room for the gear. The plates are made out of 3/8-inch plate so they won't give when bashing rocks.
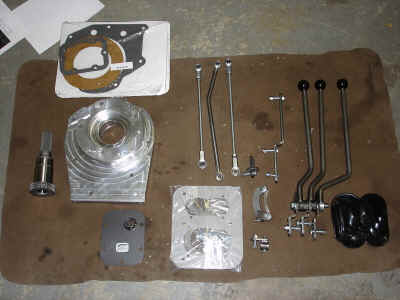
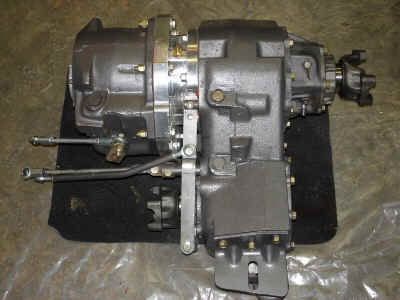
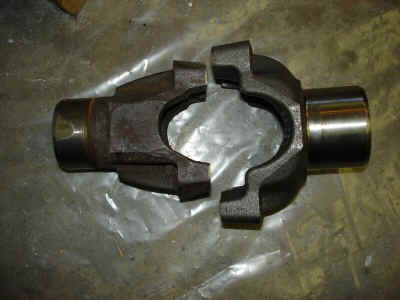
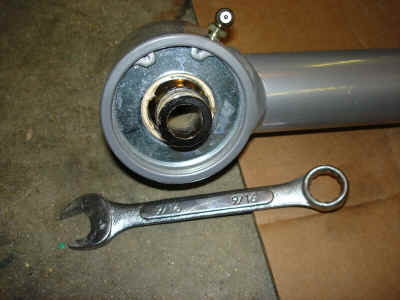
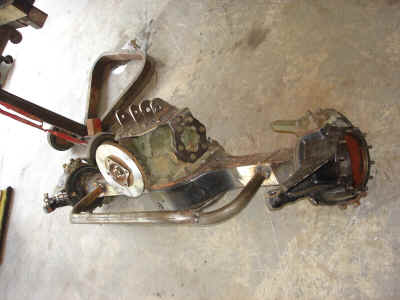
Here are some pics of my NP 203/205 Doubler. I got the new yokes on and had to change the seals, of course, now it is ready to go back in.
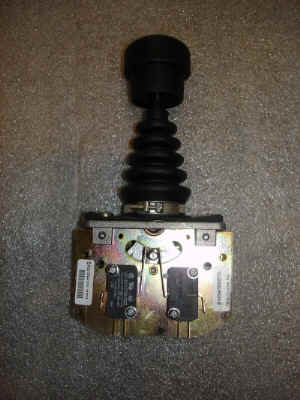
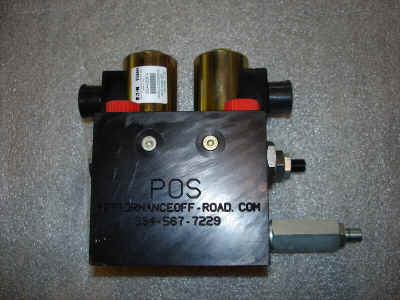
Incase your wondering, YES, that thing is freaking heavy. The NP203 and NP205 mated together with the shaft and billet aluminum adaptor weighs in at 235lbs. The C6 with the adapter mounted to it weighs 130lbs. So the transmission and transfer cases combined weight is a whopping, back breaking, 365lbs. The whole truck now weighs in at 5810 lbs. Here are some more, pics of the joystick for the rear steer, the rear steer manifold valve, and the filtered reservoir. Notice the joystick is electric over hydraulic, so that it can be mounted anywhere.
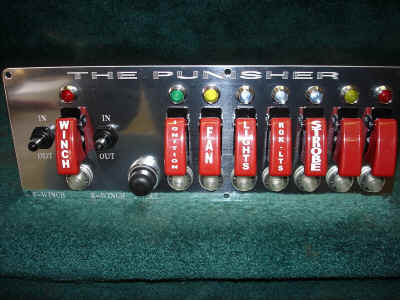
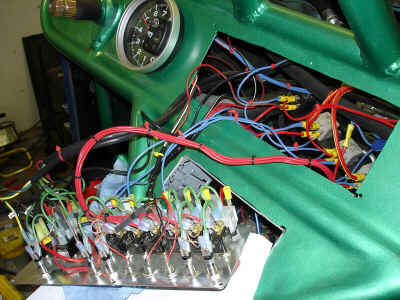
Here is my control panel and switches all ready to go in. Now I just need to finish the dash. It has dual winch controls, toggles for all the ignition, lights, fans, ect. with light up LED's when armed, and kick out breakers for each switch instead of fuses.
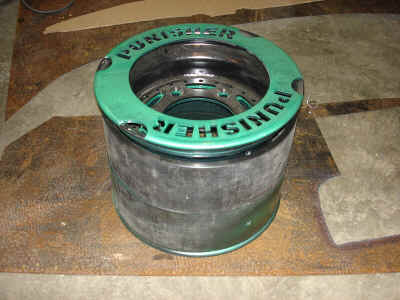
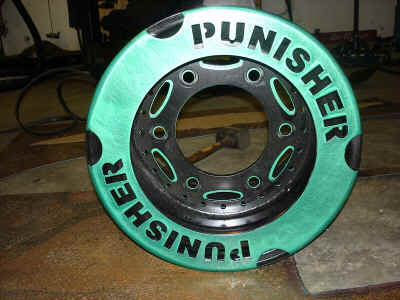
Here's some teaser pictures of the new double beadlock wheels.
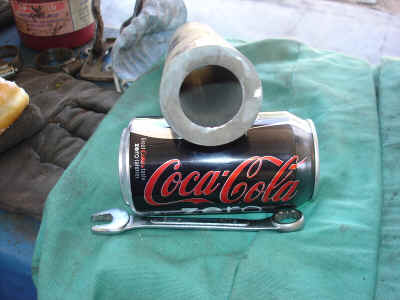
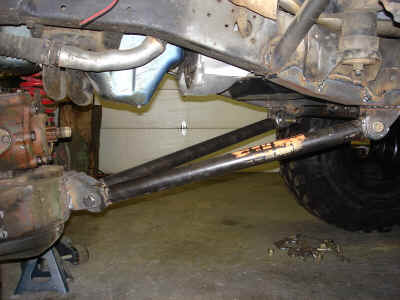
Here is the tubing I am using for my four link bars. It is 2"od x 1-1/4" id DOM tubing. I bet I don't bend em'.
Here are the joints I am going to use....thanks Shane
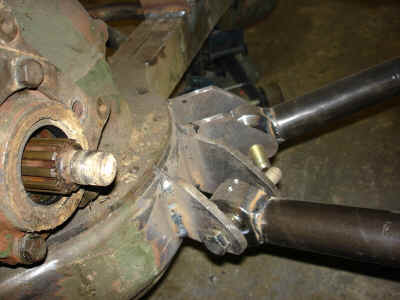
Tacked on some brackets for the lower links;
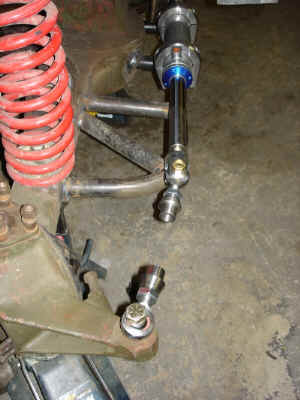
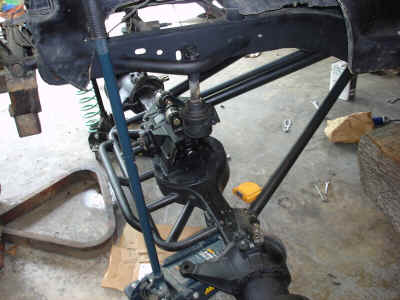
Steering mock up on the front axle. Building a cage to set and protect the cheap cylinder.
Front axle done with mock up, cleaned and primed ready for paint and install.
Got her all painted up ready for the date with destiny.
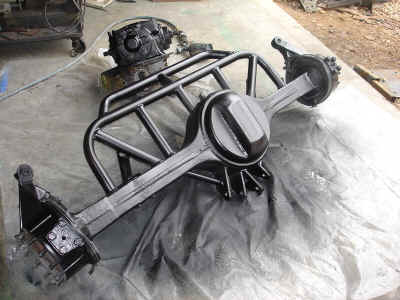
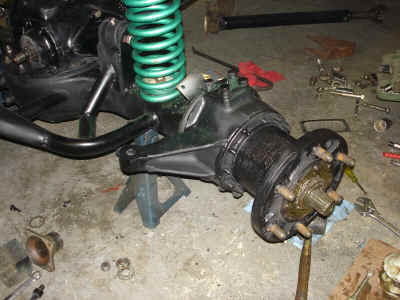
Building a Rockwell ......finally got it under the front coils. Now the install of the components.
First,
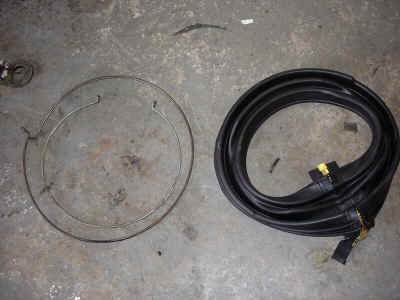
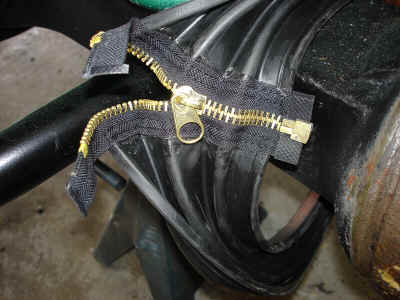
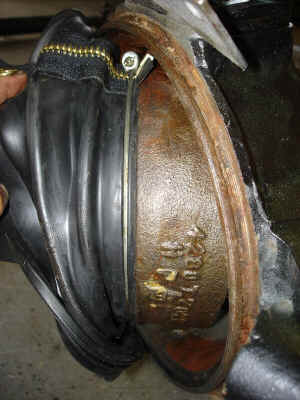
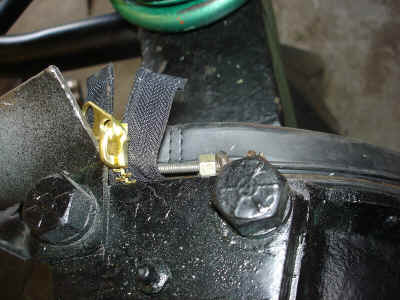
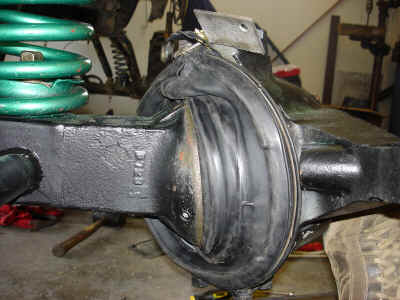
The New Boots:
Installing The Axles: Next, installing the axles. It is pretty much like any straight axle Dana axle from here out.
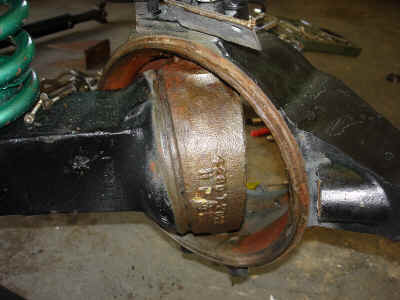
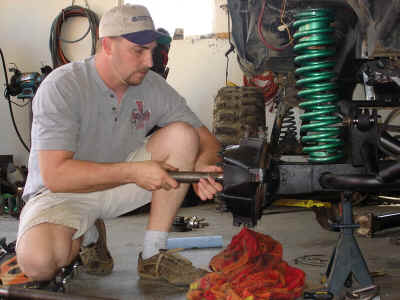
Bolt on the spindles
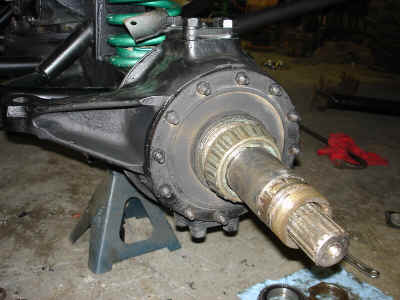
As you can see it has the standard looking spindle with the two big bub bearings.
Next the hub goes on, I won't do the drive flanges yet but they go on where the lockout normally would.
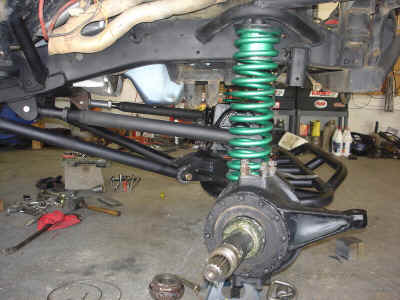
Got the rear under the Bronco II.
Front done.
Checking the suspension travel
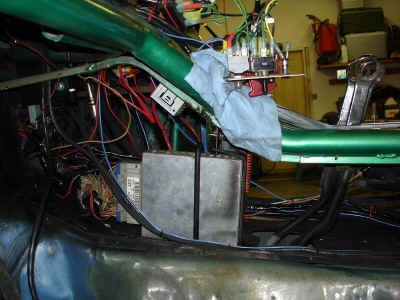
Some Inside Shots: Computer mounted with the starter solenoid and MSD rev limiter and many wires (this is before I tidied up a little).
Here's
the relays for all the stuff like headlights, rock lights, radiator fan
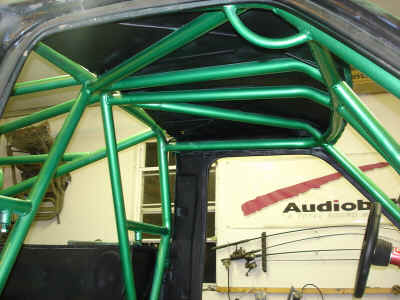
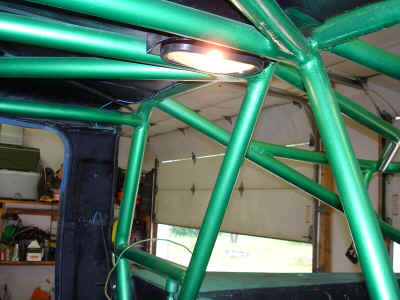
and steering cooler fan. Here's a shot of the top hoop in the roll cage.
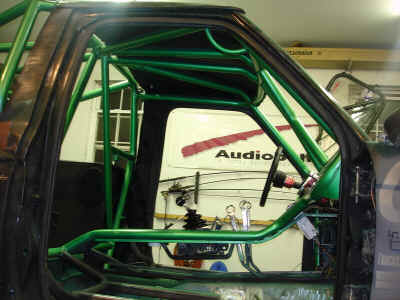
This shows how the center console ties in to the tube das and rear hoop for maximum cage strength.
More dash/console pics
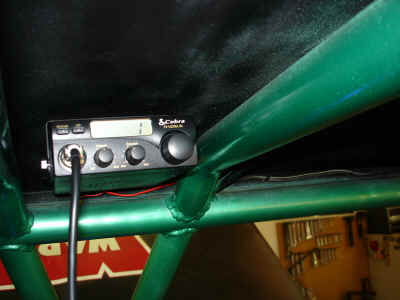
Overhead CB radio
Dome light
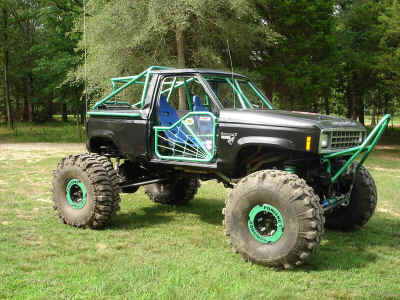
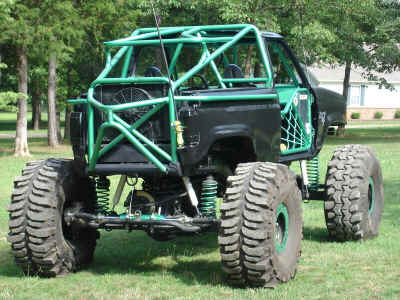
Outside Shots:
|
|
|