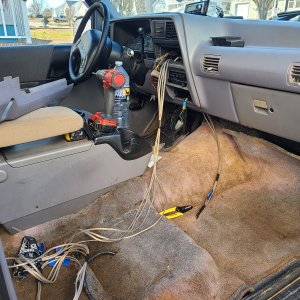
WIRING THE 4.0
Alright guys, here is where nobody on the forum thoroughly explains the 4.0 swap, i found i could NEVER get a straight answer out of anybody as to what wires were what and where stuff went. Well, im here to change that!! So lets get down to it!
So the things your going to need/do are as follows:
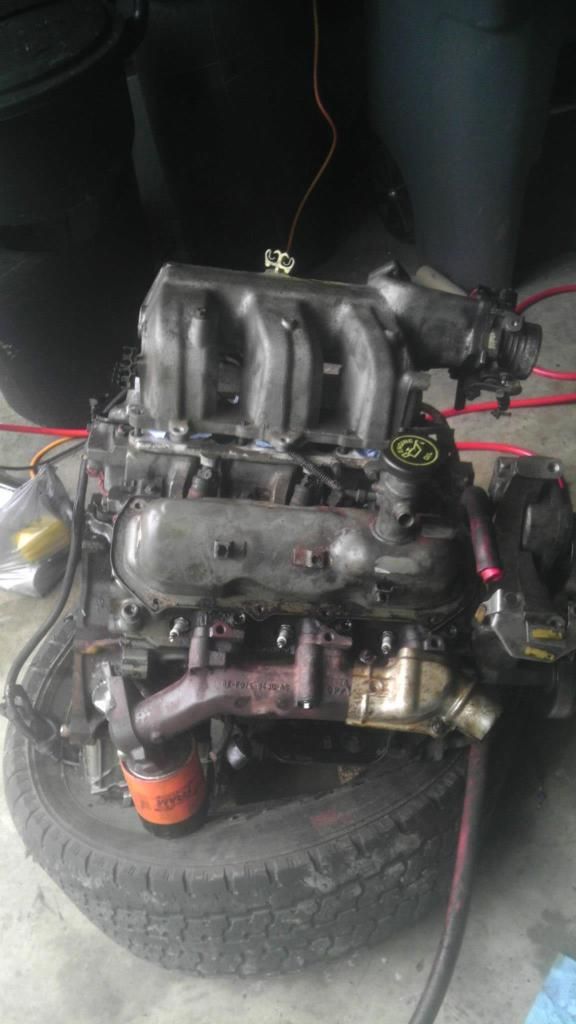
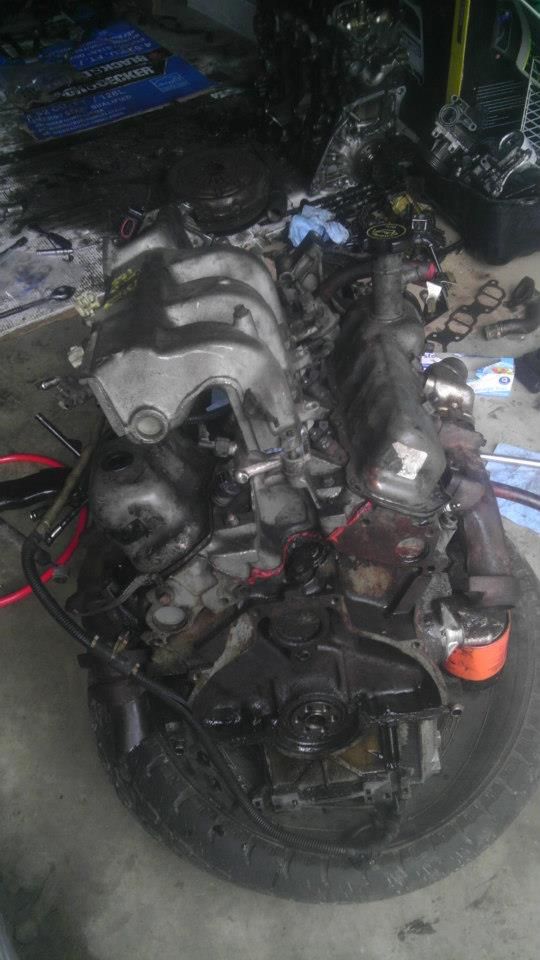
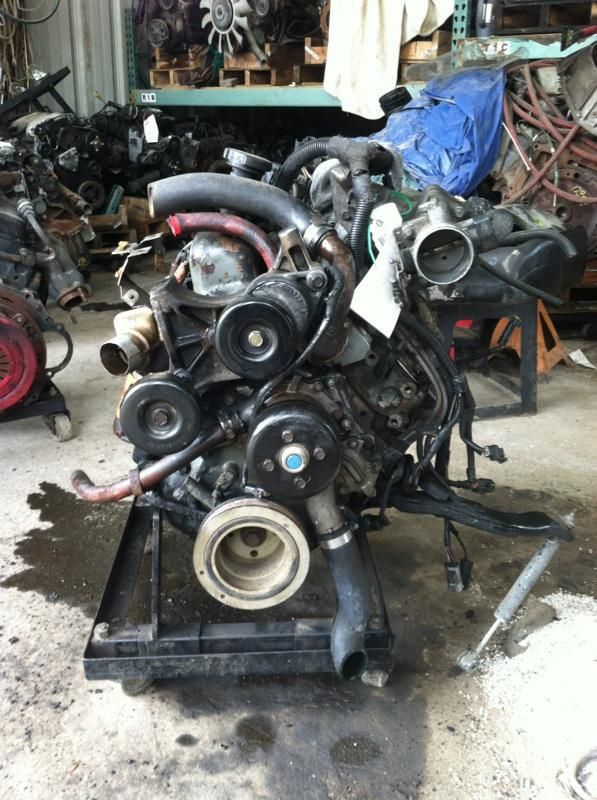
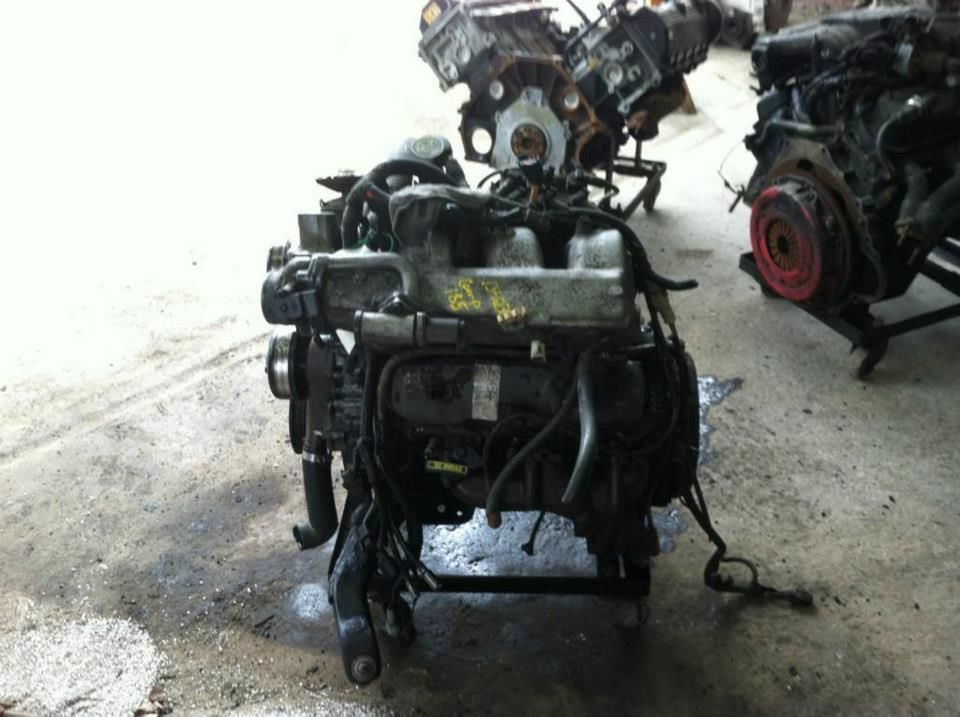
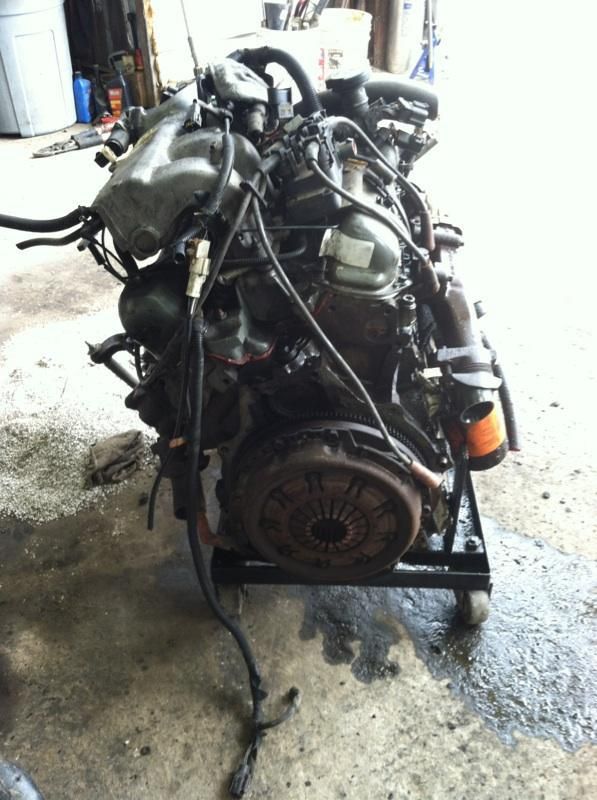
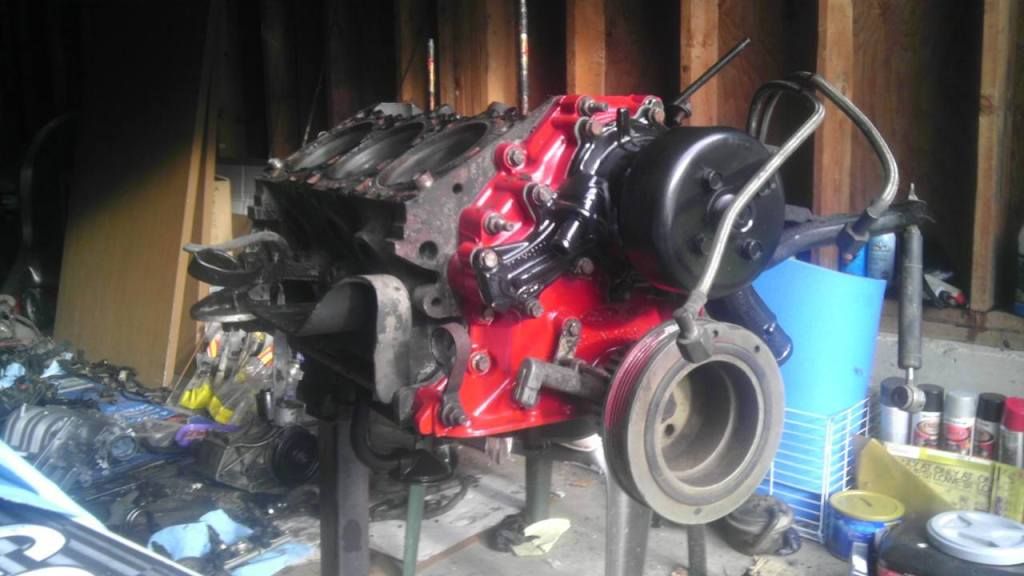
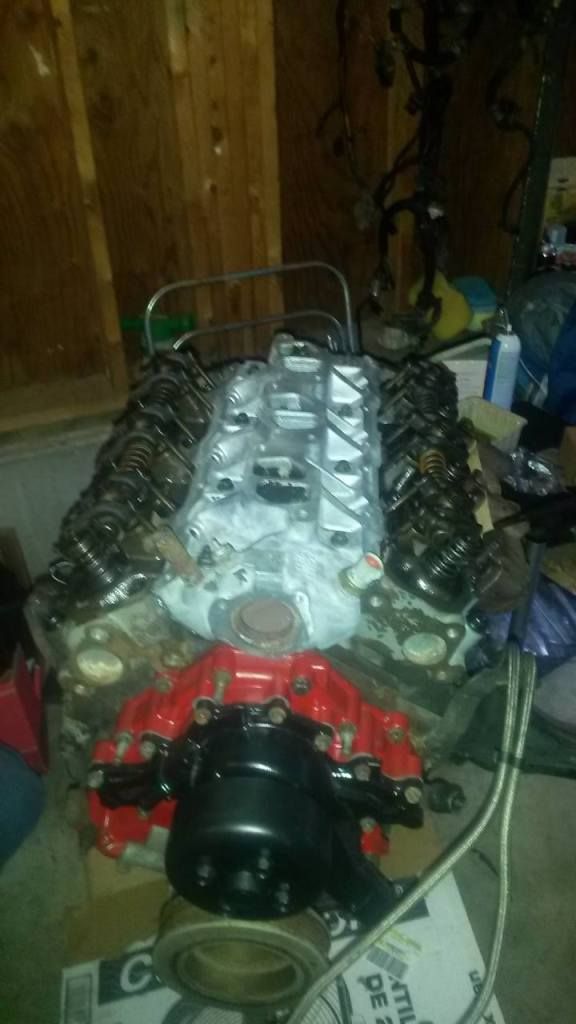
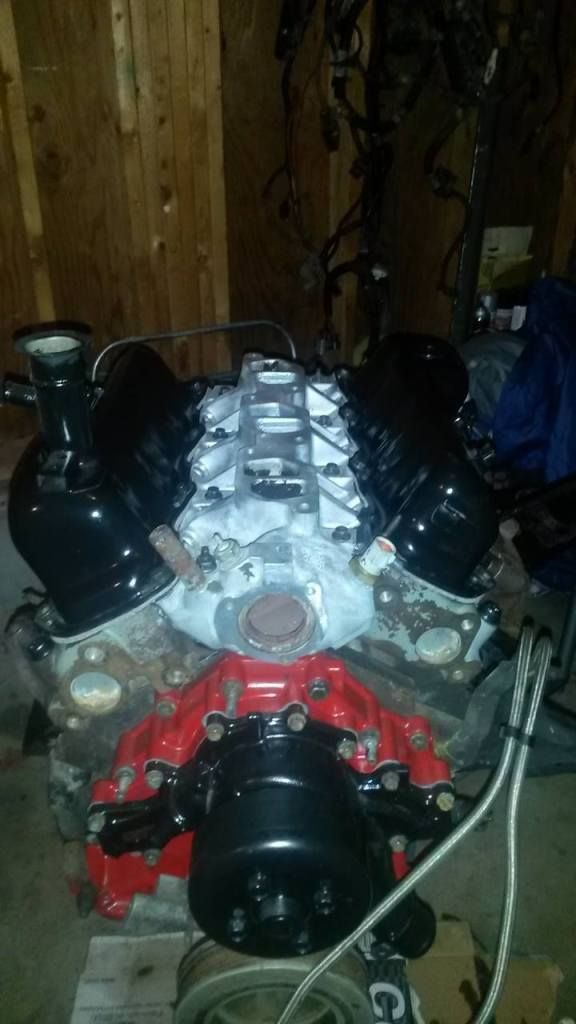
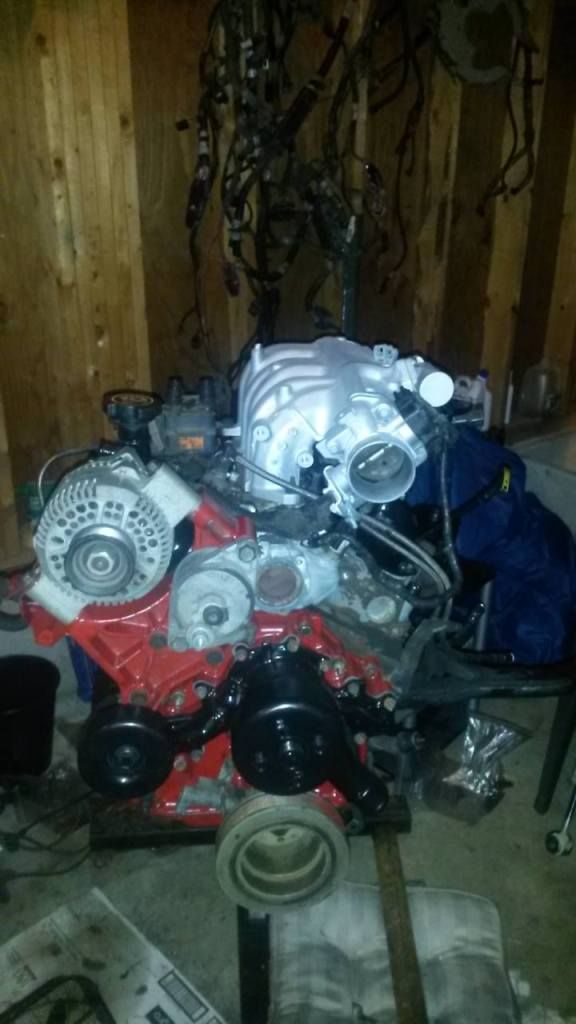
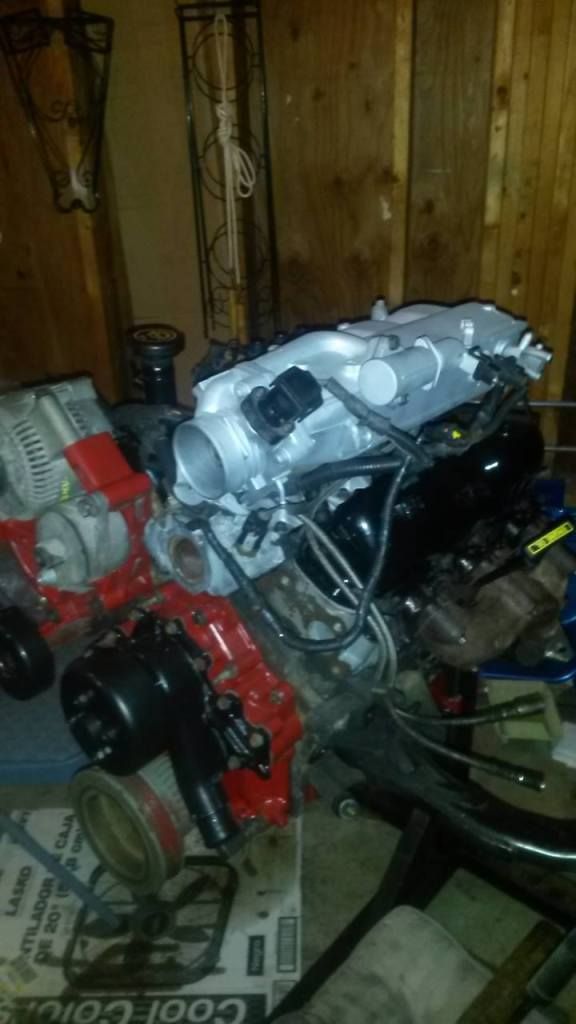
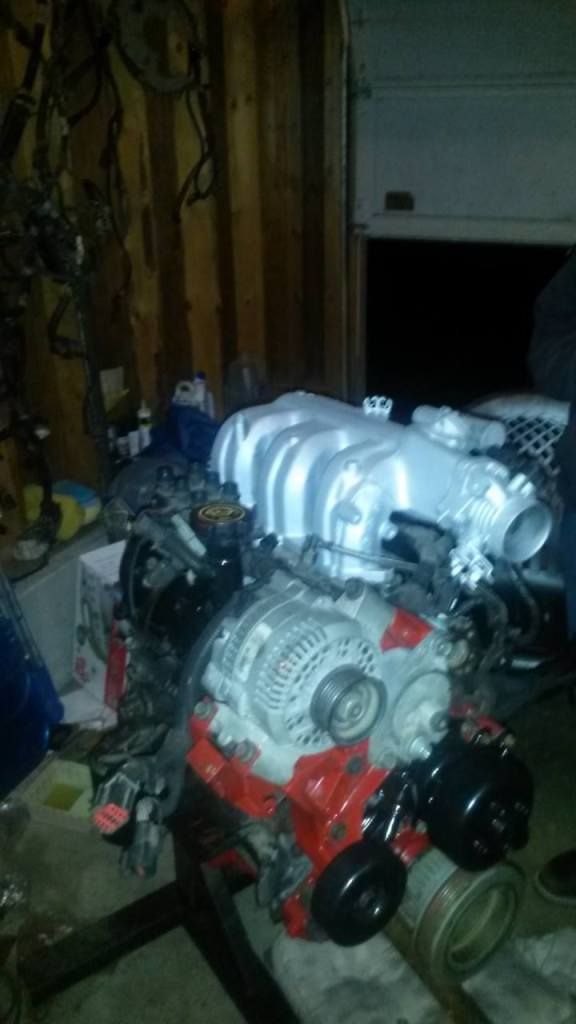
-4.0 OHV Engine with all belt driven accessories(Alternator, Power Steering pump(if you have power steering available on the truck your swapping into), Tensioner and idler pulleys.
*NOTE*-I bought my engine as a junkyard special, and it did not come with all belt driven accessories, if you have this same situation, i found a trip to the local junkyard was the cheapest way to go. If you choose, you can purchase new belt driven accessories, but be ready to spend about $100+ for each one, aside from the tensioner and pulleys.
-Fuel Lines from 4.0 OHV Engine(Fuel Rail to Fuel Filter)
Now the problem i ran into was trying to get the 4.0 fuel lines to fit correctly in the engine bay and along the frame rail. As everyone states, some minor modification is needed to achieve a good looking fit and finish and to ensure everything is going to feed fuel to your new beast. The reason you cannot use the 2.9L fuel lines are because there is a female quick connect and a male quick connect, the 4.0L has 2 male quick connects. I kept the male quick connect that attaches to the front of the fuel filter and connected it to the line that feeds fuel to the rail. I took the fuel lines from the 4.0L from the rail to the filter and cut one of the male quick connects off of it, leaving about a foot of line that i could put into place,
DO NOT cut the steel braided part of the line, cut past it on the steel line and then crimp it back into a oval if it bends closed like mine did. The line i took plugged into the Return quick connect on the 4.0L and then i ran a fuel line hose from the end of the steel line that was cut, clamped it and put JB Weld on it to ensure it would not leak, and put a brass connector between the installed fuel line hoses and JB Welded that. Now this is not a 100% super official way to do this. But i found this to look way better than RTV, Rubber Cement or anything else, it looks much better and it got me on the road, which is the objective here if your on a time crunch like i was. So now your fuel lines are connected, ensure that your return line is connected to the Fuel Pressure Regulator and the Supply line is on the back of the rail. I had these backwards the first time, dont ask me how i managed that but i did, and i couldnt start the truck.
 Complete 4.0 OHV Engine Bay Harness
Now when you buy your engine, ensure that it has an engine harness on it. This will be needed to supply power to the engine sensors and ignition. If your using a donor truck, the engine harness should already be on the engine.
*NOTE*- Make sure you look at the Main Harness Connectors that plug into the Engine Harness, on some Explorers between the years of 91-94 they have a Circular plug for one of the connectors, the Ranger engine harness has square connectors. You want to get a Ranger engine bay harness if possible, to avoid this problem. I pulled a Explorer engine bay harness because i was told i could use it and then upon inspection, found that the main engine power connectors were different. So make sure you check that little tid bit. Again, if your using a donor vehicle, this shouldn't be an issue.
Now if your still with me, You now have a complete 4.0 OHV Engine, the engine bay harness and the fuel lines. As long as your swapping into a 2.9L Fuel Injected and not from a carburated engine, your all set and ready to get this swap done!
Pulling the 2.9L
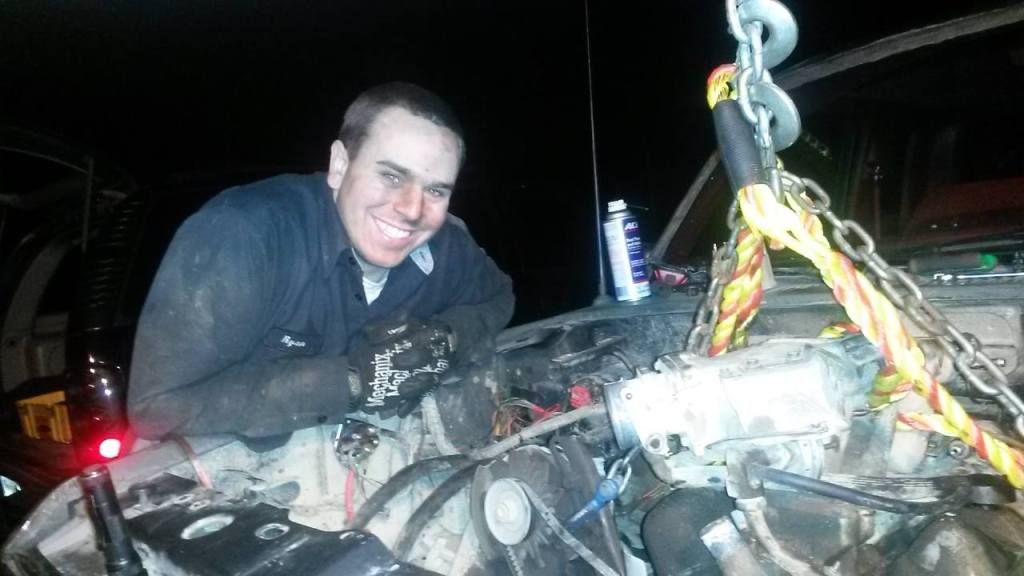
This only took me and a friend about 3.5 hours to accomplish. Your going to need a very good variety of tools for this task. I brought all my tools from work and had my friend bring his tools to ensure we had everything we needed, the last thing you want to do is begin this swap and have to stop to pick up a part or tool.
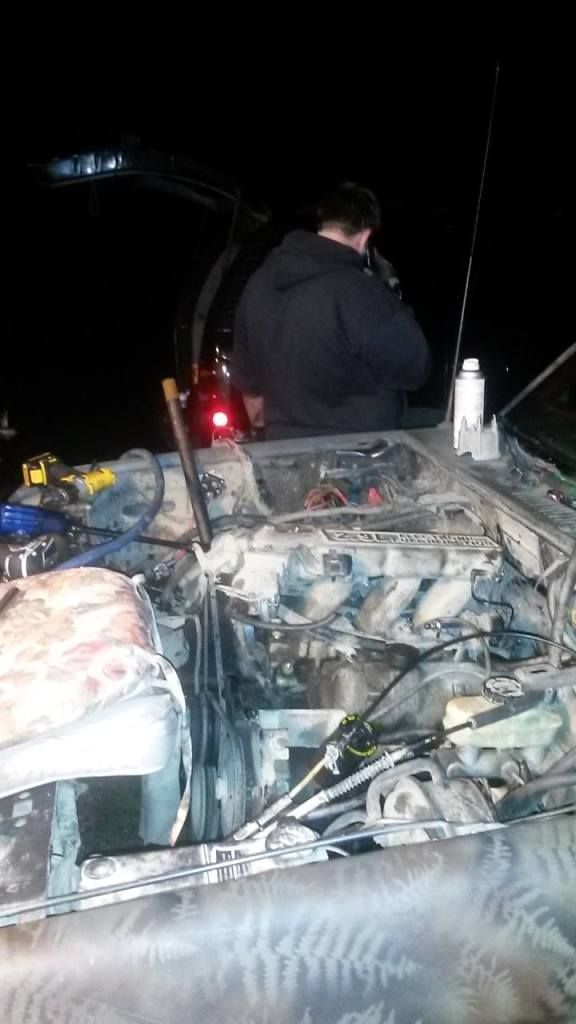
Start by disconnecting all electrical connectors and hoses. What i did was assigned my buddy to the passenger side of the engine and i worked on the drivers side. Once all connections are disconnected, begin removing accessories that can get in the way. I removed my battery, air box, washer fluid reservoir(which isnt necessary unless your swapping the reservoir like i was) radiator, and starter. Now that you have all accessories removed and out of the way, its time to start detaching the transmission from the engine.
I had access to an air compressor and had my impact guns from work, so this made this process very easy to achieve. There are i believe 6 bolts that hold the transmission to the Engine. They are all 13mm bolts, the bolts on the bottom of the transmission bellhousing are longer than the ones on the top of the bellhousing, make sure you note this down so you reinstall them correctly or you will be having to use a tap and dye set to fix the threads you stripped out by installing a bolt that was too long. I found a wobble 13mm to be my friend in this situation with a variety of extensions. Start from the bottom of the bellhousing working your way up the transmission until you have 2 bolts left on top left. Now place a jack under the transmission and slighty raise the transmission as to support it(this is to ensure the transmission does not fall when you remove the final bellhousing bolt)
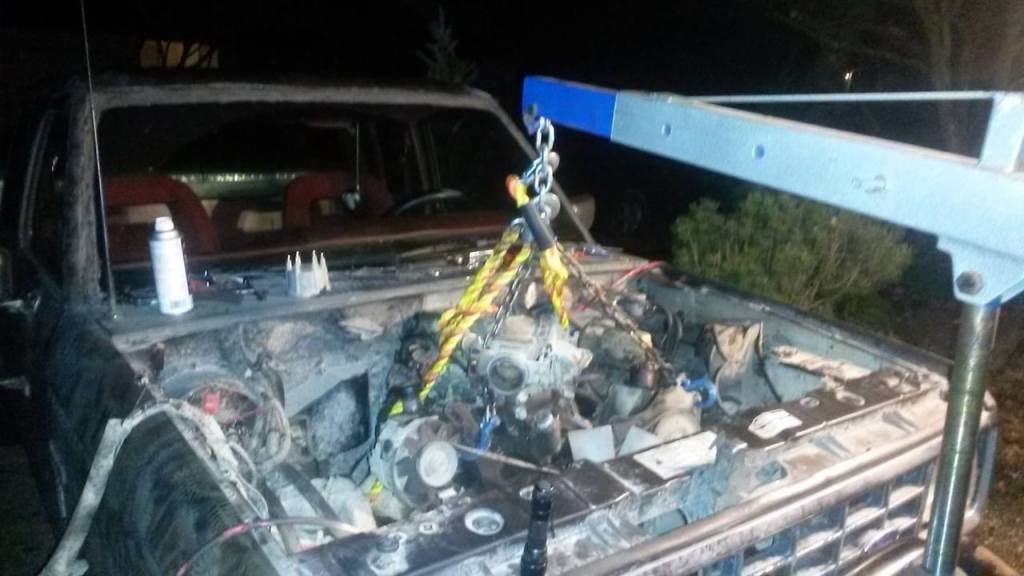
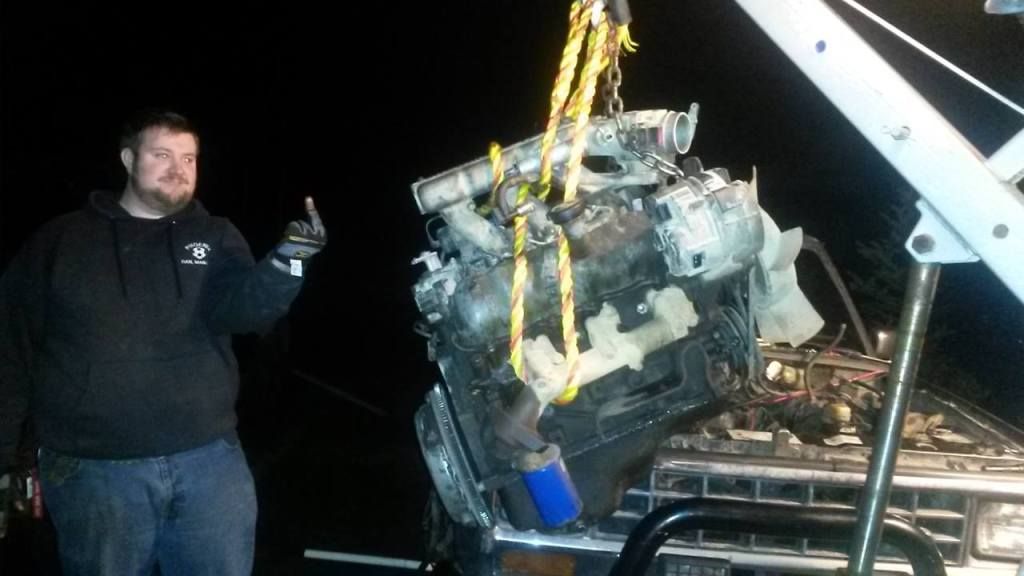
Once your transmission is supported, climb on top of the 2.9 and remove the the final 2 bellhousing bolts, i found a flex-head ratchet and ratchet wrench to be helpful here. Now that your transmission is no longer bolted to the engine, you can remove your engine mount bolts. This will be the final thing that is holding your 2.9 in place. Get your Engine Crane ready and route your tow chain to where it will lift the 2.9 safely. Remove the engine mount nuts, these are i believe 19mm nuts that i needed a deep well socket for, i went from the top of the engine with my impact, but i have heard people getting to them from the wheel wells. Once your engine mount nuts are removed, remove the tension from the tow chain and slighty raise your engine to where the engine mount brackets are no long seated in the mounting holes on the chassis.
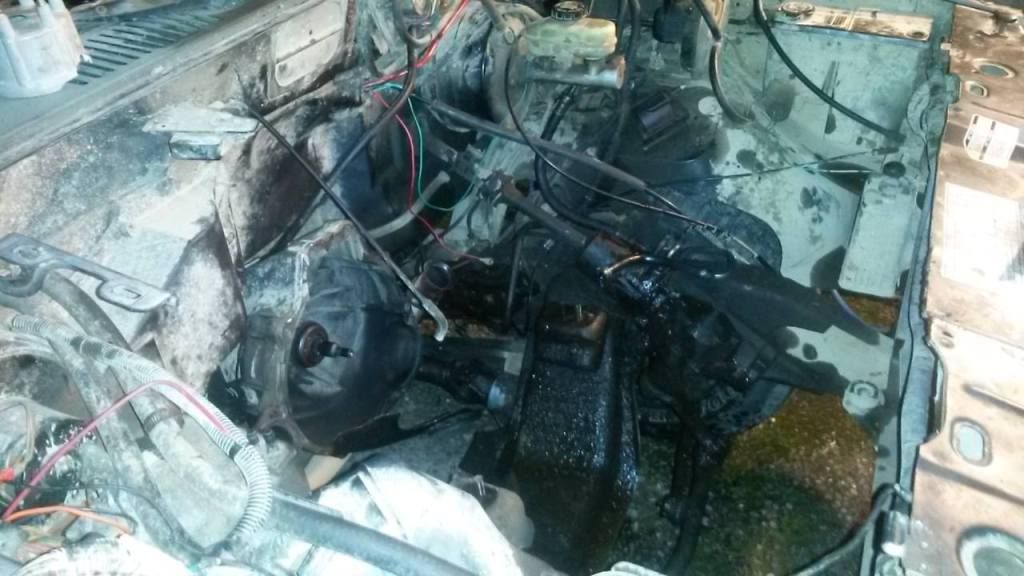
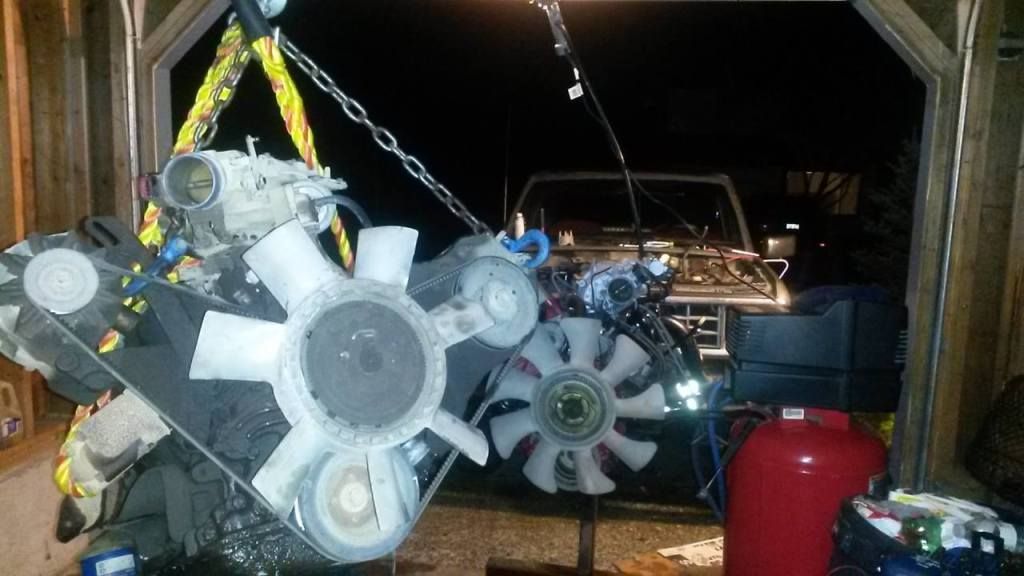
BE VERY CAREFUL with this next step, you do not want to make any sudden movements with the engine or you risk the engine falling back into the engine bay causing damage and if you have a manual transmission, you risk breaking the input shaft off the transmission and then you have a new can of worms to deal with. I have the FM145 transmission, so i slighty raised the engine to clear the mounting studs, and pulled and wiggled the engine out of the bellhousing until the clutch cleared the front of the transmission. Now i found turning the engine a little after i cleared the input shaft and bellhousing to be extremely helpful with removing and installing the engine, because then you dont need to worry about the fan blade getting caught on the front of the truck. Once you are sure that everything is removed, remove the engine from the engine bay completely. Now sit back and look at the huge hole you have just created and start to panic and wonder what the hell you have just done to your truck!

It will be ok, because your installing a much more reliable, quieter, and powerful engine, which will keep you motivated throughout this project.
Harness Routing
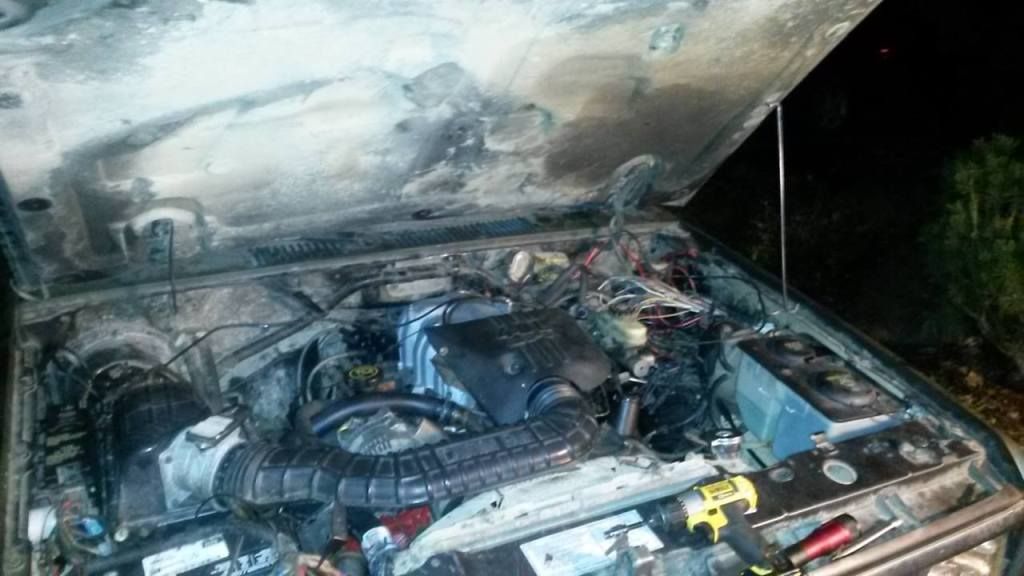
Now here is where all your major work and time consuming tasks will occur. Begin by removing the old 2.9 engine bay harness and ECM. I left my Headlight Harness alone and did not touch it, as it works with the 4.0 system. Now that your engine bay no longer has a engine bay harness, install the new 4.0 engine bay harness. The ECM goes in the same exact place as the 2.9 ECM. Make sure you route your Inertia Switch Wires and ECM grounds through the hole in the firewall as well or you will be pulling it back out. Route the 4.0 Engine bay harness the same way you had the 2.9 harness, you will end up with your BWP(Big White Plug) from the 4.0 harness on the drivers side firewall. There is i believe a brown 8 pin connector that runs along the back side of your firewall underneath your wiper blades that will connect to another brown 8 pin connector on the harness, plug that in, this will supply power fully across the harness. Now go ahead and cut your connectors off the 2.9 harness that comes out of the firewall, and cut your BWP connector off, these are not compatible and are not plug and play. Like the rest of the harness. Mount up all the harness accessories such as the power distribution box, starter solenoid and engine grounds. You will need EVTM's, wiring diagrams, for the 1987 Ranger and 90-94 Ranger for everything else that i do not tell you to wire in. I will not be writing everything on the 2.9 harness down due to the fact that everyone had different vehicles, some have power locks and windows some do not. I am writing this up in regards to my specific vehicle that others may have the same exact type. What we are going to do next is what will get your engine to crank, run and charge properly.
Splicing and Connecting
CRANKINGFirst we will get your vehicle to crank. There are
2 Red/LT Blu wires from the 2.9 harness, you will splice these and connect them to a single
Pink wire on the 4.0 Harness, this will ensure you can crank the vehicle and bypass the Neutral Safety Switch that you no longer have on the harness. Now go over to your passenger side and connect the single connector that is at a 90 degree angle and is
Red/LT Blu, this wire changes colors as it makes its way to the drivers side firewall to avoid confusion. Connect this to the top side of your starter solenoid, there is only one place for it to go. Also connect the
Red/Lt Blu connector from the 2.9 headlight harness, you now will be able to crank the vehicle. 1 down and 2 to go.
 FUEL SUPPLY/RUN
Ok so now you will have a connector on the 4.0 harness that has 4-5 wires in it, cut this connector head off. The
Pink wire inside this connector will supply power to your fuel pumps. If you look down on your frame rail by your fuel filter you will see a connector that has about 7-8 wires in it, these are for your tailights, fuel pumps, etc. on the 2.9. Cut This connector off and find the
BLACK/PINK wire and
RED wire. The Black/Pink wire is power to your High Pressure In-Line pump and the Red wire is power to your in-tank pump. Connect
BOTH of these wires to the
PINK wire on the 4.0 Harness. CONGRATS! You now have power to your fuel pumps!


2 down, 1 to go.
POWER SUPPLY/CHARGINGThis part is an easy splice. There is a
RED/GREEN wire on your 4.0 harness and a
RED/GREEN on your 2.9 harness. Splice these wires and connect them together to supply power to your harness and dash. You now will be able to have your truck and engine supplied with power when you turn your key on. The last splice you need to do to ensure your truck runs correctly is a
LT GRN/RED wire on your 4.0 harness and a
LT GRN/REDwire on your 2.9 harness. This supplies power and a signal to your Alternator so it can charge your battery. There is one last thing you need to do and there are 2 options. You can install an inertia switch from a 4.0, as the 2.9 inertia has a different connection, or you can cut the connector off and tie the
LT GRN/YEL wire to the
PINK wire to bypass this,
NOW WHEN YOU DO THIS, YOUR FUEL PUMP WILL REMAIN RUNNING IN THE EVENT OF A CRASH!! SO BE AWARE OF THIS BEFORE YOU DO THIS. Now you have everything you need to ensure your truck starts and runs correctly. Refer to your Wiring Diagrams for everything else on the vehicle. At this point, you will have dash lights, headlights, dome lights and all power to your cab and 4.0 engine. You will need to splice for your taillights and all other accessories.
INSTALLING THE 4.0
Alright we are almost finished here!

Installing the 4.0 is the same as removing the 2.9, just take your time installing it and ensure you do not crush any connectors or wiring. Once you get your 4.0 engine into the engine bay, secure everything down and plug all necessary connectors into the engine, vacuum hoses, fuel line quick connections. Ensuring your main power connectors are plugged in and secure. YOUR READY TO HEAR HER RUN! Once you are sure that everything is connected that needs to be, you can turn your key and crank her up and she should start!! CONGRATS ON YOUR SWAP!! Now enjoy the rest of the world having a great running 4.0! And dont forget to wire in the other stuff like your wipers and lights!!


I hope this write up helps everyone that is in need of help for a swap from a 2.9 to a 4.0!! Any questions, feel free to Message me! Im more than willing to help!!


 2 down, 1 to go.


