Over the years many Ranger enthusiasts have opted to swap out the TTB Dana 28 or Dana 35 front axle from their 4×4 Ranger for a 4×4 solid axle. This article isn’t going to be a step-by-step guide to swapping in a solid front axle, but more of an insight as to what’s involved.
We’ve seen owners swap in Jeep Dana 30’s, Ford Bronco & F-150 Dana 44’s, Jeep Wagoneer Dana 44’s, Dana 60’s, Unimog axles, and Rockwell 2.5 Ton Military’s. The most common axle swapped in the the Ranger though has been the full-width Dana 44. Second would go to the early Ford Bronco Dana 44 followed by the Jeep Dana 30.
The Ford Dana 44:
The Ford Dana 44 is probably the easiest to swap using coil springs and radius arms.
When doing these swaps there’s essentially (3) mounting points to deal with:
1) The Coil Springs/Spring Buckets:
The coil springs are responsible for the ride quality and handling as well as determining the vehicles ride height. Ford Ranger coil springs are smaller in diameter then the full size coil springs. Owners commonly use coil springs designed to provide lift for the early Ford Bronco. Some owners have used their factory coil buckets, but a better option is the factory style coil from a 1978-1979 Ford Bronco.
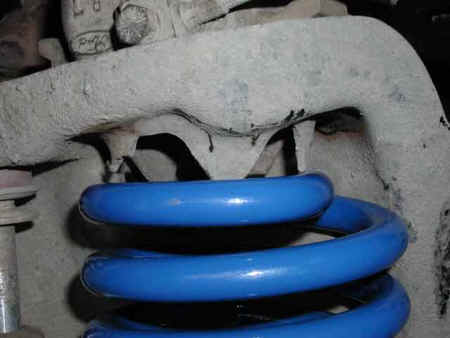
Note how the early Ford Bronco coil spring fits the bucket.
There are several triangular tabs that extend down from under the Rangers coil bucket. These tabs keep the spring in the bucket by entrapping the coil windings. The outer of these tabs may need to be bent back and flattened out. This is done because the full size spring is larger, and its larger diameter windings, as well as their locations, will interfere with some of these tabs. You must make sure the inner tabs closest to the motor are still in their original positions. This will insure the spring sets to the back of the bucket like the original Ranger springs did. Placement of the coil spring is very important. Do not rush this part of the swap. A mistake here could be costly later.
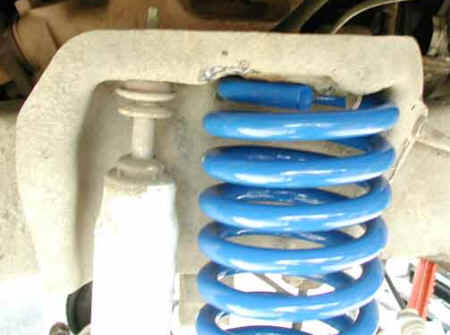
The tabs have been modified for the coil to fit.
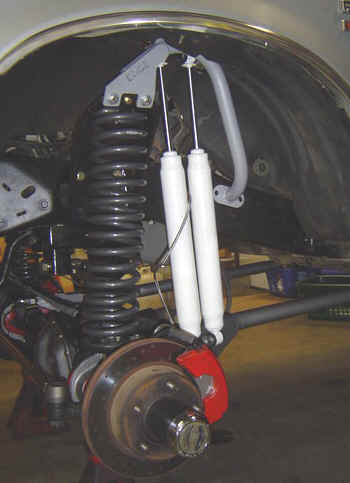
A really nice addition is these shock hoops from CAGE Offroad Products. They allow the use of a longer shock (for more wheel travel) with an eye ring/bushing instead of the stock stud type mount.
2) The Radius Arm Mount:
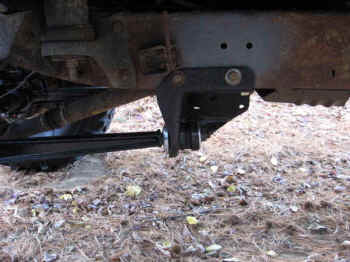
To mount the radius arms, the owner of this 1993 Ranger used the rear hole in 1978-1979 radius arm brackets and lined it up with the bottom frame hole from the transmission cross member. Using those holes as a guide, the rest of the holes can be drilled. Attach the radius arm mount with 1/2″ grade 8 bolts. The 1978-1979 mounts provide a 4-inch drop to help caster.
3) The Track Bar Mount:
The track bar mount is located on the driver side frame rail. It is the frame mount for the track bar that runs between the drivers side frame rail and the passenger side of the axle. This is the mount that keeps your front axle from sliding out from the side of your truck. The location where the track bar attaches to the axle and the frame are the points where the axle pivots from during wheel travel. This is important to understand, because as the axle travels up and down, the distance from the axles pivot points start to make an arch like swing. This swinging effect will cause the axle to actually move toward the driver’s side as it raises or lowers.
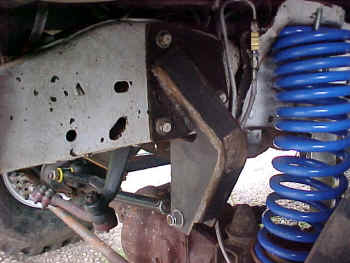
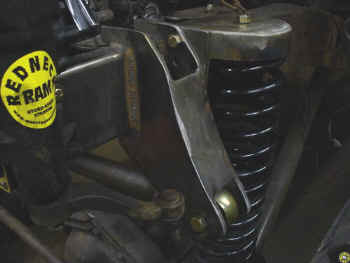
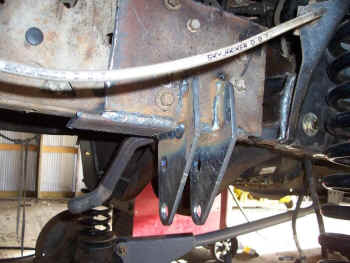
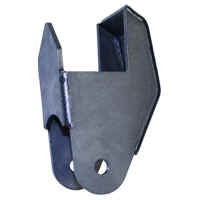
Here’s a universal track bar mount from Poly Performance.
Other Considerations:
Steering:
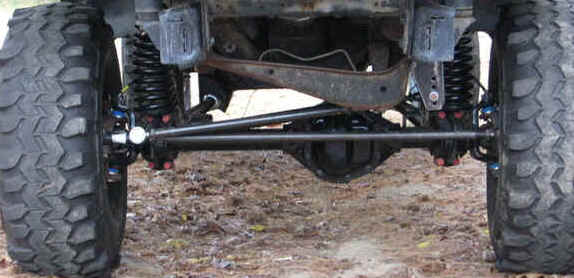
Owners have got steering linkage from www.partsmike.com. All you need to do is get accurate measurements from the holes on the knuckle-arms, making sure they are as straight forward as possible, then get a measurement from the pitman arm to the passenger side knuckle-arm hole. Call up Parts Mike and tell them the measurements.
Transmission Cross Member:
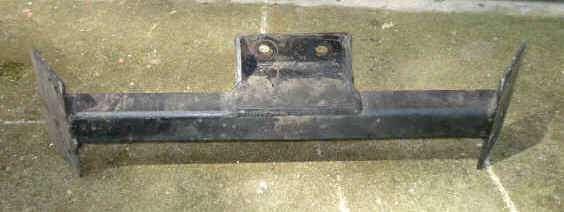
Your new radius arm mounts will be in the way of your transmission cross member. Below is a cross member custom made for a Dana 44 swap. It mounts between the radius arm mounts. The early Rangers used a transmission cross member that mounted inside of the frame rails instead of wrapping around to the outside of the frame rail. If you can find one, it may be an option if you don’t want to fabricate a new one.
Engine Cross Member:
Due to the low-hanging engine cross member on the Ranger, a minimum of about 6-inches of lift height will be required to clear the differential when the driverside suspension compresses. Some trimming of the engine cross member is helpful as well.
CAGE Offroad Products:
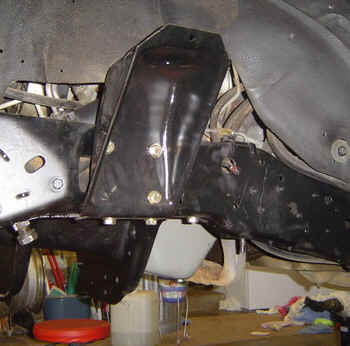
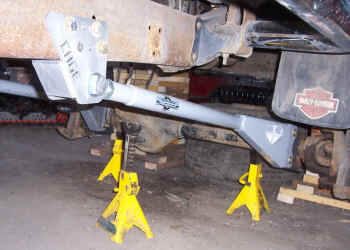
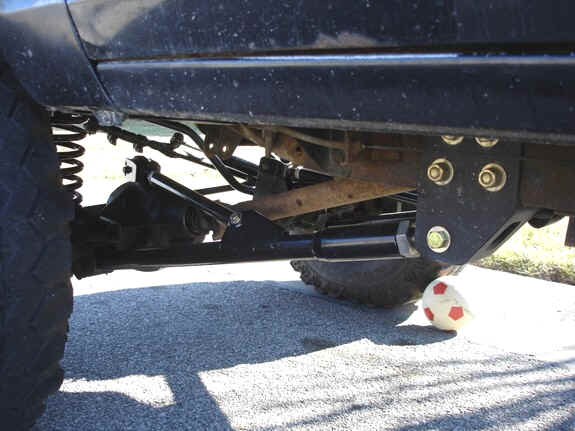
These brackets (one shown below but the kit comes as a pair) can be used with our radius arms to facilitate swapping an axle that is not equipped with “C” bushing mounts. Works equally well in front or rear applications. Perfectly suited for Dana 60 swaps or other solid axles.
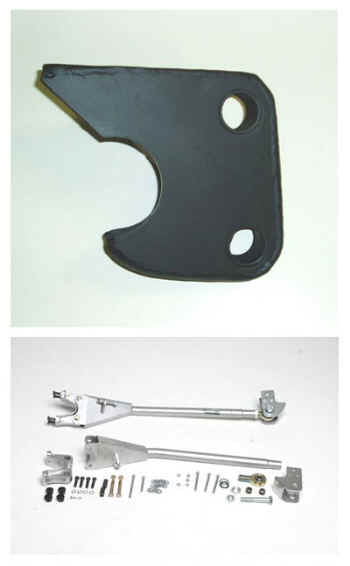
Flat top allows for mounting of 66-79 type Ford 4×4 coils, 80-96 TTB coils, coil over type shock or even air shocks. Simple drill the necessary hole or add the necessary mount to suit your needs.
Holes shown in the brackets are for inserting polyurethane bushings (included in the radius arm kits). These bushings provide for greater axle articulation through the dissipation of axle torsional twist over a broad surface area.
1/4″ laser cut side plates are designed to provide for a 7 degree angled mount (similar to a 66-79 Ford) which helps clear large tires during turning yet still bolts right up to our radius arms.
1.5″ wide to bolt to CAGE radius arms and to facilitate easily welding to short side axle tubes such as those found on many Dana 60 front axles.
Inside arc (axle tube location) is set so that the brackets fit snug on the axle tube for easy installation and castor setting.
Components are available as a pair if you already have our radius arms or as a complete kit with our radius arms if you are purchasing them altogether.
Check out CAGE Offroad at www.cageoffroad.com
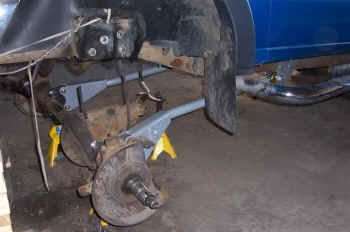
Here’s a couple of photos of CAGE products on a Ranger:
Leaf Spring Front Suspensions:
Another option to swapping in a Dana 44 is the use of leaf springs.
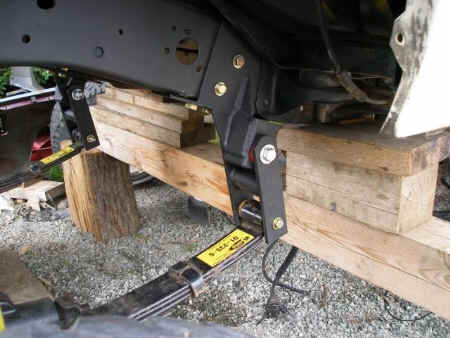
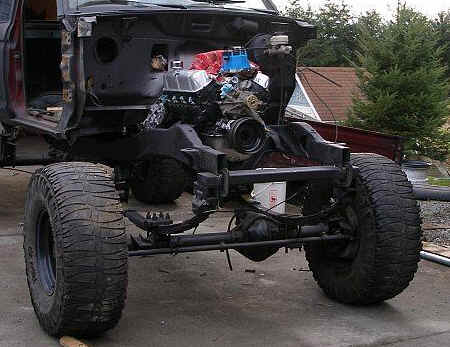
Here’s some pictures of a swap on a 1988 Ranger:
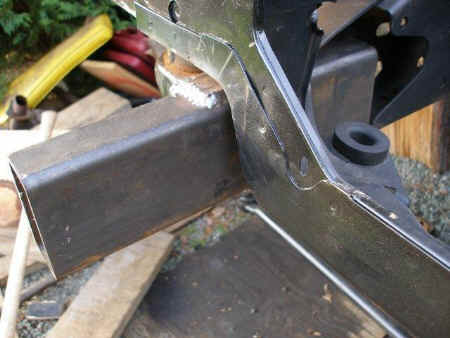
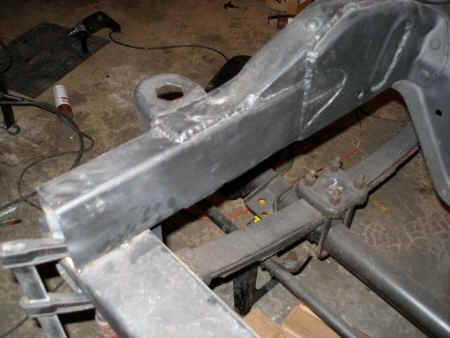
In the above (2) photos you’ll first see a piece of rectangular tubing that’s been slid inside of the frame rail after the front end of the frame (bumper mount) was cut off. The piece was then welded in with the gaps being filled in with plate.
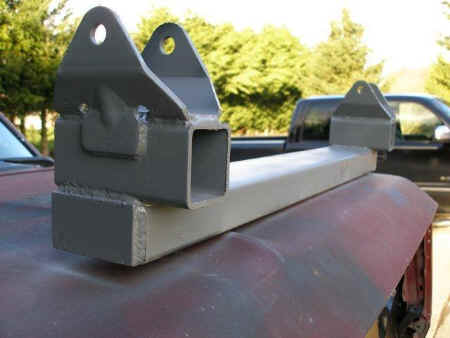
The mount above (upside down) was built to cross the front of the new section of frame rail to mount the front of the leaf springs.
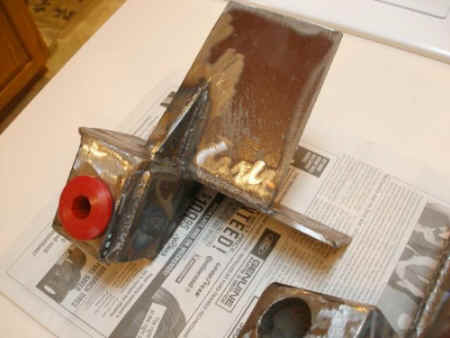
This bracket was made to mount the rear of the spring.
The Jeep Dana 30:
The Jeep Dana 30 is a swap that’s becoming more popular. It has the advantages of a drivers side differential and 5×4.5 wheel bolt pattern like the Ranger. It’s not any stronger than the Ranger’s stock Dana 35 though.
Click HERE to see more information on this axle swap and the Jeep Dana 30 axle.
Other Articles:
1993 Ranger 4×4 With Early Bronco Dana 44 Axle
Ford Bronco II With Early Bronco Dana 44 Front Axle
Ford Bronco II Dana 44 With Leafs
Dana 44 Solid Front Axle (Ford & Jeep Wagoneer)
4-Link tech – Measurements & Material Selection
