Tools Needed:
- 10mm socket
- 8mm socket
- Ratchet, and an extension
- Phillips head screwdriver
Diagrams:
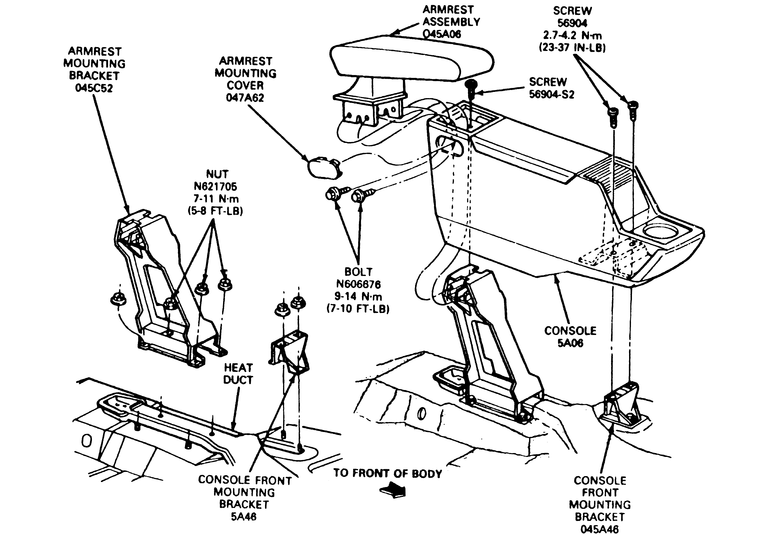
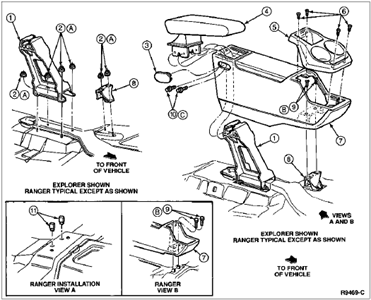
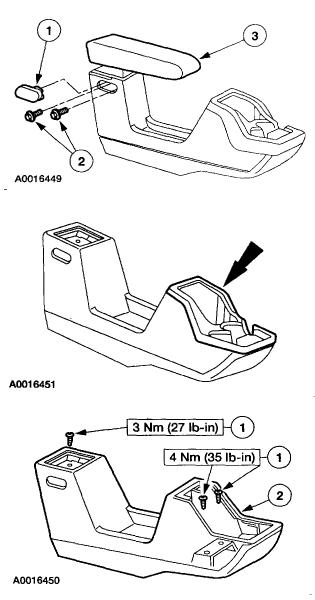
Removal of Console:
Removing the console begins by opening the lid and removing the (3) screws holding the lid to the console
Once the lid is off you’ll see the (4) screws holding the black inner compartment up in place. The plastic console is somewhat flexible and once you remove those screws you should be able to pull that inner compartment out.
Next remove the screws that hold the front cup holder section in place. There are (2) screws in the front of the cup holder (Bottom part of photo above). There’s a good chance that your donor console may be full of crud and these screws aren’t visible. Clean it out so you can get the screws out and remove all (4) screws.
If your console has the cup holders inline instead of side by side, remove the cup holder by lifting up on the front of it.
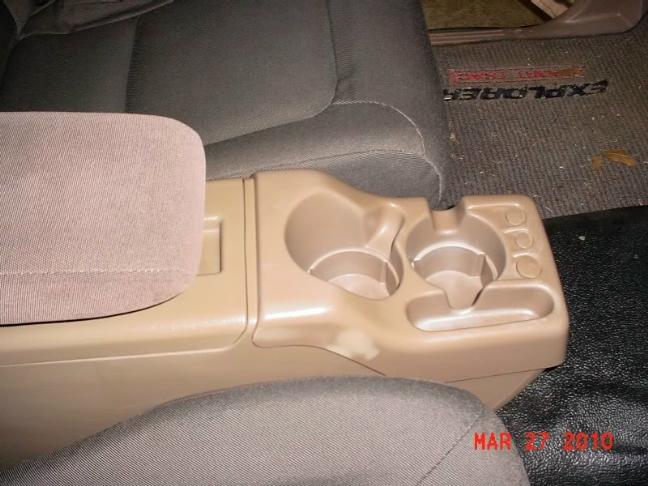
After removing the front cup holder section, remove the (2) screws holding the front of the console down to the mounting bracket.
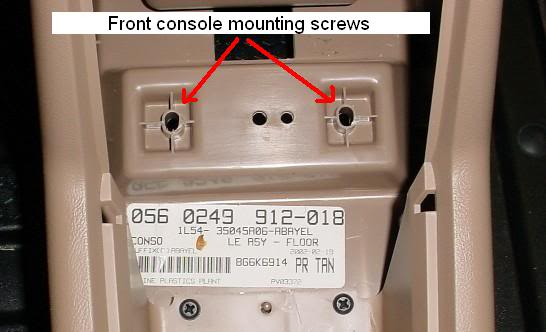
Then remove the (4) 10mm nuts from the metal upright console bracket (missing from photo – see mounting holes in photo). The carpet and insulation will probably be in your way.
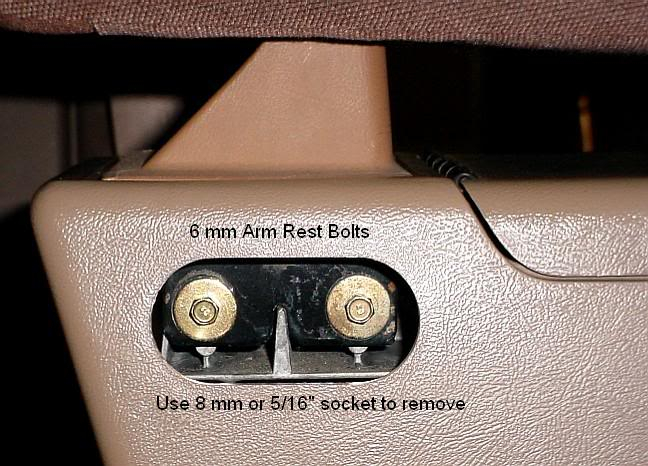
You can also remove the caps on the rear sides of the console, and remove the (2) 8mm bolts on each side. Then you can remove the arms rest.
Then remove the screw holding the console down to the rear mounting bracket.
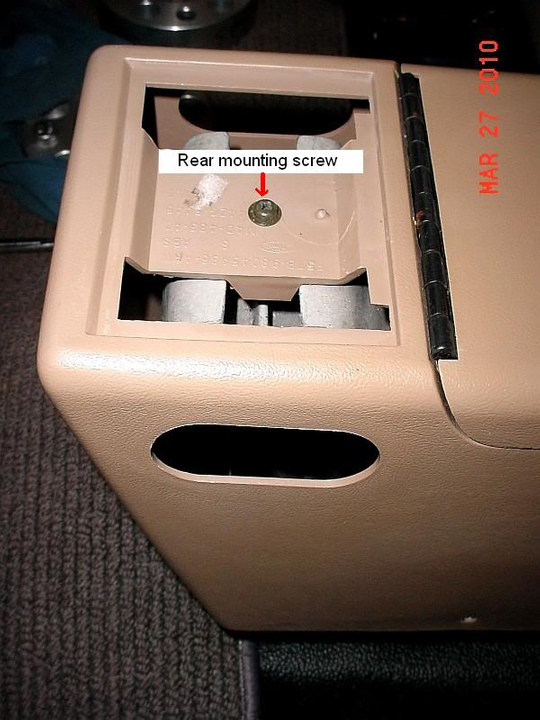
Then lift the console off of the rear mounting bracket to have better access to the (4) 10mm mounting bolts.
From here you should be able to remove the whole console.
Make sure when you remove it you get the front plastic bracket that’s still mounted to the floor.
