
The 1991-1994 Ford Explorer Dana 35 and 8.8 axles have been a popular swap for the Bronco II. They let you keep the same wheels with 5 on 4.5 bolt pattern. They are much stronger than the stock Dana 28 front and 7.5-inch rear but Dana 35 wheel bearings and lock outs are still lacking.
I put a Ford 9″ 31 spline full width axle from an 85 F-150 in the rear of my 1988 Bronco II. In the front I went with the Dana 35 TTB from a 1993 Explorer. Below is the way I put Dana 44 outers on the Explorer Dana 35. There is another way that requires the ball joint bores of the Dana 44 TTB steering knuckles, and if you want tie rod bores, modified. I chose this way. I took the Dana 35 TTB steering knuckles and cut the caliper ears off. Then I used 75 up 1/2 ton GM spindles and front disc brake parts. 1976-1986 full size Ford Bronco hubs and rotors. With this mod the bearings and lock outs are stronger. It lets me run 5 on 5.5 wheels to match the rear 9″. I have 1/2 ton brakes front and rear. And I don’t have to worry about critical ball joint and steering parts. An added bonus is, if you need to rebuild the front and rear axle, you save big $$$$’s on 9″ gears, lockers and 44 brake parts and lock outs.
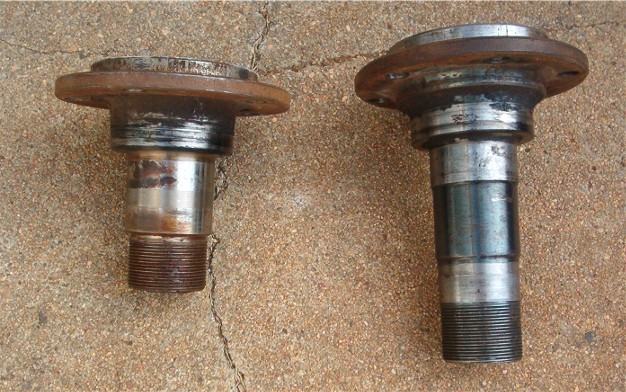
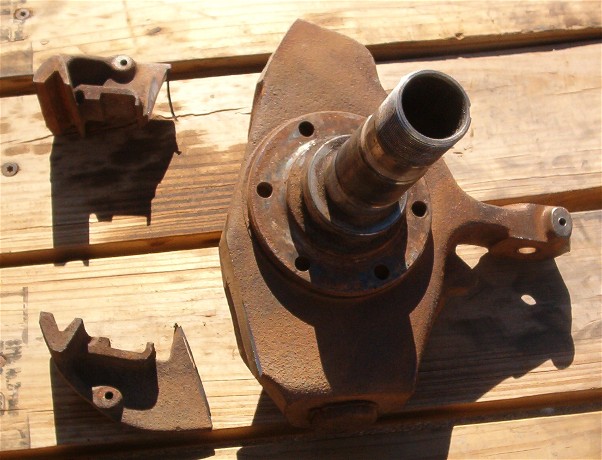
The Dana 35 TTB spindle on the left and the GM 44 spindle on the right. As you can see the 35 bearings are just 1/4 inch apart. The 44’s are 2 inches apart.
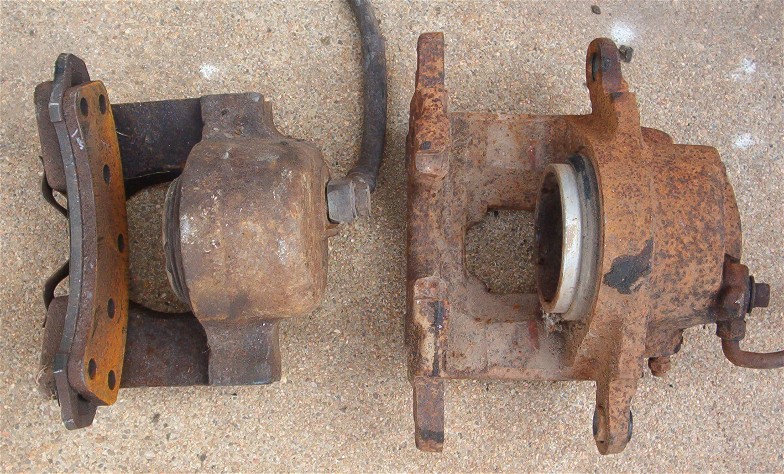
The 35 TTB caliper on the left and GM 44 on the right.
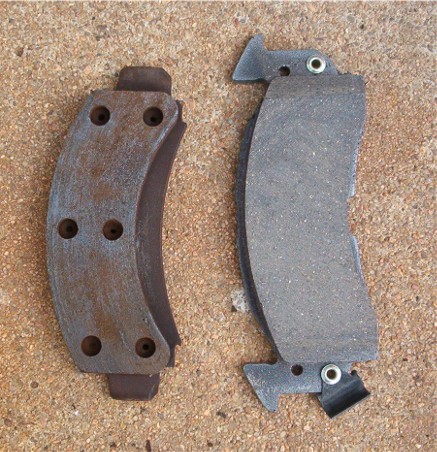
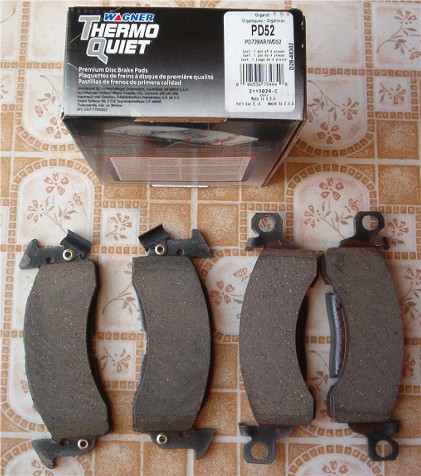
The 35 TTB brake pad left and GM 44 brake pad on the right.
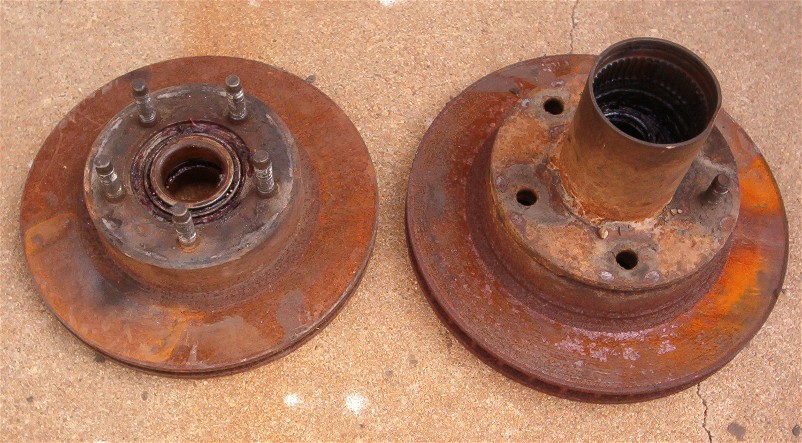
The 35 TTB rotor on the left and the 44 TTB rotor on the right.
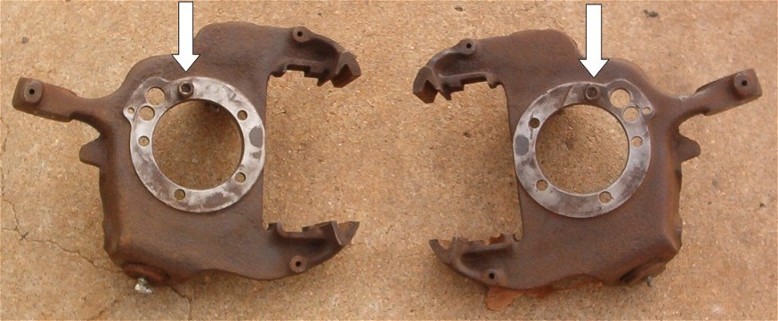
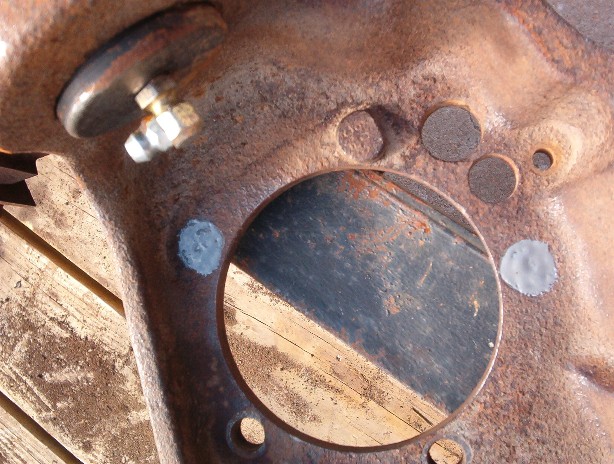
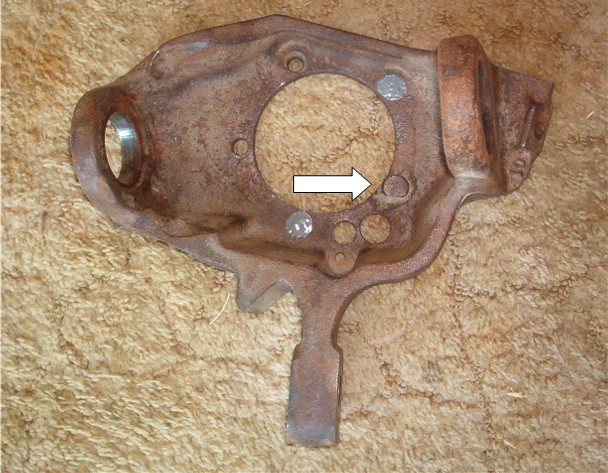
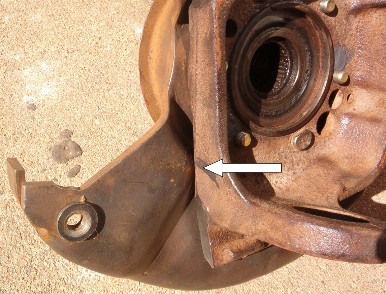
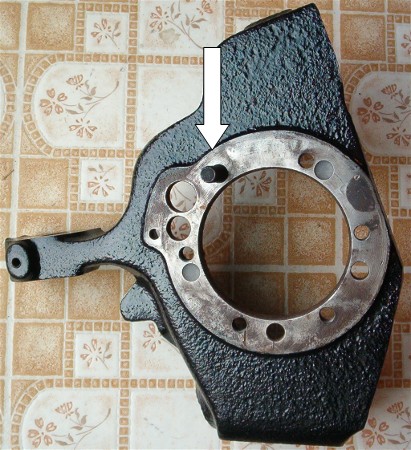
Start with a bare set of Dana 35 TTB steering knuckles. To get the proper alignment of the GM caliper bracket remove all of the spindle attaching studs from the knuckle EXCEPT the ones shown in the above photo. If you have ABS knuckles it is easy. Just leave the stud in next to the large ABS sensor hole. The ABS sensors must be removed and cannot be retained with this modification. If you would like you can locate a pair of non ABS steering knuckles to use for this and save your steering knuckles for spares. Arrows point to the location where the spindle attaching stud should remain.
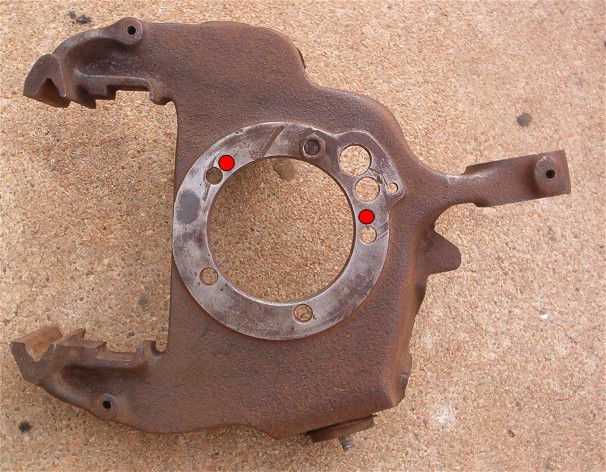
The red dots are where two of the five new holes will be located that will attach the Dana 44 spindle to the 35 knuckle. These two are very close to the old stud holes. I decided to plug the old stud holes at these locations. Instead of drilling large holes for press in studs I decide to have the new spindle attaching holes drilled under size and tapped for 3/8″ 24 thread bolts. This is the method that was used on the drum brake Dana 44 Early Bronco.
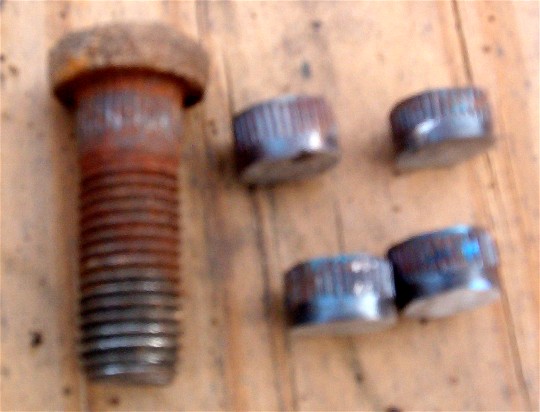
I took four of the old press in studs and cut the head and threaded section off to make plugs for these locations. I used a Dremel and a reinforced cut off wheels I bought at Harbor Freight to cut these. I used steel wool and brake parts cleaner to clean the plugs and the holes they were going in.
I mixed up some J B Weld with a Q-tip and coated the inside of the hole. I drove these plugs in from the back side using another of the old press in studs. I placed the head end of the old stud against the knurled back side of the plug to make sure the plug was flush. I then used some more of the J B Weld to seal the back side.
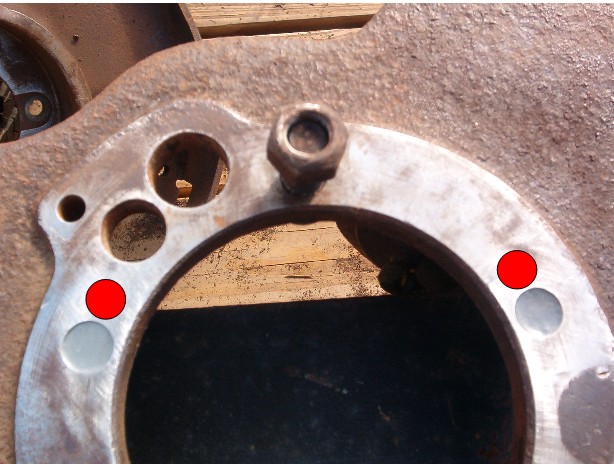
The front side was also filled with J B Weld. Again, the red dots show where the new hole will be drilled under size and tapped for 3/8’s 24 thread bolts.
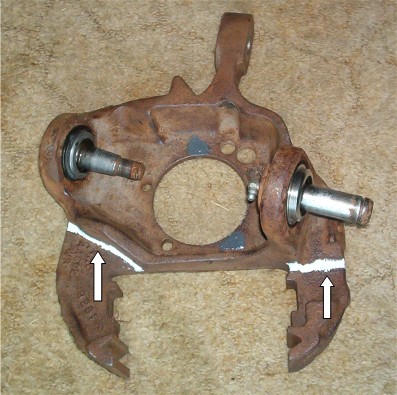
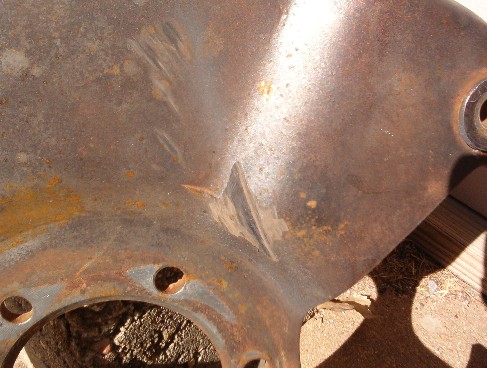
The Dana 35 TTB caliper ears must be removed. Arrows point to the white lines where the cuts should be made. I used a 7″ angle grinder with a 7″ cut off disk to do this.
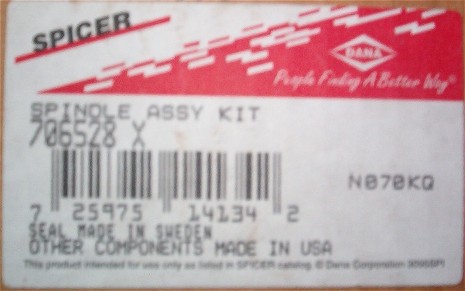
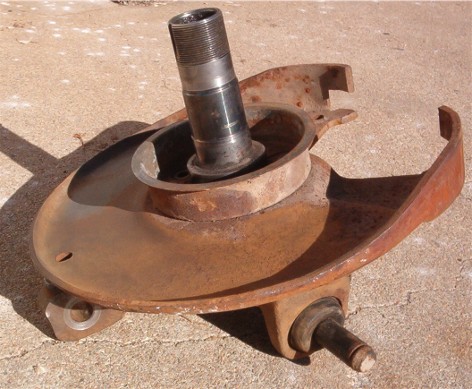
This is the spindle that I will use. It is the same one sold in kits by the Bronco specialty shops for a disc brake conversions on Early Bronco’s. Dana Spicer # 706528 X.
Picture of a spare Dana 44 spindle mocked up on the Dana 35 knuckle with the caliper ears that were cut off shown.
Here is the Dana 35 steering knuckle ready to go to the machine shop to have the new holes drilled and tapped. Again arrow shows the remaining press in stud used to reference the new bolt pattern.
This is the caliper mounting bracket I am going to use. I was told it is off Dana 44 straight front axle from a Chevy truck. These are said to be used on Chevy 10 bolts also. There are two numbers stamped on the back of these. The first number on the first bracket is 37845 or 37645. The middle number is very faint. The first number on the second bracket is 37?45. The middle number is unreadable. The second number on the first bracket is 26811. The second number on the second bracket is16004.
First Bracket first number: 37845 or 37645
First Bracket second number: 26811
Second Bracket first number: 37?45
Second Bracket second number: 16004
There is another type of caliper bracket that has a tin shield in the area opposite the caliper. This one is said not to clear as well and needs more grinding to clear properly. I think this is the part sold in the Early Bronco disc brake conversion. My son used these on his 74 Bronco and had to grind on the knuckle and caliper.
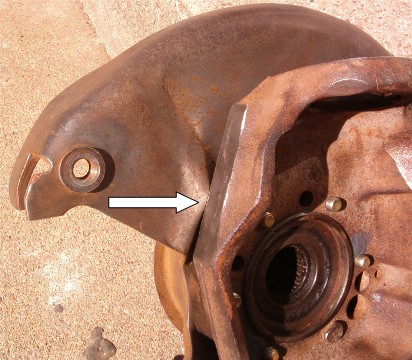
The arrows show where the caliper brackets will hit on the Dana 35 TTB knuckle. You can either grind on the steering knuckle or on the caliper mounting bracket.
I decided to grind on the caliper bracket.
Picture of the spare Dana 44 spindle and caliper bracket mocked up on Dana 35 TTB knuckle.
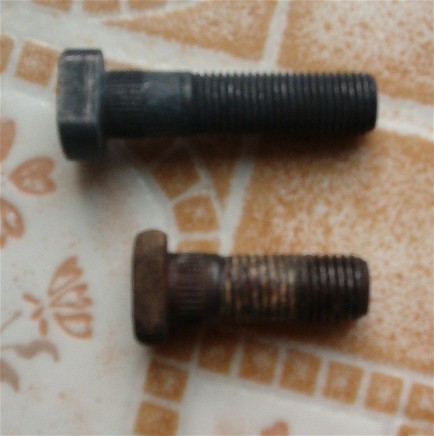
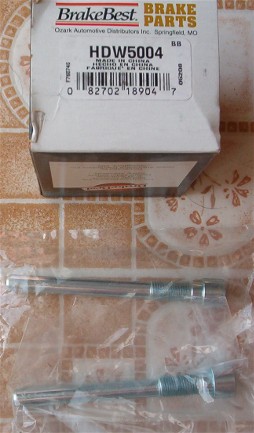
The Dana 35 TTB stud (bottom) is too short. I purchased new GM studs for the application with the caliper brackets. The knurled shank was smaller than the Dana 35 TTB stud. So I broke out the J B Weld again and bolted the Dana 44 spindle to the knuckle. Then I applied the J B to the knurled shank of the new stud, and using a grade 8 3/8’s 24 thread nut and lock washer, installed it in place of the Dana 35 stud I was using to index the bolt pattern. I again used steel wool and brake parts cleaner to clean the hole in the knuckle and stud.
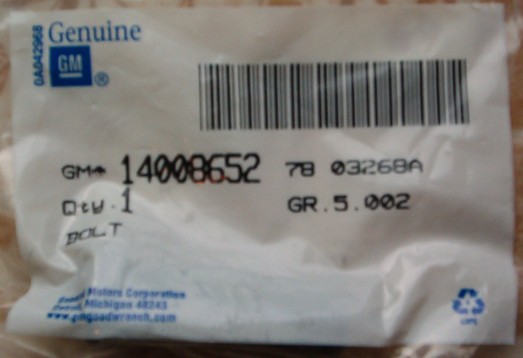
This is the part number for the new longer stud.
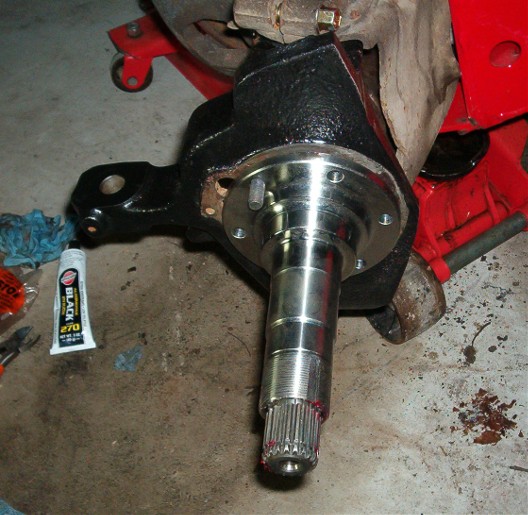
This is the Dana 35 TTB steering knuckle ready to install. Arrow points to the new 3/8’s GM stud that is held in place with J B Weld. You can see the plugged old stud holes and the 5 new small drilled and tapped holes for the Dana 44 spindle. I used POR 15 to paint the knuckles.

Knuckle installed on Dana 35 TTB with Moog balljoints.
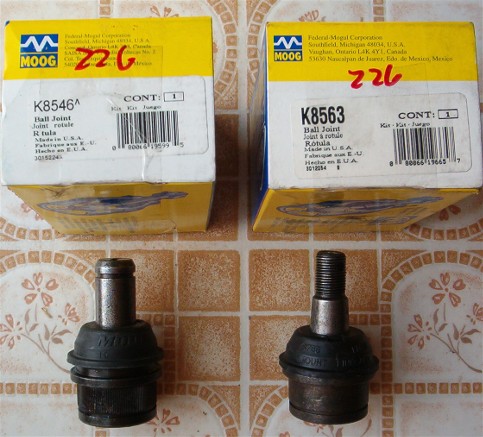
Upper ball joint on the left and lower on the right.
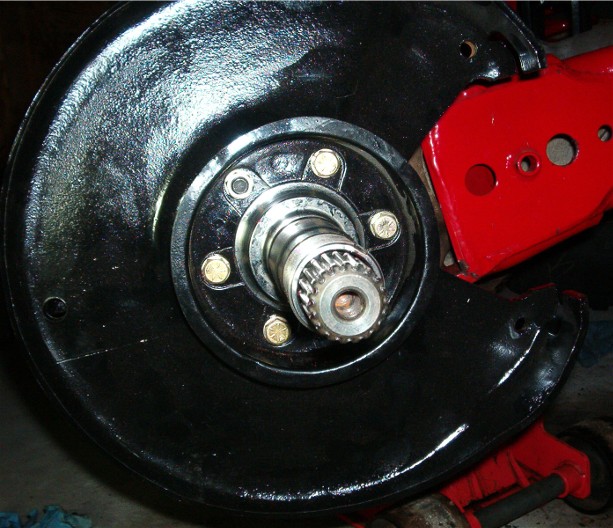
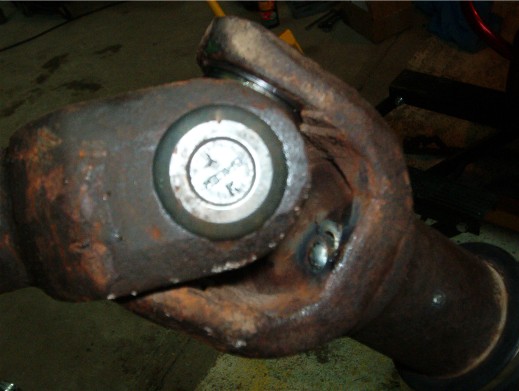
GM Dana 44 spindle part # 706528X. Ford Dana 44 TTB outer shaft installed on Ford Dana 35 TTB inner shaft using Spicer u-joint 5-760X.
Update: The 44 TTB outer shaft was a bit too long from the seal mounting surface to the center of the u-joint I think. Must be a difference in the inboard side of the GM spindle. So I changed my mind on this and removed the 44 TTB outer shafts and installed the GM outer shafts. I installed the C-clips on the end of the axle and did notice some feed back in the steering wheel. I’m going to try this and if I have problems with the u-joints I’ll try removing the C-clips from the end of the axles.
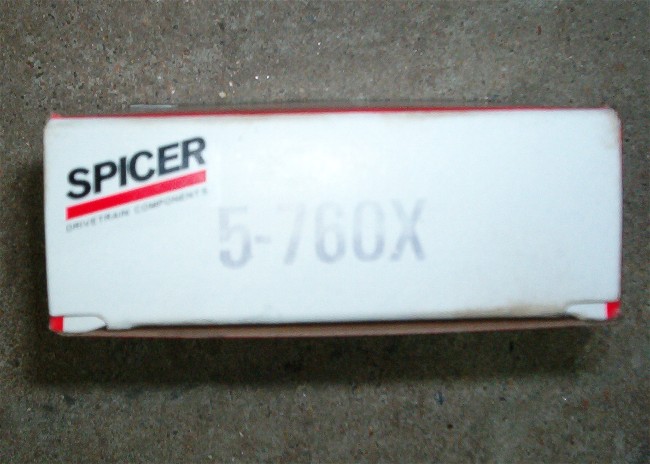
Spicer U-Joint part number 5-760X.
GM caliper bracket (1975 up) I used grade 8, 3/8″, 24 thread, 1.5″ long bolts and a grade 8 nut, all with grade 8 lock washers.
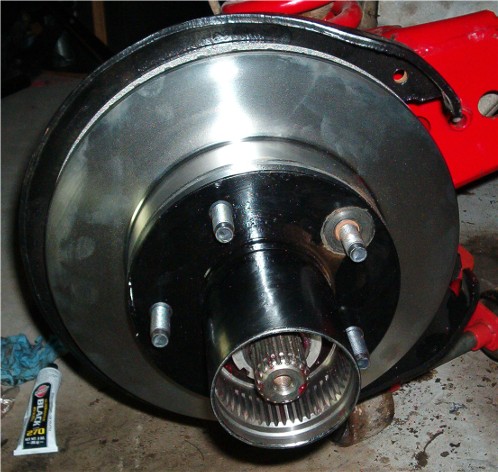
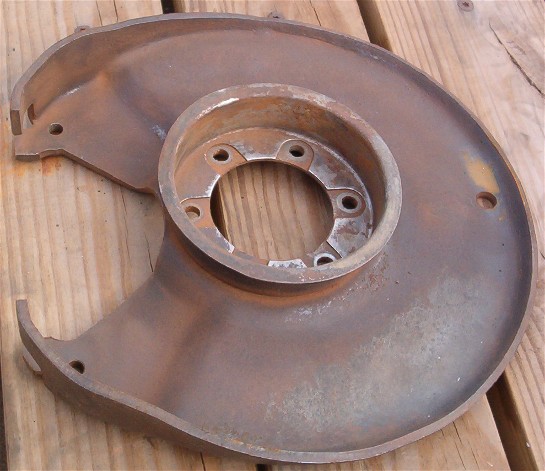
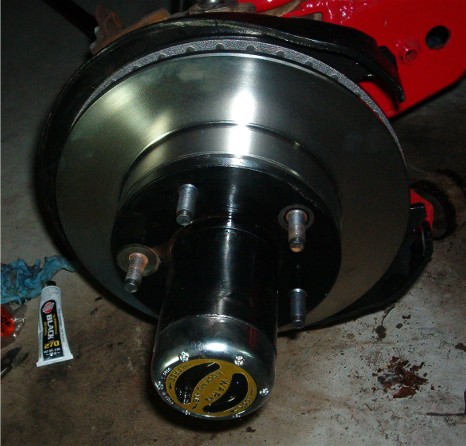
Ford Dana 44 TTB rotor and hub. (1976-1986) A-35 and A-37 bearings were used.
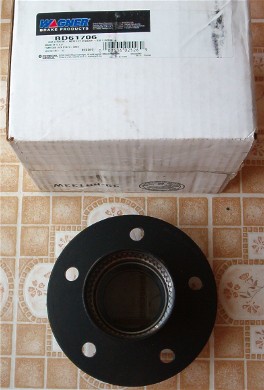
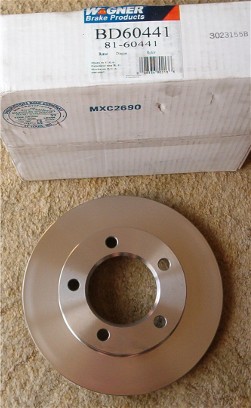
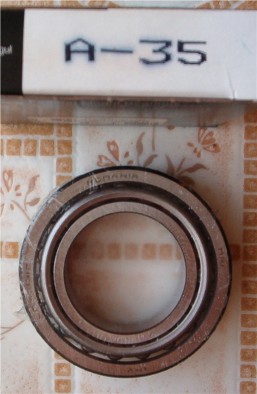
Hub, Wagner part # BD61706. Rotor, Wagner part # BD60441. Bearing, Federal Mogal part # A-35 and A-37 (no picture).
Drivers side axle shaft fills the splines on the Warn lock out. Very little in/out movement so seals on the back side will seal well. I installed a Detroit Locker in the front. I don’t know if this will be the case with others. On the passengers side I will use a spring in between the inner and out shaft. This will push the inner axle in and the outer axle out. I left the c-clip off the end of the axle inside the front differential. So the inner axle assembly can be removed without the front third member. It’s hard to see in this picture but the hole in the axle shaft above has threads. You could put a washer over the end of the axle shaft and lock tight a bolt in the axle to prevent the axle from moving inboard if needed.
Update: When I changed the outer shafts to the GM shafts I checked the inner axles on a spare open third member I had and the inner axles went in the third member the same distance as they did in my Detroit Locker. So the difference must be in the inboard side of the spindle. The GM outer is longer on the outboard end and is long enough to install a C-clip. As I said above I will try this and if I can get the GM outers to work without problems I will update this section. But if not I may have to have the inboard side of the GM spindle machined.
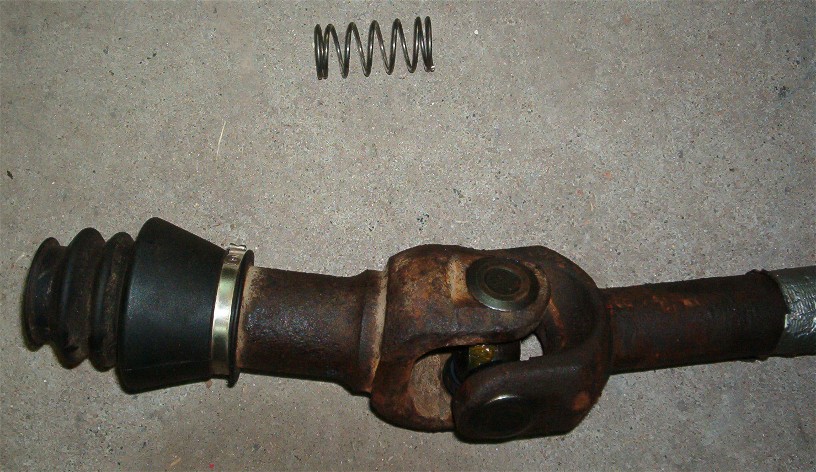
This is the spring and the inner passengers side axle. The spring will go inside the tube the rubber boot is attached to.
There is a cap plugging the hole on the u-joint side of the tube. I had this welded in place so it would retain the spring.

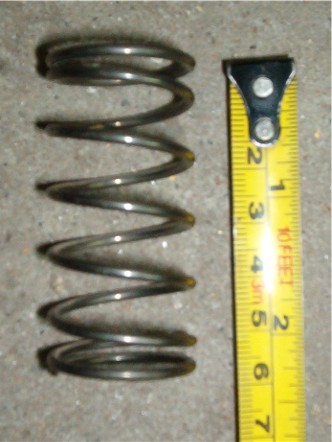
This is the spring I use. It is approx. 1 1/8 inches in diameter by 2 and 1/2 inches long. I have seen others use a stronger valve spring and cut it down below 2 inches but I have had good luck with this one. I have installed these with out welding the end cap and have not had a failure. I get these at a local scrap salvage store and paid .25 cents each for these.

First Dana 44 TTB outer shaft does not have threads inside the hole in the end. Second TTB shaft is threaded for a bolt and can be used with a washer to retain the shaft outboard if needed.
Update: At this time I have the GM outer shafts installed. They are longer on the outboard end and I have a C-clip install on the end of the axle.
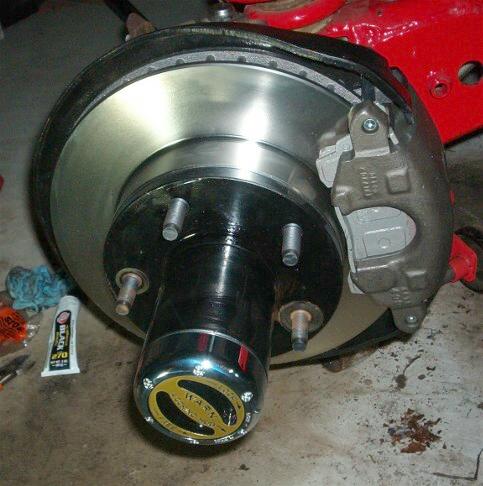
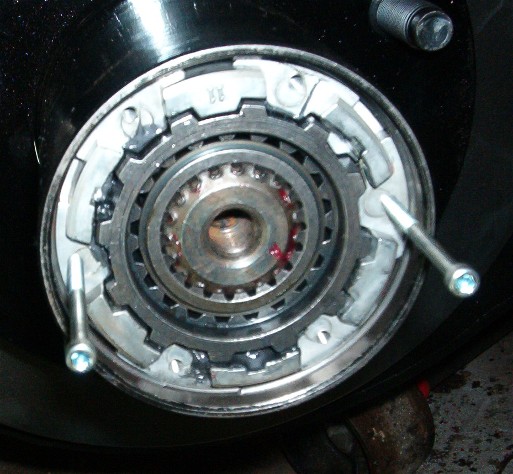
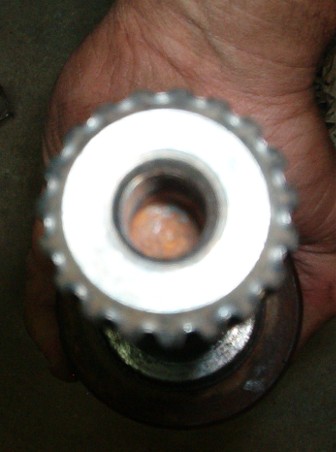
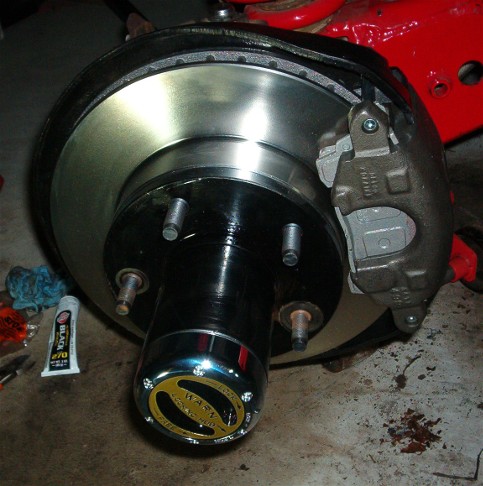
Warn lock out installed. We locked it in and then spun the rotating assembly while turning the knuckle from lock to lock and there was no binding.
Update: With the GM outers now installed with C-clips on the end I did get a little feedback in the steering wheel. I’m going to try this and see if it will work. If not I’ll remove the C-clips and see if it will work. One of my concerns is that the axle would move inboard and let mud/water in.
GM brake caliper installed. (1975) The parts package contained a long and short metal bushing. We used the short bushing.
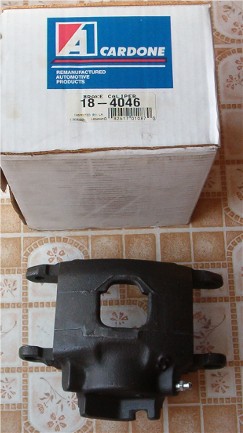
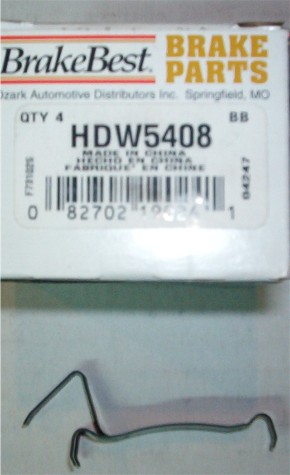
Caliper is the drivers side. Bleeder screw is on the back and goes up. I used new caliper pins. The new pads did not come with new clips so we had to purchase those. We only used one on each side.
Resource:
http://www.mappyjack.com/Dana44.htm (No longer active so preserved here)