Introduction
This information is for swapping out the (PVH) vacuum assisted hubs found in 1998 – 2000 Rangers.
Parts Used
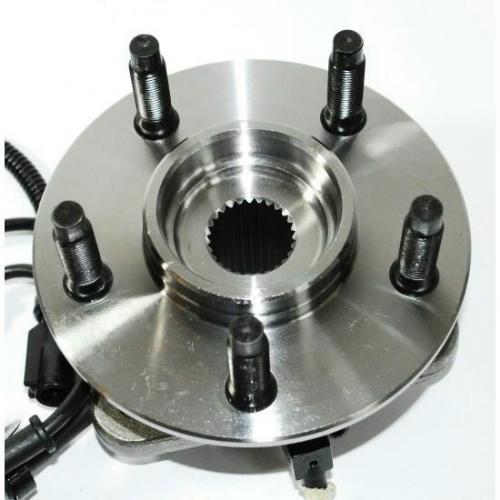
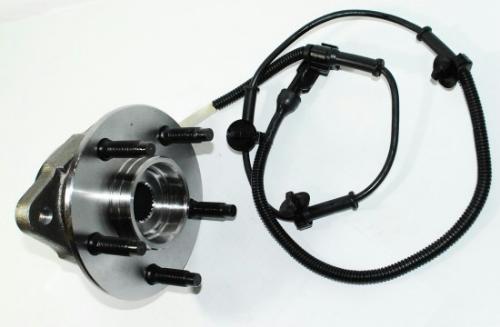
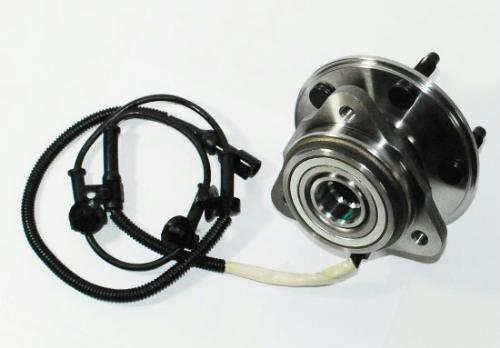
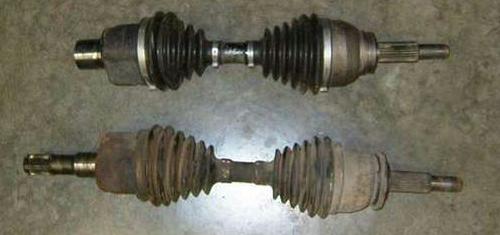
The replacement hubs and axles are from a 1995-2001 Ford Explorer which is the same front axle and suspension as the 1998-2000 Rangers. The reason for doing the swap is to get rid of the vacuum assist hubs and the axle disconnect hubs that are on the 1998-2000 Rangers, which the Explorer’s did not have.
The Explorer axle goes all the way thru the hubs and is secured by a 32mm nut on the outside of the hub.
NOTE: This will switch to a live front axle, so you will not be able to ‘unlock’ the hubs.
Process / Steps
Step 1) Get the axles & hubs out of a 1995 & newer Explorer. Make sure you get the 32mm hub nut for the axles.
Step 2) Remove your shocks.
Step 3) Remove the hub disconnects from your hubs and the ring clip and plastic split ring from inside the hub on the axle.
Step 4) Remove the (2) small screws from the back side of the hub that holds the retainer ring. Remove the (3) bolts that goes thru the steering knuckle into the hub and pull the hub off the knuckle.
Step 5) Remove the tie rods, the upper ball joint and then the lower ball joint and pull the steering knuckle off.
Step 6) Pull the axles with a good tug out of the axle housing.
Step 7) Replace everything with the Explorer axles and hubs in reverse order.
Step 8) If your Ranger did not have front anti-lock brakes, cut the anti-lock brake wiring that comes out of the hub of the Explorer hubs as close as possible to the hub.
Step 9) Last but not least plug your vacuum line that comes out of your steering knuckle.
MAKE SURE YOU TORQUE THE AXLE HUB NUTS (32MM).
Torque the axle nut to 175 ft-lbs.
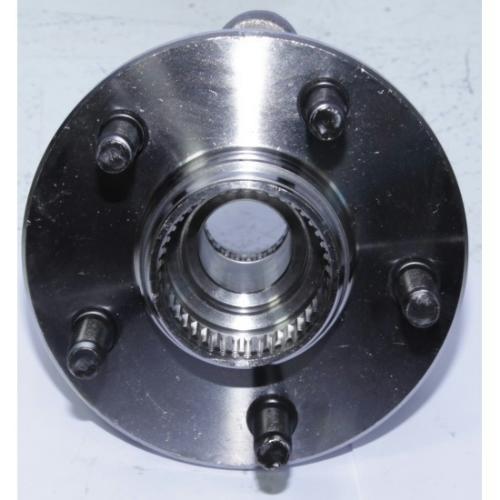
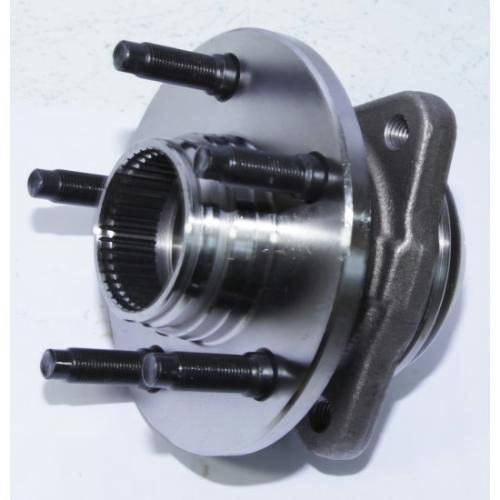
(1995-2001 Ford Explorer Axle Hub)
(1995-2001 Ford Explorer Axle Hub)
(1995-2001 Ford Explorer Axle Hub)
(1995-2001 Ford Explorer Front Axle Shafts)
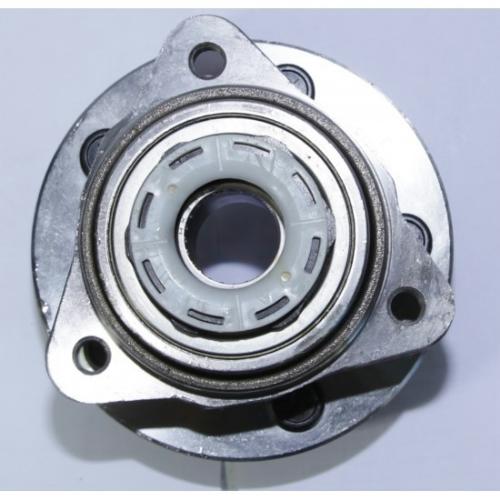
(1998-2000 Ford Ranger PVH Axle Hub)
(1998-2000 Ford Ranger PVH Axle Hub)
(1998-2000 Ford Ranger PVH Axle Hub)
Related Articles
1998-2011 Ford Ranger 4×4 Dana 35 SLA Front Axle
Convert Ford Ranger Live Axles To Manual Hubs
1998-2000 Ford Ranger Manual Locking Hubs
1998-2000 Ranger Hub Bearing Replacement
Permanently Lock Your ’98-’00 PVH Hubs
Adding Manual Control To Your 1998-2000 Ford Ranger Pulse Vacuum Hubs
Troubleshoot / Fix Your PVH Hubs
1998-2000 PVH Hubs Diagnose & Repair TSB
1999-2000 Ford Ranger PVH Hub Operation & Troubleshooting
Co-Author
This article was put together by TRS forum member Rick Long (McDonald Ranger) who did this modification and submitted to the author to publish at The Ranger Sation.
Last Update:
About The Author
Jim Oaks is the founder of TheRangerStation.com, the longest-running Ford Ranger resource online since 1999. With over 25 years of hands-on experience building and modifying Ford Rangers — including magazine-featured builds like Project Transformer — Jim has become one of the most trusted authorities in the Ford Ranger off-road and enthusiast space. In 2019, he was loaned a Ranger FX4 by Ford Motor Company to test and document across the TransAmerica Trail. Jim continues to inspire and guide Ranger owners around the world.

