|
|
|
|
Custom Interior Pieces |
|
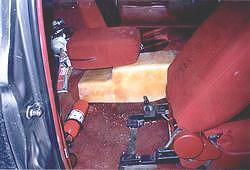
By: Forest Ranger Just to let all you guys know that I am a Mechanical Designer by trade. Where I work I have seen many neat tricks on how to do things, and I get to see what works and what doesn't. Here is a tip for you guys if you are looking to make interior or exterior pieces for your truck. These are all fiberglass tips. For small panels that already exist. (Except for speaker grills). Use a lot of Armorall on the part and then cover it in silicone to get the general shape, back it with small wood pieces for strength. You now have a mold for that piece. Warning!!! If not done right you may wreck the piece. Silicone sticks to almost any thing. Try it on scrap piece to get the feel of it. For larger parts like Consoles or door panels. Go to the local hardware store or lumber store, and get some white, pink or blue Styrofoam. Glue pieces together to get the general size of the part you plan to make. Then carve away. Here is the foam pieces as I was gluing and carving them out to fit the contours of what I wanted it to look like.
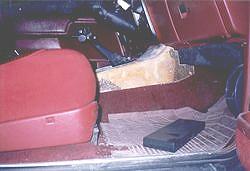
Here are the two pieces with the final coats of drywall putty on them.
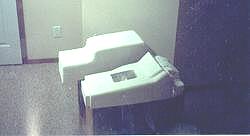
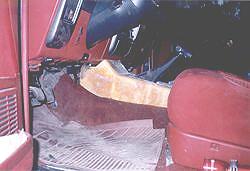
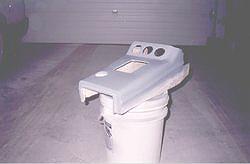
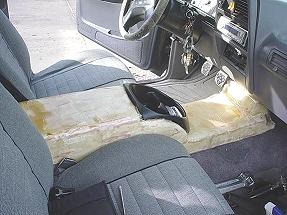
When that is done, your piece should be taking shape. Paint the entire part with a Latex primer. Or you can spraybomb it then use car wax and apply it on. (it will be on the inside of the part so no one will see it or care that it's there. Now your part is ready to be glassed. Take your time if you have never glassed before. Read all the instructions before mixing the resin. If you know anybody that has had experience doing fiberglass repair then invite them over for a couple of beers. Use about 3 layers of fiberglass mat or weave. This will give you good strength. Here the front half has been glassed and the rear part is ready with the primer on and is waiting for the waxing.
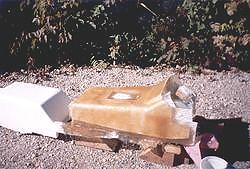
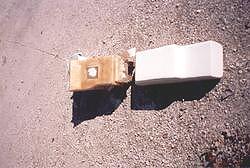
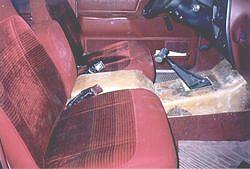
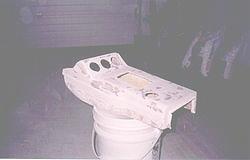
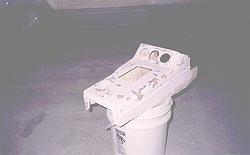
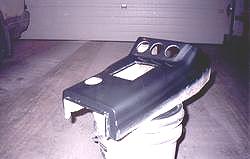
Here comes the messy part. Chip out the majority of the foam that you can get to then, to get the rest of the foam out use acetone or Brake Kleen to eat it out. If you don't need to remove it then it can stay in the part. It won't hurt. Wash off the part, the putty may need to be soaked in water for a while to remove it. Trim the part with a hacksaw blade or a drumel tool. With the Drumel, use a diamond cut off wheel. It won't wear out and it shouldn't break. Presto, a master piece. Here the parts have been cleaned and trimmed to fit.
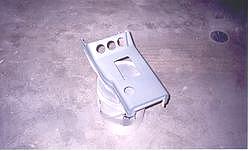
If you want to paint the part then sanding and bondo are required to get a smooth finish. That is very time consuming. Here I started to do the body work to it
Primer coat
Painted coat
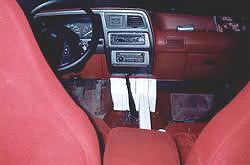
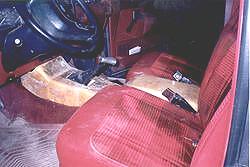
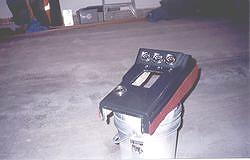
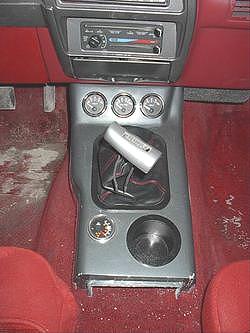
Carpeted and gauges installed
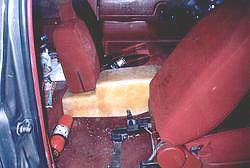
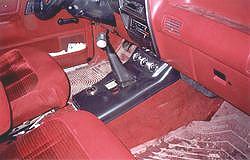
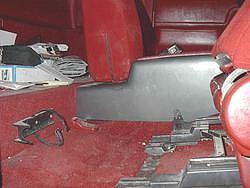
Front piece partially installed
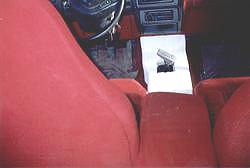
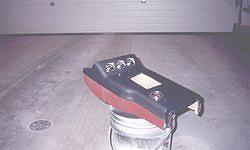
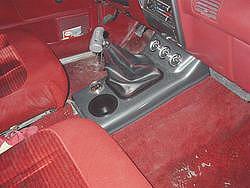
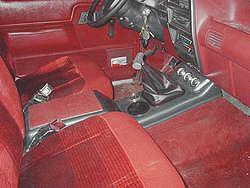
Front piece final with shifter boot, trim and cup holder
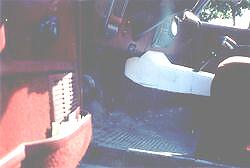
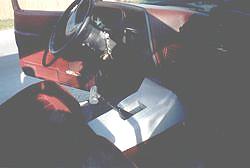
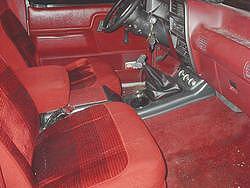
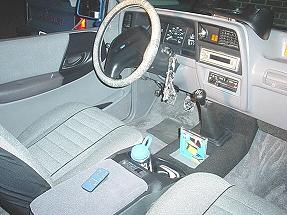
Final console with front and rear pieces installed.
The below pics are from Jubeans truck. Click for a larger image.
First version is above / Second version is below
Finished Product! It's much easier to sand off any high spots and cover it in vinyl, leather, carpet, or fabric whatever you prefer. Then stand back and admire your work of art. You now can say to yourself, "Good chance that no one has one of these". Cuz you just destroyed the Mold. Also in the pipe is a new intake tube with the possibility of Ram Air. One off hood scoop. But that is another installment. The possibilities are endless. I have seen numerous parts made this way with awesome results. Again time and patients is required. If it doesn't turn out the way you like then it's no loss, other than time, but it is a good learning experience for those who like to get their hands dirty. If you want to make a profit from this then there is a lot of work and planning involved with making the plug reusable. You need to take in consideration that there needs to be a minimum draft angle /\ of 3 degrees to pull the mold off the plug. Cannot have any undercuts etcetera. The plug can be made out of MDF board and smoothed with bondo. Then painted with a tool gelcoat then polished. This is only the plug. Then the plug has to be waxed with mold release then, another coat of tool gelcoat is to be applied then backed with tool glass and resin. Pull it apart and now you can wet sand and polish the mold. Apply another coat of mold release to the mold and use a fiberglass polyester gelcoat of your color preference then apply your glass mat or weave. Then remove your part and wa-la part ready for your first customer. If you have the time to do it this way then have fun. Now you can understand why fiberglass fenders and hoods are so expensive. It is very time consuming and the materials are not cheap to buy.
|
|
|