
Jbrown1238
Member
- Joined
- Sep 3, 2010
- Messages
- 691
- Reaction score
- 6
- Points
- 18
- Location
- Largo, Fl
- Vehicle Year
- 2003
- Make / Model
- Ford
- Engine Size
- 306
- Transmission
- Manual
- My credo
- None
Most of my gaskets and parts arrived this week to mount the heads and the oil pump & pick up tube. I am still waiting on the water pump and timing cover seal.

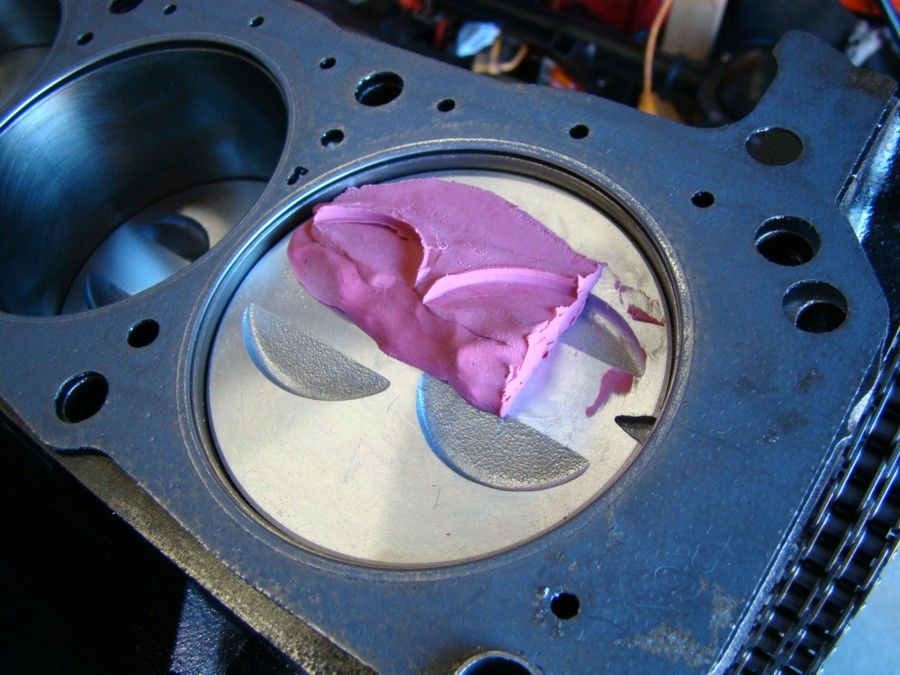
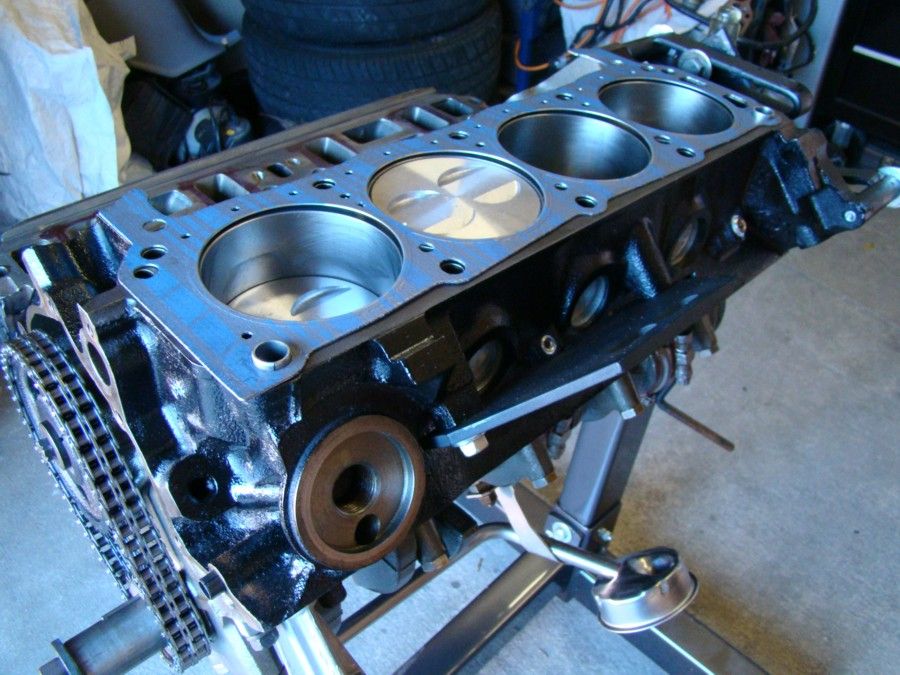
Before the heads are installed the piston to valve clearance needs to be checked. I started by cleaning the #1 piston surface and placing a small amount of modeling clay over the valve reliefs.

I disassembled two used lifters and flipped the internals upside down and then reassembled each. This allowed the lifters to behave as though they were at full pressure. Then I torqued down the right side cylinder head with a new gasket and installed the intake and exhaust valve train for the #1 cylinder.
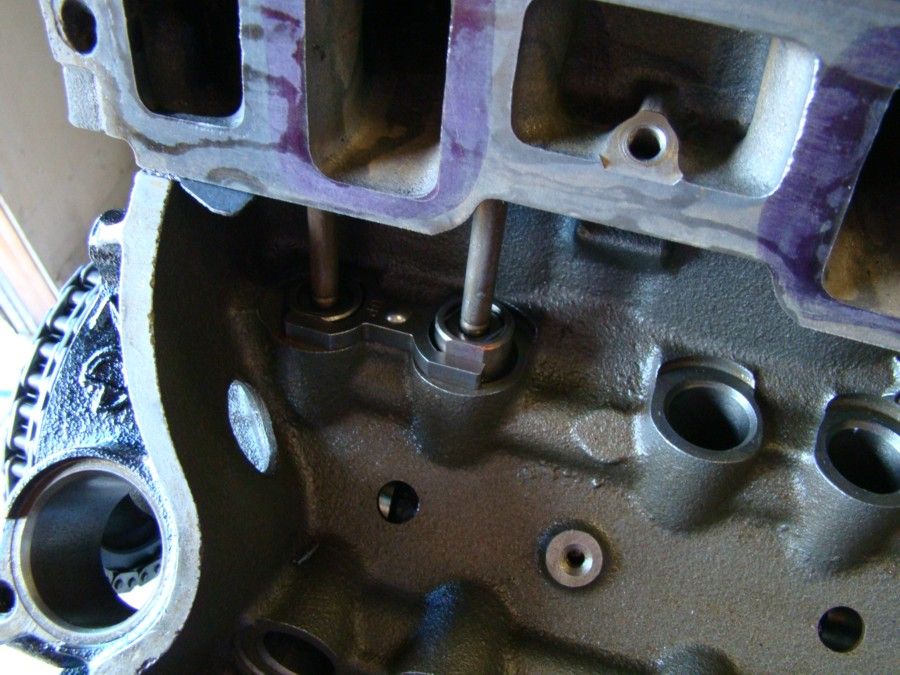
I rotated the crank for three full cycles and removed the valve train and cylinder head so the modeling clay was exposed. I cut a section of clay on the intake side and measured that section with a digital caliper to make sure it was at least .080. Then I repeated the procedure on the exhaust side to make sure there was at least .100 of clearance. Both the intake and exhaust were well within spec. Now the heads can be permanently installed with new gaskets and fasteners.
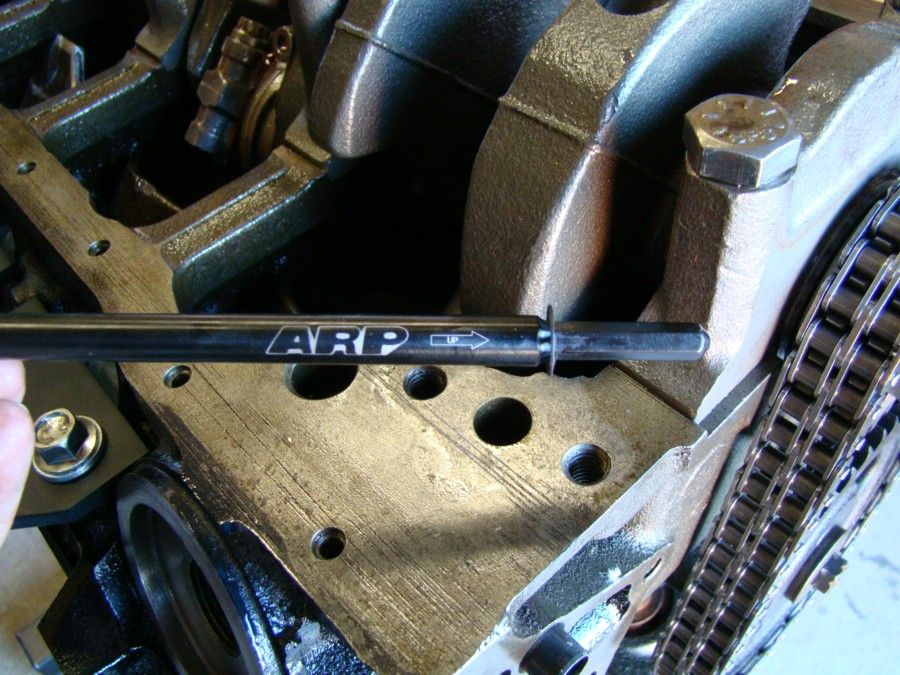
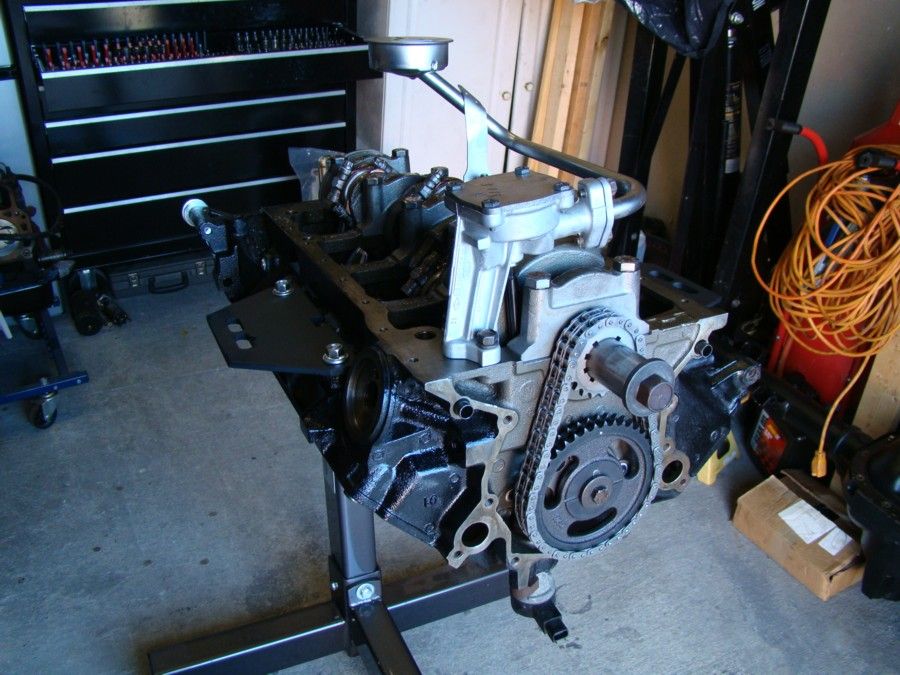
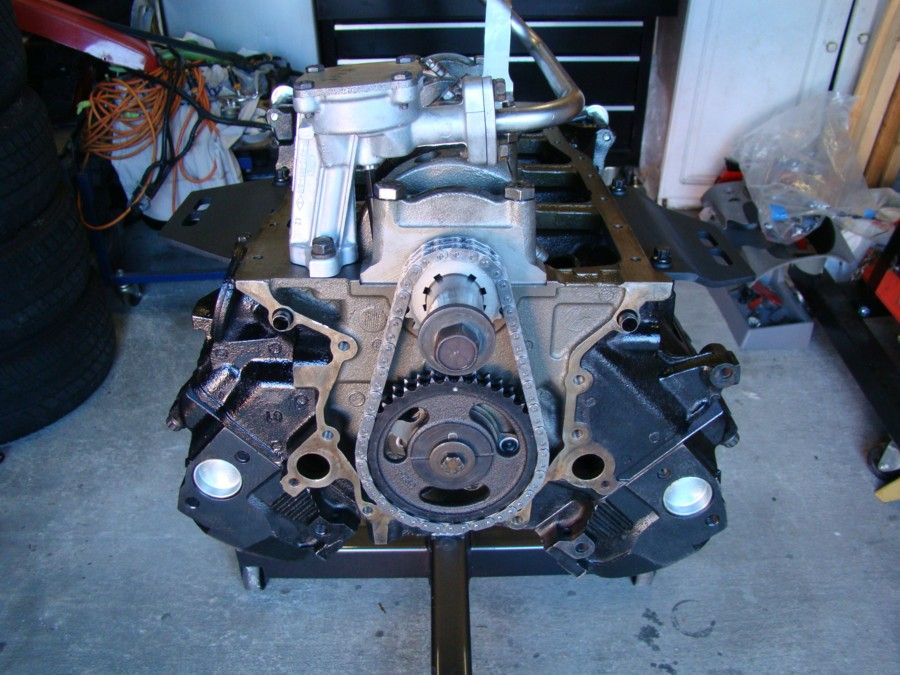
While the heads were drying after being cleaned and prepped for installation I flipped the engine upside down on the stand and installed the ARP oil pump shaft, oil pump, and oil pump pick up tube.
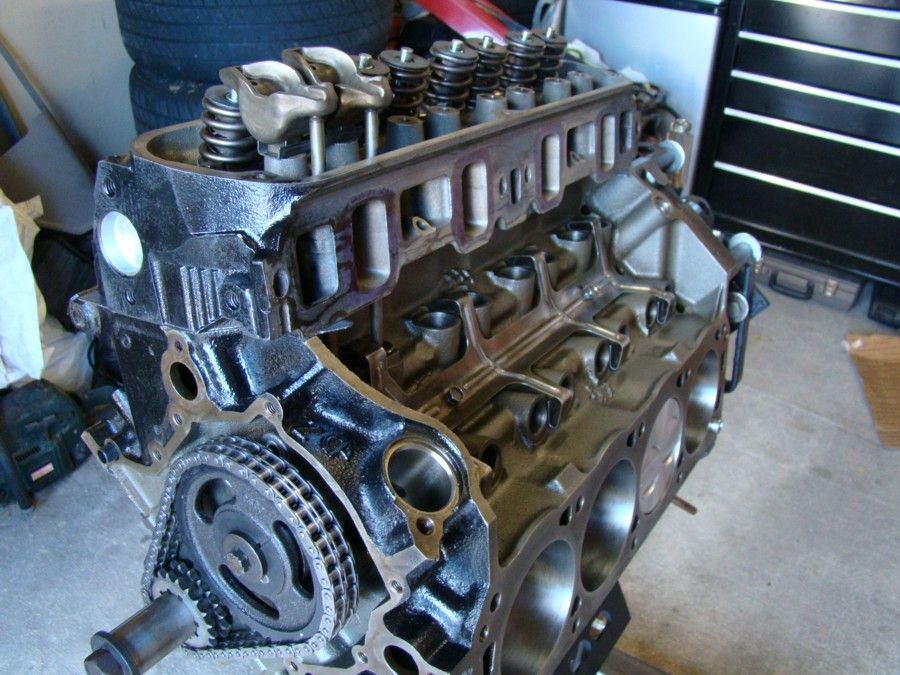
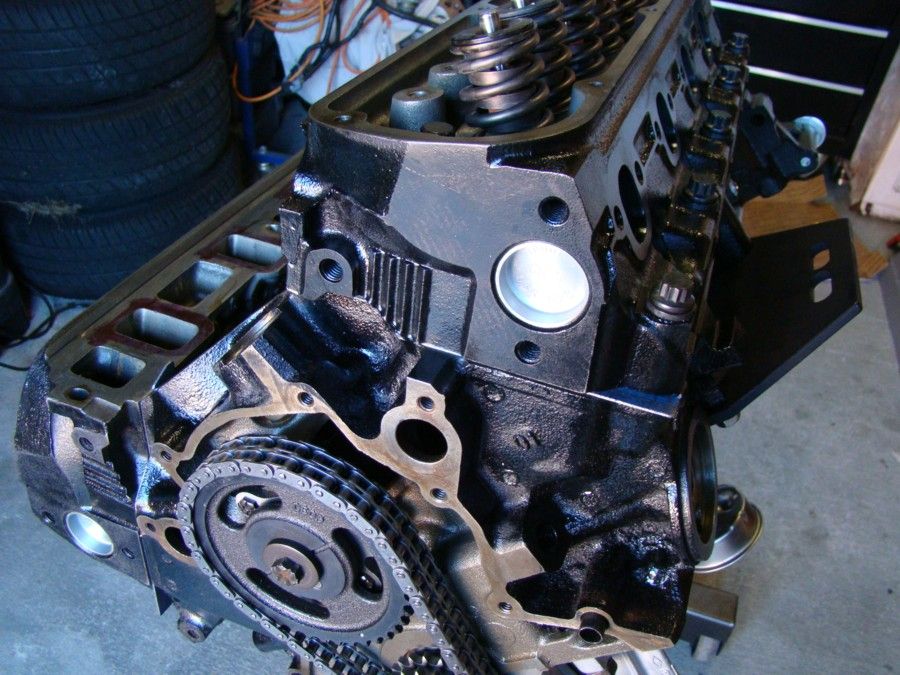
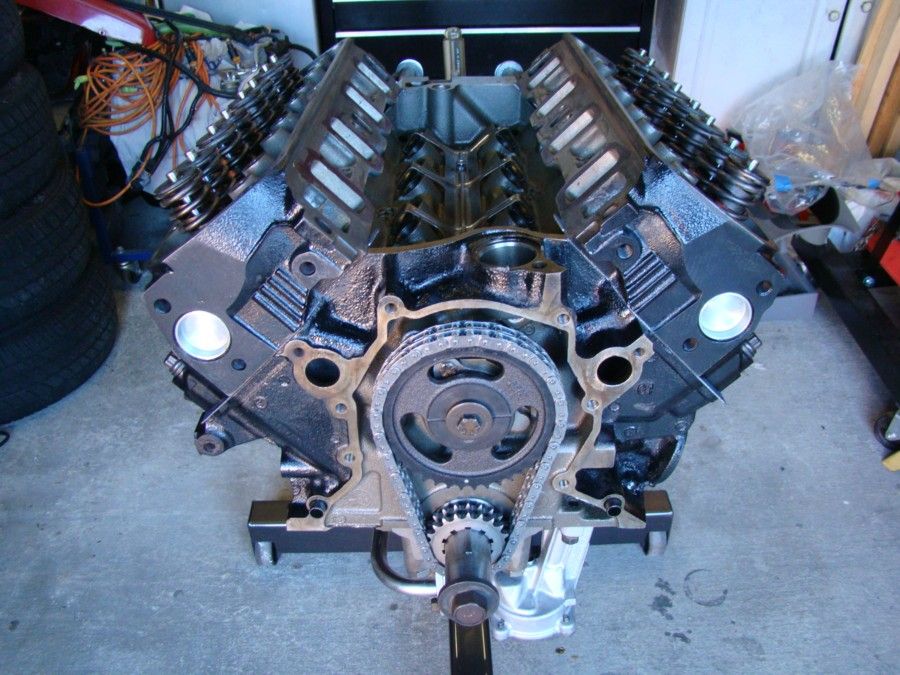
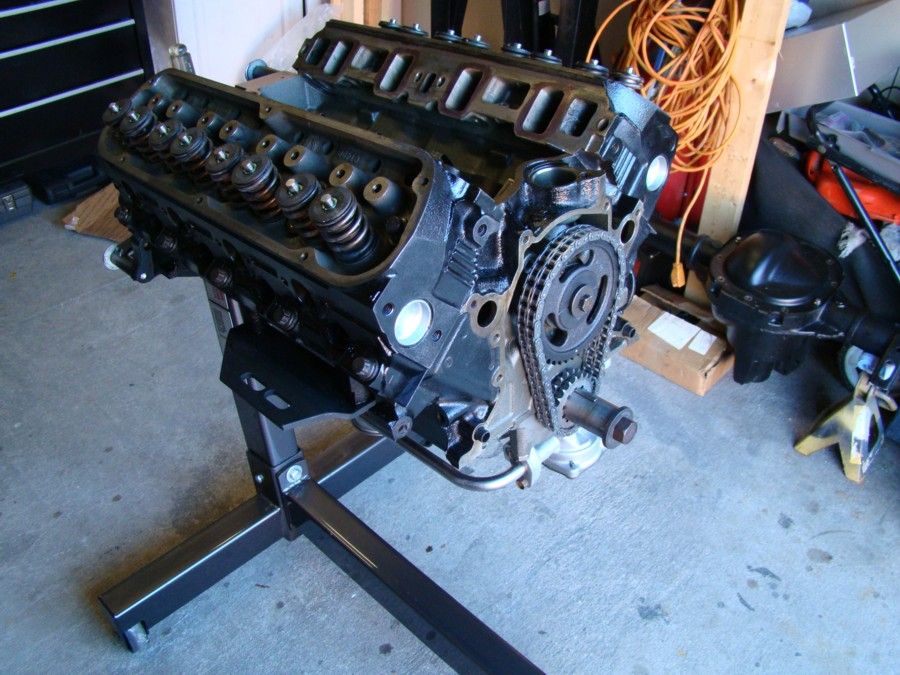
Once that process was complete I returned my focus to the cylinder heads. I set the new Fel Pro 9333 head gasket in place and set the cylinder head down on the dowels. Then I applied ARP Moly Lube to the top fasteners and Permatex Sealer to the bottom fasteners. I first torqued each fastener to 70 lbs by proper sequence and then stepped up to the specified torque value for each.

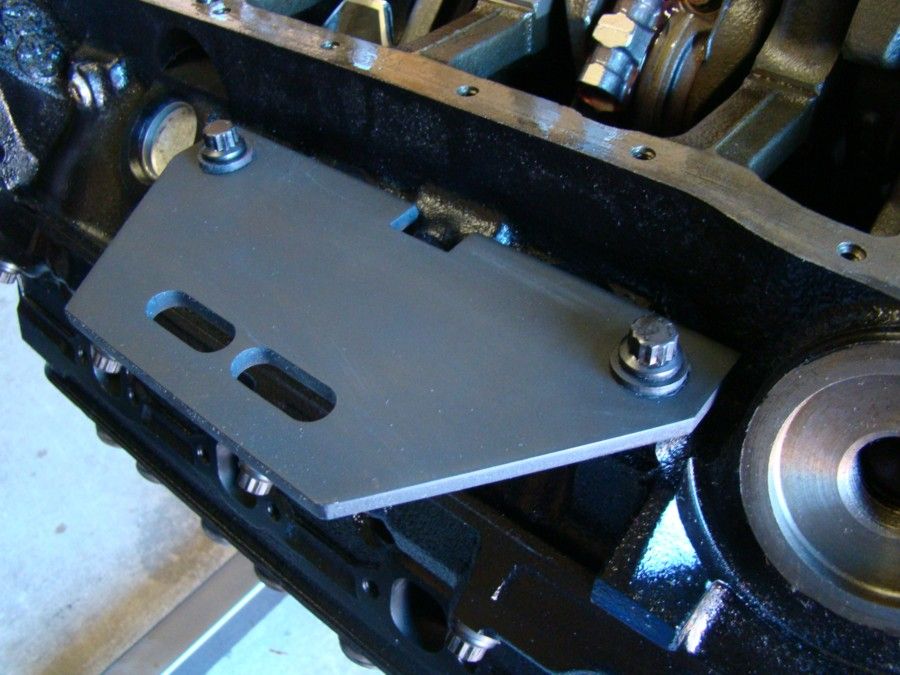
Once the cylinder heads were secured I decided to change out the engine plate fasteners for ARP pieces.
Now I hope the timing cover and water pump gaskets come on Monday so I can button up this part of the assembly process. It looks like another cool to cold and wet week so I may just keep moving and install the oil pan, upper and lower intake, and front accessory brackets before moving on to color sanding the cab.

Before the heads are installed the piston to valve clearance needs to be checked. I started by cleaning the #1 piston surface and placing a small amount of modeling clay over the valve reliefs.

I disassembled two used lifters and flipped the internals upside down and then reassembled each. This allowed the lifters to behave as though they were at full pressure. Then I torqued down the right side cylinder head with a new gasket and installed the intake and exhaust valve train for the #1 cylinder.


I rotated the crank for three full cycles and removed the valve train and cylinder head so the modeling clay was exposed. I cut a section of clay on the intake side and measured that section with a digital caliper to make sure it was at least .080. Then I repeated the procedure on the exhaust side to make sure there was at least .100 of clearance. Both the intake and exhaust were well within spec. Now the heads can be permanently installed with new gaskets and fasteners.

While the heads were drying after being cleaned and prepped for installation I flipped the engine upside down on the stand and installed the ARP oil pump shaft, oil pump, and oil pump pick up tube.


Once that process was complete I returned my focus to the cylinder heads. I set the new Fel Pro 9333 head gasket in place and set the cylinder head down on the dowels. Then I applied ARP Moly Lube to the top fasteners and Permatex Sealer to the bottom fasteners. I first torqued each fastener to 70 lbs by proper sequence and then stepped up to the specified torque value for each.


Once the cylinder heads were secured I decided to change out the engine plate fasteners for ARP pieces.

Now I hope the timing cover and water pump gaskets come on Monday so I can button up this part of the assembly process. It looks like another cool to cold and wet week so I may just keep moving and install the oil pan, upper and lower intake, and front accessory brackets before moving on to color sanding the cab.


Last edited:


