- Joined
- Dec 1, 2007
- Messages
- 689
- Reaction score
- 6
- Points
- 18
- Location
- Lake Almanor, Ca.
- Vehicle Year
- 1988/2000
- Make / Model
- Ford
- Engine Size
- 2.9/4.0
- 2WD / 4WD
- 4WD
- Total Lift
- 9" on the 2000, 6" on the '88
- Tire Size
- 265/75/16, 31x10.50x15
- My credo
- The memories of a man in his old age are the deeds of a man in his prime
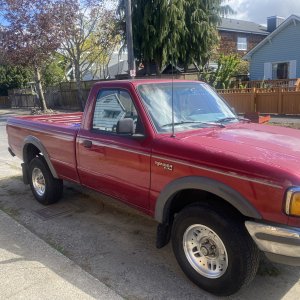
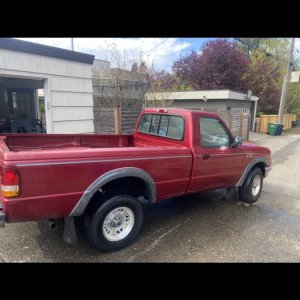
I put a dual gauge system into my '88 Ranger 4x several years ago after having the usual malfunctions and mis-functions with the stock idiot gauges.
For this write up I am only dealing with Rangers with 2.9, with and with out a/c, and with and with out EGR. Specifically this is an '88 Ranger Super, 2.9, 4x4.
I'm not responsible if you screw up, bang your knuckles or your head, fall off of whatever you were standing on, break bolts or any of the myriad of things that can happen when working on and around vehicles. You are responsible for your own/others safety.
Basic home mechanic safety rules apply:
Make sure the engine is cool.
Block the wheels, set the brake/transmission.
Disconnect the battery.
Keep your work area clean.
Ok so do the preliminary stuff,
Drain enough coolant out of the radiator to avoid spillage when the upper radiator hose is disconnected.
For engines with EGR and a/c it's tight where we are going to work:
I will be removing that too, but that is another story.

Without either one, there's plenty of room to work:

Remove the water inlet and thermostat.
Once you have removed the water inlet on the front of the manifold and cleaned that part up we can begin.
Things that you need to do this job:

The sending unit has a metric thread. The closest that my thread gauges would come is 1.5. I don't have that tap and I don't have one that matches up, so I measured the outside thread on the sender and got somewhere around 19/32.
The closest tool I found was this NPT tap:
It is not the exact thread but is close, I have made it work twice now.

It wants a 37/64 drill, ok, so who has that? Simple math to not be too big, round down to 36/64, lowest common denominator goes to 9/16, that I can do.

Mark the bit with a sharpie where you want to drill to.
Mark your water inlet where you want to install the stock sending unit for the dash gauge and center punch the spot.

To be continued . . .

For this write up I am only dealing with Rangers with 2.9, with and with out a/c, and with and with out EGR. Specifically this is an '88 Ranger Super, 2.9, 4x4.
I'm not responsible if you screw up, bang your knuckles or your head, fall off of whatever you were standing on, break bolts or any of the myriad of things that can happen when working on and around vehicles. You are responsible for your own/others safety.
Basic home mechanic safety rules apply:
Make sure the engine is cool.
Block the wheels, set the brake/transmission.
Disconnect the battery.
Keep your work area clean.
Ok so do the preliminary stuff,
Drain enough coolant out of the radiator to avoid spillage when the upper radiator hose is disconnected.
For engines with EGR and a/c it's tight where we are going to work:
I will be removing that too, but that is another story.

Without either one, there's plenty of room to work:

Remove the water inlet and thermostat.
Once you have removed the water inlet on the front of the manifold and cleaned that part up we can begin.
Things that you need to do this job:

The sending unit has a metric thread. The closest that my thread gauges would come is 1.5. I don't have that tap and I don't have one that matches up, so I measured the outside thread on the sender and got somewhere around 19/32.
The closest tool I found was this NPT tap:
It is not the exact thread but is close, I have made it work twice now.

It wants a 37/64 drill, ok, so who has that? Simple math to not be too big, round down to 36/64, lowest common denominator goes to 9/16, that I can do.

Mark the bit with a sharpie where you want to drill to.
Mark your water inlet where you want to install the stock sending unit for the dash gauge and center punch the spot.

To be continued . . .

Last edited:


