- Joined
- May 15, 2020
- Messages
- 2,472
- Reaction score
- 4,051
- Points
- 113
- Age
- 69
- Location
- Atlanta
- Vehicle Year
- 1997 1987
- Make / Model
- Ranger XLT x2
- Engine Type
- 4.0 V6
- Engine Size
- 4.0 & 2.9
- Transmission
- Manual
- 2WD / 4WD
- 4WD
- Total Lift
- 97 stock, 3” on 87
- Total Drop
- N/A
- Tire Size
- 235/75-15
- My credo
- Never put off ‘til tomorrow what you can put off indefinitely
Soooo, the dead pull-a-part battery that I bought several years ago, when I pulled it out, was a one-year warranty battery. More on this later.
Like a lot of things, it was a last minute thing to go to the Truck Nationals last year. I completely forgot that I bought a marine battery for the #2 battery. So I pulled it out of the garage to swap it with the dead one.
That’s when I remembered I also bought an “on/off“ switch to connect it with the main battery. The concept was that both would charge when driving, but I could run my strobes and traffic advisor off the toolbox #2 battery without killing the main battery so I could still start the truck. And the marine battery was the ideal choice. BTW, it was also a $29.99 pull-a-part battery.
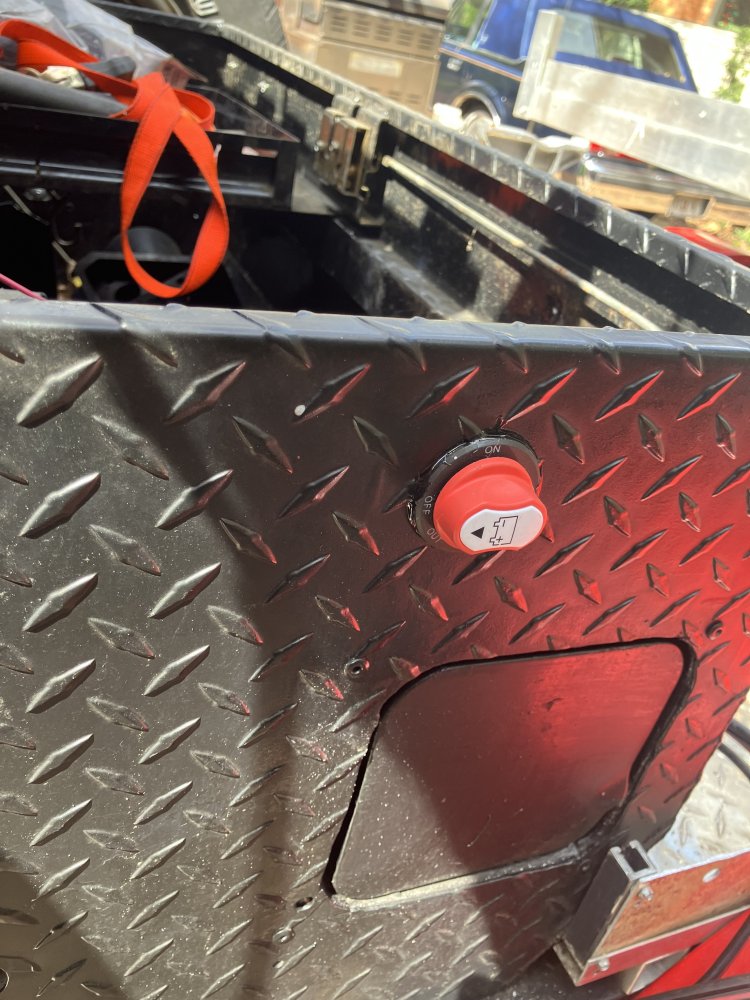
The marine battery was taller, so I had to redo my hold downs, no biggie, 5 minutes with some scrap aluminum. And I figured while I was at it, I would wire it the way I had originally planned with the on/off switch on the outside of the box. Concept being, if I had to stop and use the strobes, you have to do that very quickly in an emergency situation.
Finally, I forgot that I had totally temped the battery cables, simply pinching them between flat washers.
I put the new, old used, marine battery in with solid hold downs. I went into my battery cable box in the shed of miracles, and torched/stripped off three of the eyelets for my wiring. The twisted wire is a double 10 gauge stranded wire, plenty enough for what I’m doing. I mounted the on/off switch on the side of the box, E6000 to keep it steady with the flimsy back washer/nut, so I can flip it as I step out of the truck. I put the negative lead on with a couple flat washers and a regular nut, and I put the positive on with a wing nut (with my wiring ability, you never know when you’re going to have to disconnect something quickly!). There is also an “always hot” wire to all the strobes and such. I put an eyelet on that that goes straight to the #2 battery, but I also put in a male-female blade connector so I can pull it quickly as well. I’ll add a 30 amp fuse in there before I button it up.
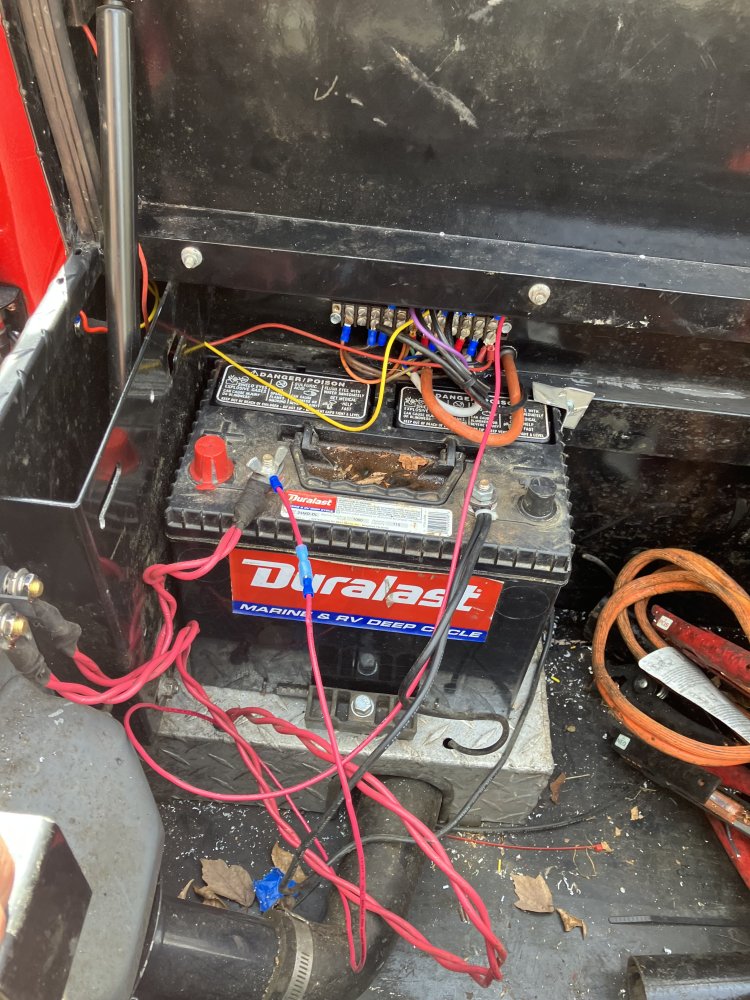
It looks like spaghetti, but everything is well done, some wires left long for a reason. I snugged them all up with zip ties before I was done.
The on/off switch, which can also disconnect completely. Less than $10 on eBay.
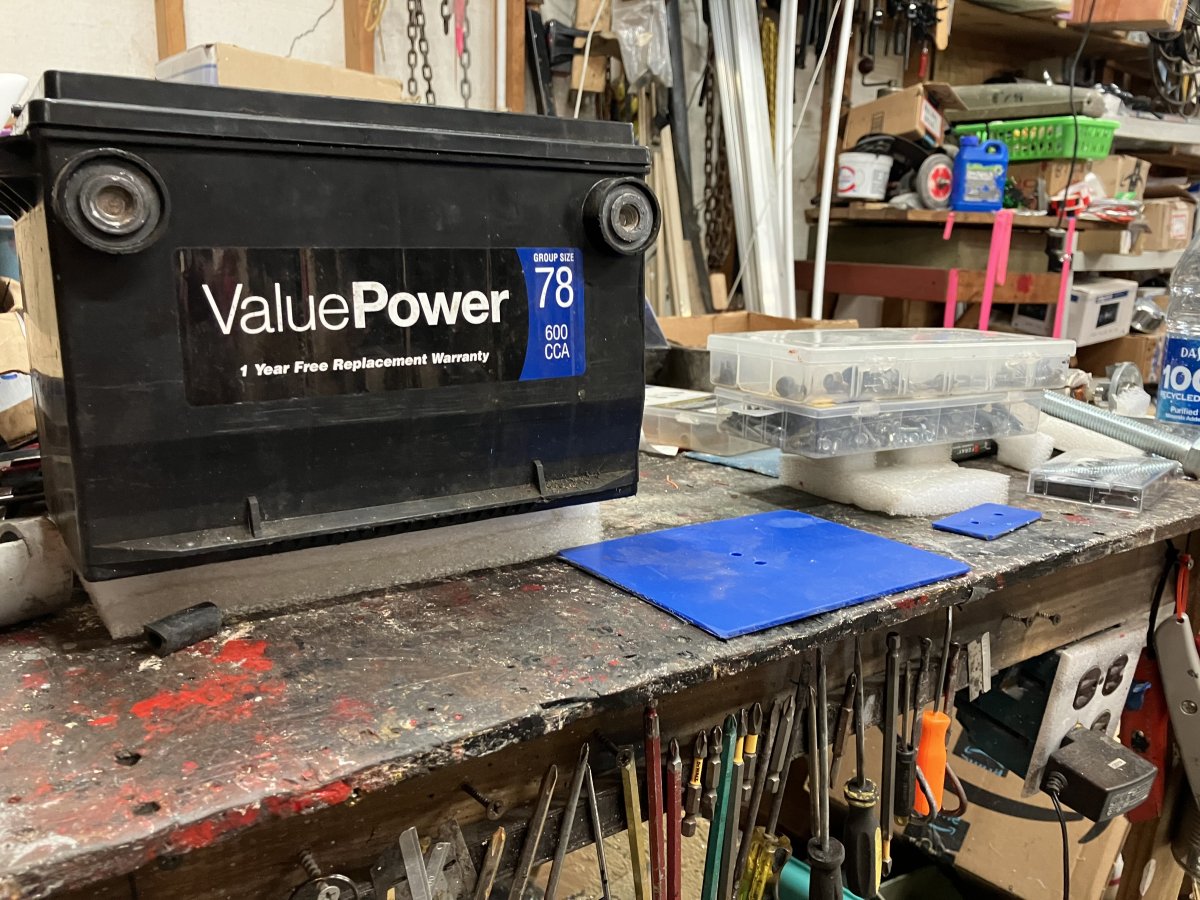
This is all in the front top corner of the driver side of the Aluminum weather guard toolbox. I went into the shed of miracles, and got some high density shipping foam pieces, and fabricated a hat/cap for the battery, and a cap for the on/off switch, so nothing will ground them out if stuff shifts in the toolbox.
I hated that I was cheated on my one year warranty, three year old $25.99 pull-a-part battery, and I wanted to squeeze every penny out of it. So I used it as a weight when I glued the high density foam together. The two boxes of self drilling, self tapping screws worked for the smaller on/off switch insulator, just a target of opportunity within reach on the workbench.
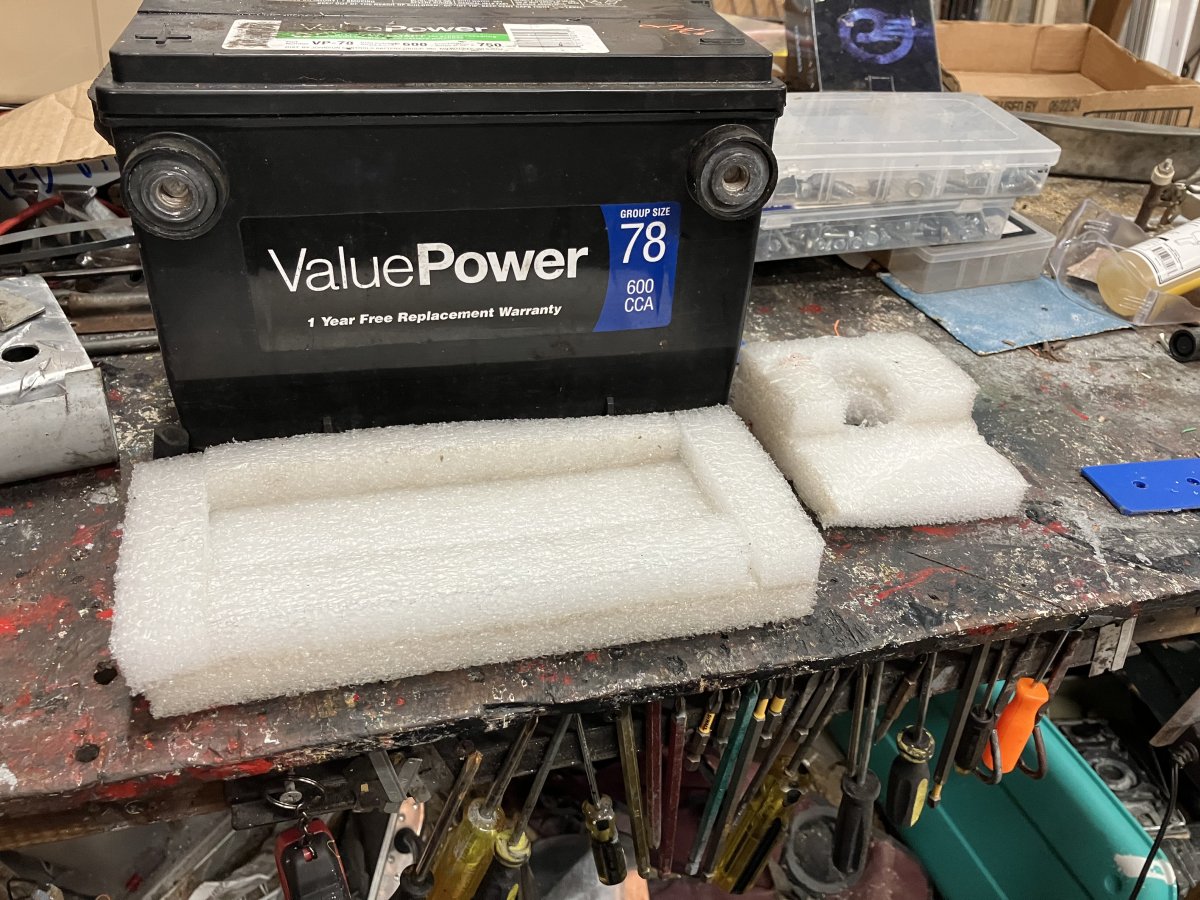
A little trim work on the foam tomorrow, and a couple of zip ties, and you’ll be able to drop an anvil on the battery or the switch, and not ground anything out
Finally, I put my smart charger on that battery, which has been sitting on one of the cheap Chinese trickle chargers for a while, and it started out at 95%, and went to trickle in less than an hour. I flipped the connect switch, and it’s all sitting on a Battery Charger Jr now.
“Accomplish in hours, sometimes days, what used to take minutes…”
EDIT: Battery Tender Jr
Like a lot of things, it was a last minute thing to go to the Truck Nationals last year. I completely forgot that I bought a marine battery for the #2 battery. So I pulled it out of the garage to swap it with the dead one.
That’s when I remembered I also bought an “on/off“ switch to connect it with the main battery. The concept was that both would charge when driving, but I could run my strobes and traffic advisor off the toolbox #2 battery without killing the main battery so I could still start the truck. And the marine battery was the ideal choice. BTW, it was also a $29.99 pull-a-part battery.
The marine battery was taller, so I had to redo my hold downs, no biggie, 5 minutes with some scrap aluminum. And I figured while I was at it, I would wire it the way I had originally planned with the on/off switch on the outside of the box. Concept being, if I had to stop and use the strobes, you have to do that very quickly in an emergency situation.
Finally, I forgot that I had totally temped the battery cables, simply pinching them between flat washers.
I put the new, old used, marine battery in with solid hold downs. I went into my battery cable box in the shed of miracles, and torched/stripped off three of the eyelets for my wiring. The twisted wire is a double 10 gauge stranded wire, plenty enough for what I’m doing. I mounted the on/off switch on the side of the box, E6000 to keep it steady with the flimsy back washer/nut, so I can flip it as I step out of the truck. I put the negative lead on with a couple flat washers and a regular nut, and I put the positive on with a wing nut (with my wiring ability, you never know when you’re going to have to disconnect something quickly!). There is also an “always hot” wire to all the strobes and such. I put an eyelet on that that goes straight to the #2 battery, but I also put in a male-female blade connector so I can pull it quickly as well. I’ll add a 30 amp fuse in there before I button it up.
It looks like spaghetti, but everything is well done, some wires left long for a reason. I snugged them all up with zip ties before I was done.
The on/off switch, which can also disconnect completely. Less than $10 on eBay.
This is all in the front top corner of the driver side of the Aluminum weather guard toolbox. I went into the shed of miracles, and got some high density shipping foam pieces, and fabricated a hat/cap for the battery, and a cap for the on/off switch, so nothing will ground them out if stuff shifts in the toolbox.
I hated that I was cheated on my one year warranty, three year old $25.99 pull-a-part battery, and I wanted to squeeze every penny out of it. So I used it as a weight when I glued the high density foam together. The two boxes of self drilling, self tapping screws worked for the smaller on/off switch insulator, just a target of opportunity within reach on the workbench.
A little trim work on the foam tomorrow, and a couple of zip ties, and you’ll be able to drop an anvil on the battery or the switch, and not ground anything out
Finally, I put my smart charger on that battery, which has been sitting on one of the cheap Chinese trickle chargers for a while, and it started out at 95%, and went to trickle in less than an hour. I flipped the connect switch, and it’s all sitting on a Battery Charger Jr now.
“Accomplish in hours, sometimes days, what used to take minutes…”
EDIT: Battery Tender Jr
Last edited: